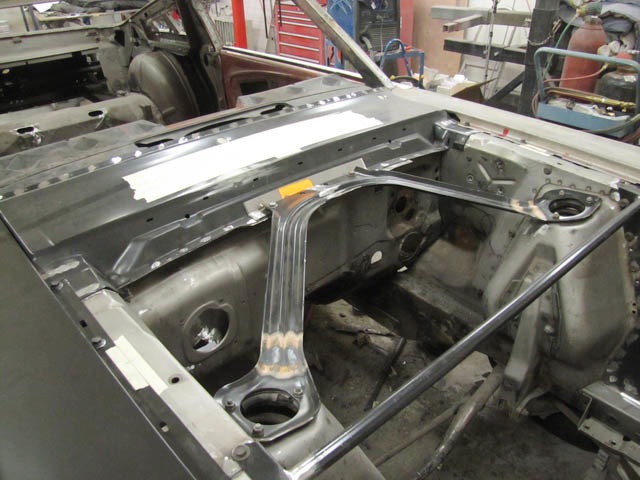
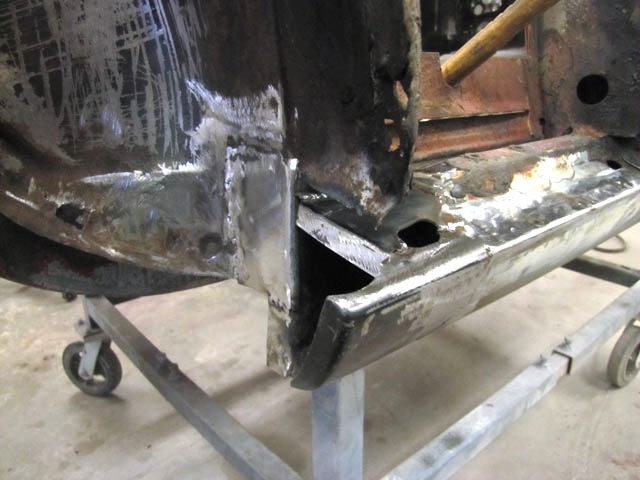
The cowl is welded and the export brace has been fitted and installed.
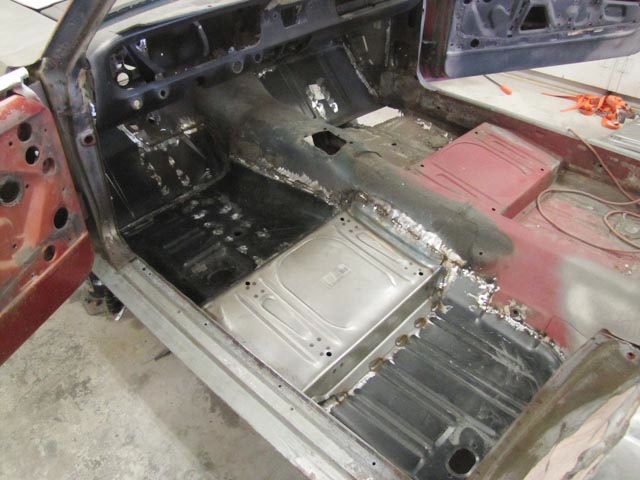
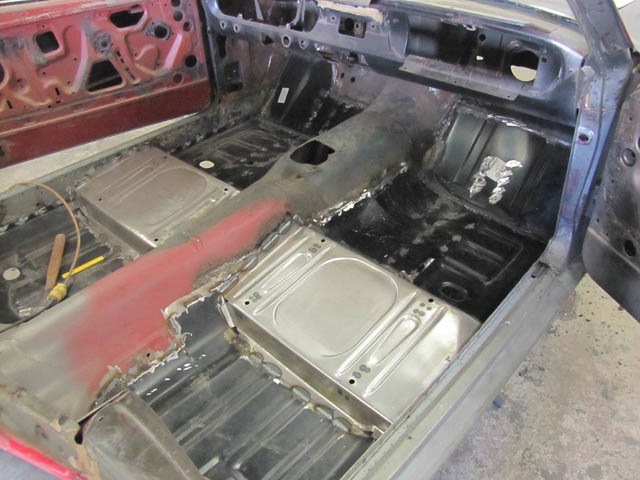
One floor pan is finished, one more to do.
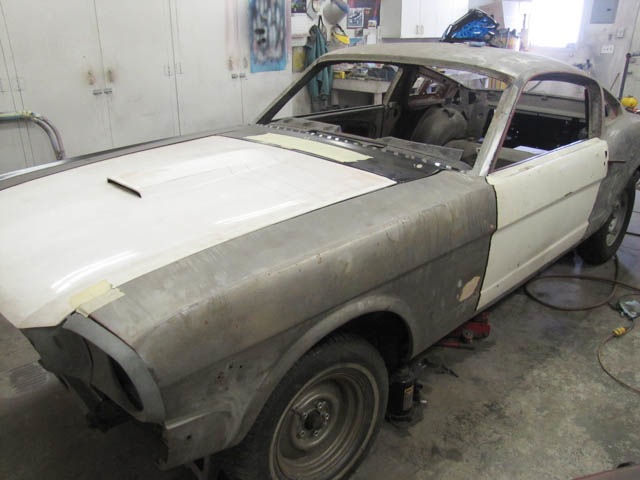
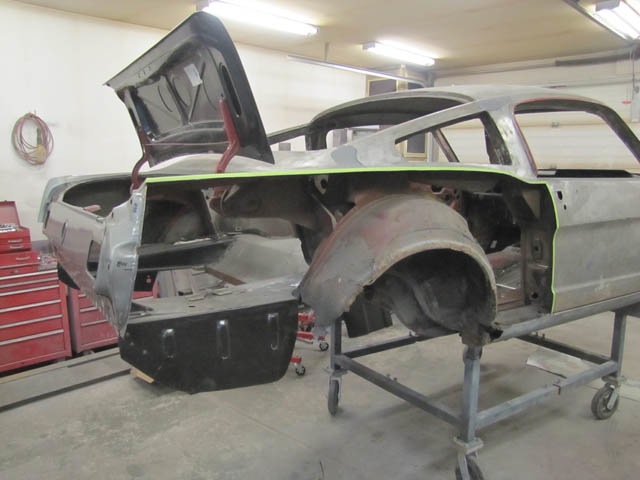
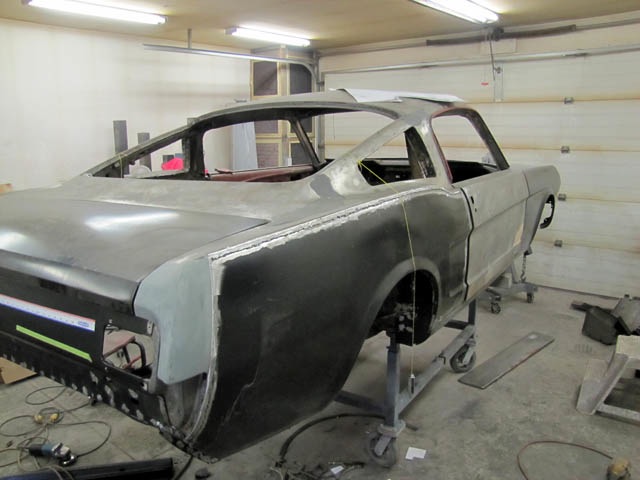
This
is a rough assembly to verify that nothing has gone out of alignment. So
far everything looks good, only very minor alignment issues at this
point.
The floor pans are installed. Once the body is on the rotisserie the pans can be finished underneath.
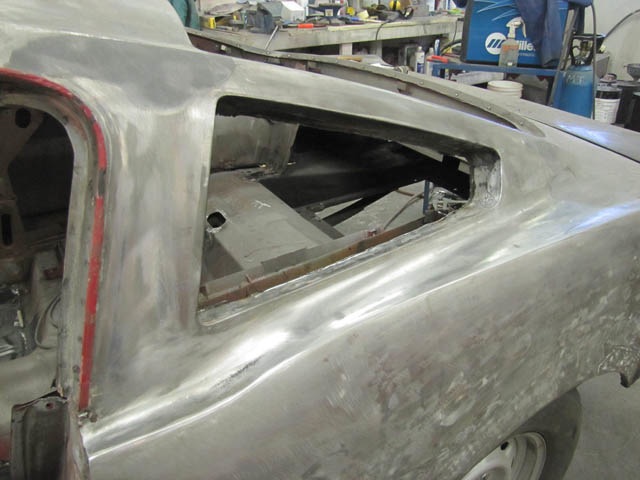
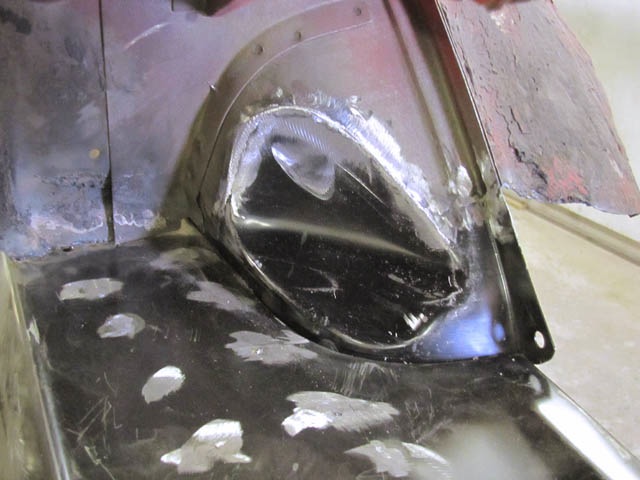
The metal in the vent area is going to be removed. Shelby Mustangs had a quarter window here instead of a louvered vent.
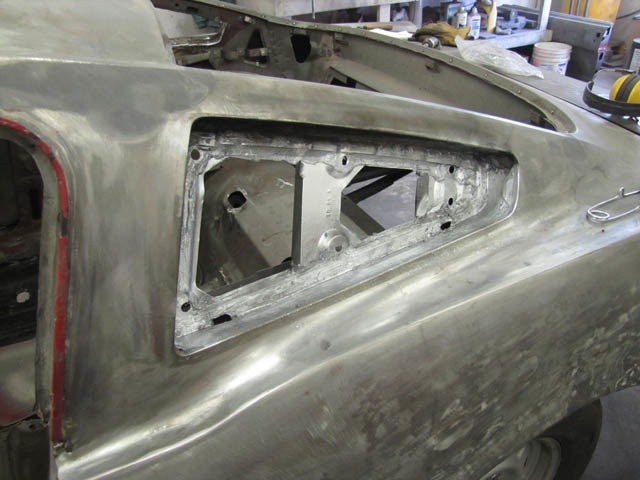
The opening is now ready for a test fit of the window frame.
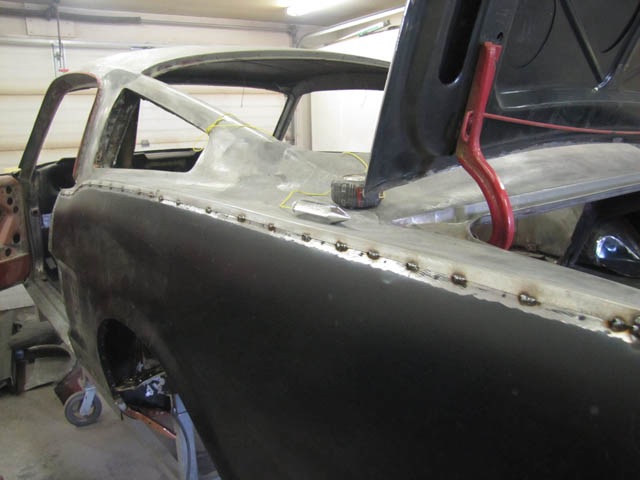
The quarter panels, inner and outer wheel housings are now being replaced. The inner wheel housing will be patched in the small areas that need to be repaired.
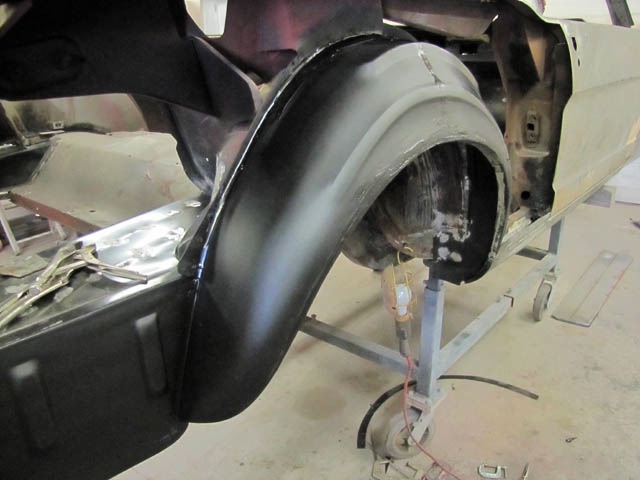
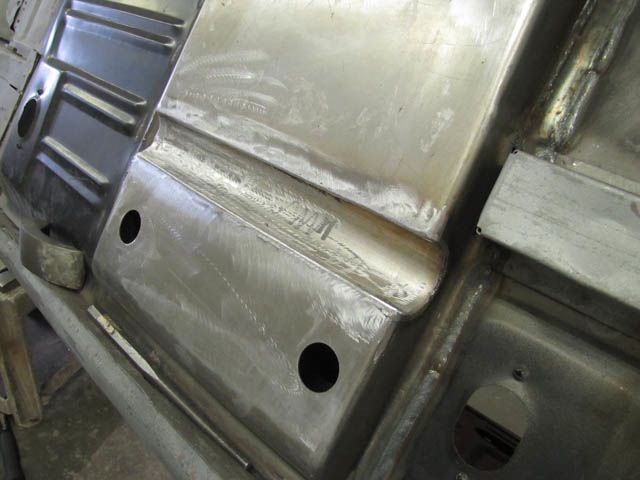
The driver's side quarter panel is welded in using a series of small spot welds. This will keep the panel from warping.
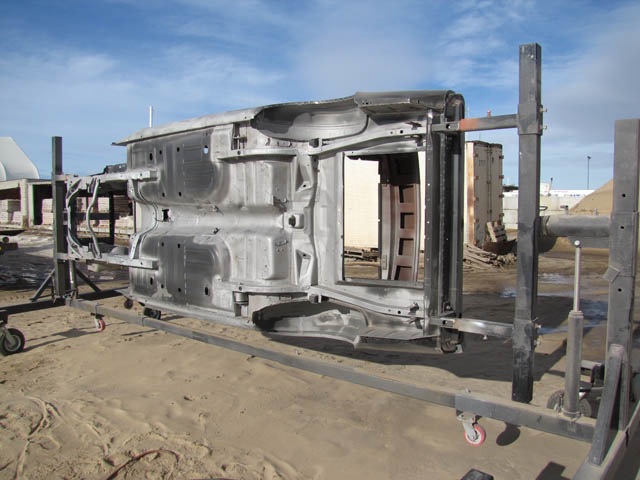
Now
that the sheet metal is finished, the body is mounted on the rotisserie
and the bottom is sandblasted. The bottom of the floor can now be welded
and finished. Body stiffeners from a convertible will be installed as
well as sub-frame connectors.
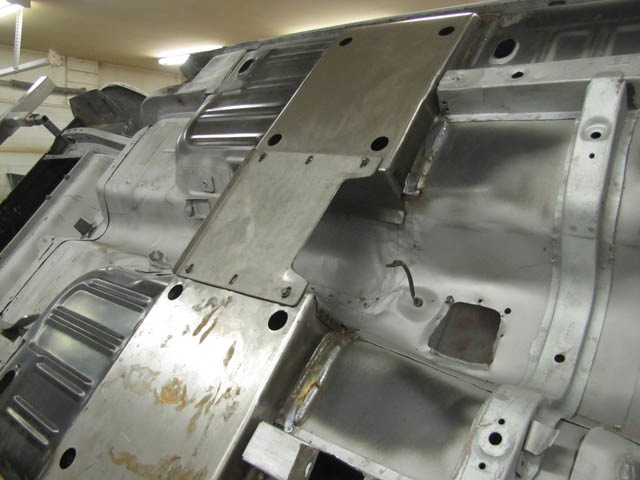
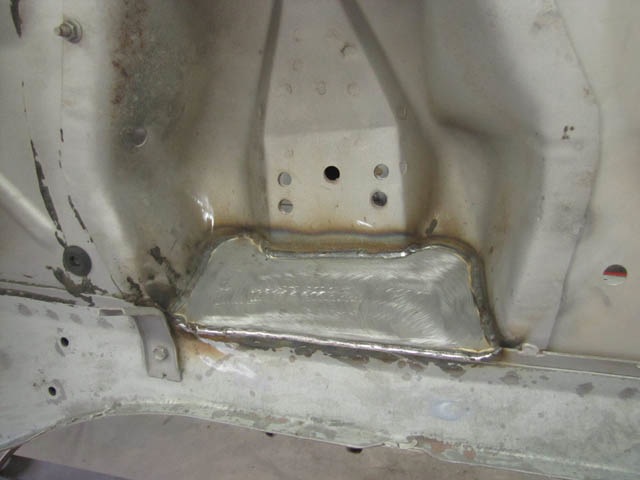
A
plate is welded to add rigidity to the shock towers. Holes for the upper
control arms have been drilled 1" lower than original holes. This was a
feature of the Shelby Mustangs.
The body stiffeners for a convertible are welded in. They will now be notched for the sub-frame connecters.