A wood buck is made with the desired shape of the scoop.
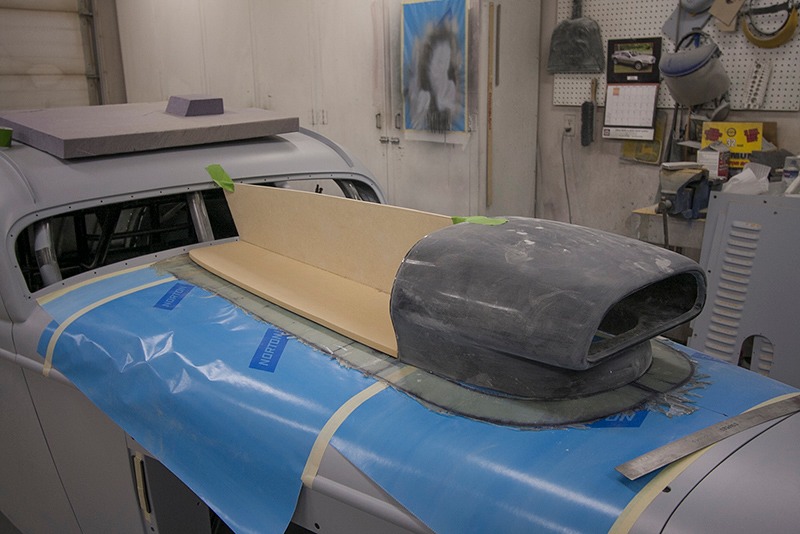
Rigid urethane foam board is stacked up in layers. Each layer is hot glued in spots to keep it in place.
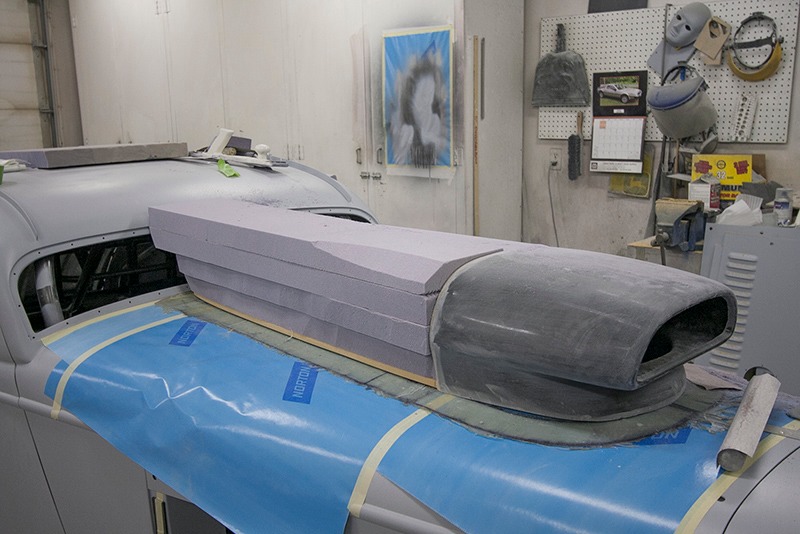
The foam is then carved to match the buck. Corners are radiused to match the existing front piece.
Once
the foam is the desired shape it is covered with cellophane tape and has
a mold release applied. This allows the foam to be removed easily after
the fiberglass is cured.
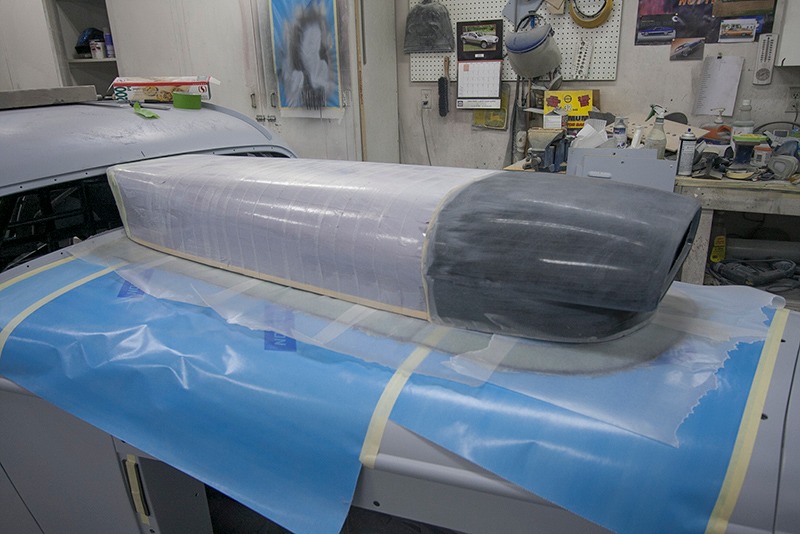
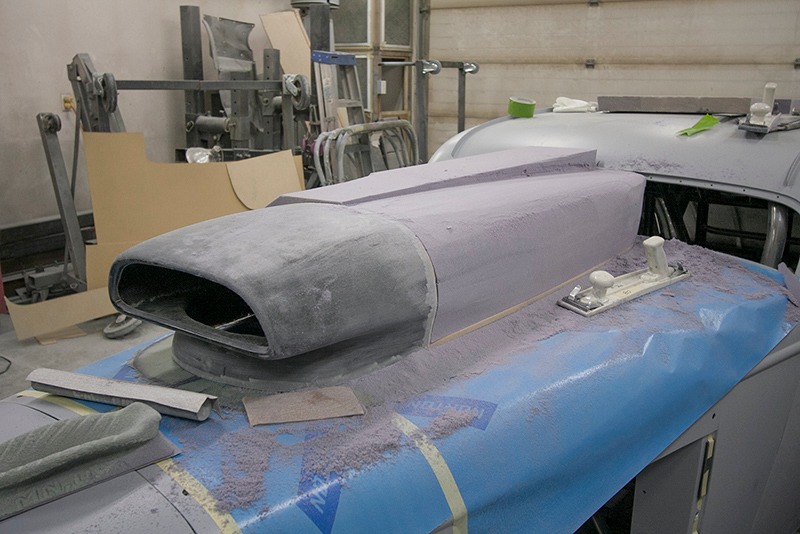
This
photo shows the fiberglass layed out over the foam form. Once this is
cured the back end of the hood scoop can be finished with fiberglass as
well.
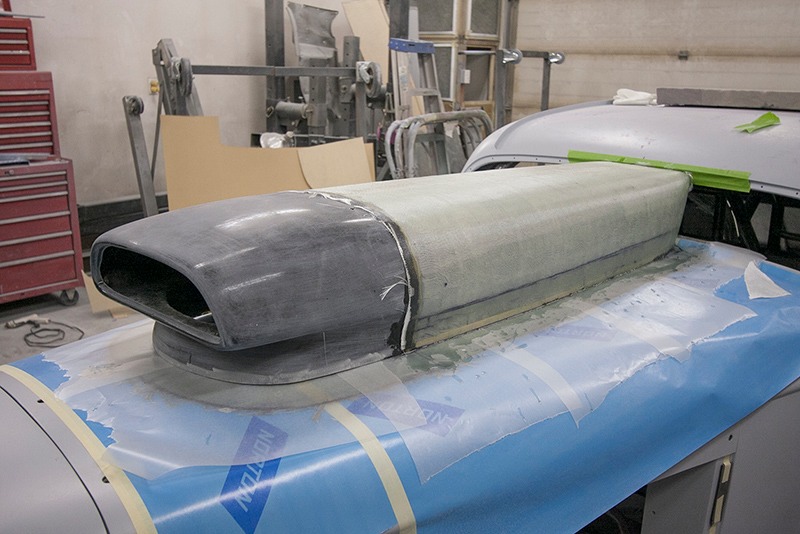
The
scoop has now been bonded to the mounting flange as well as a skim coat
of filler has been applied and sanded to smooth out the fiberglass. Next
task is to trim out the mounting flange and drill holes for dzus
fasteners.
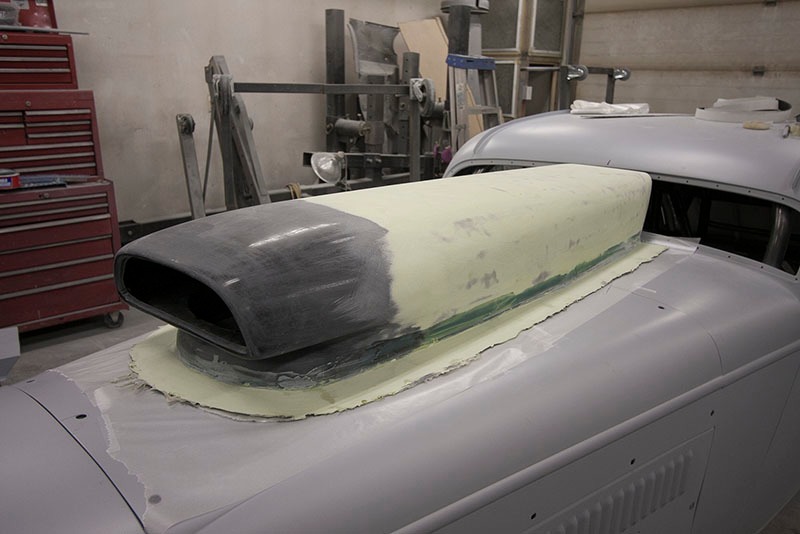
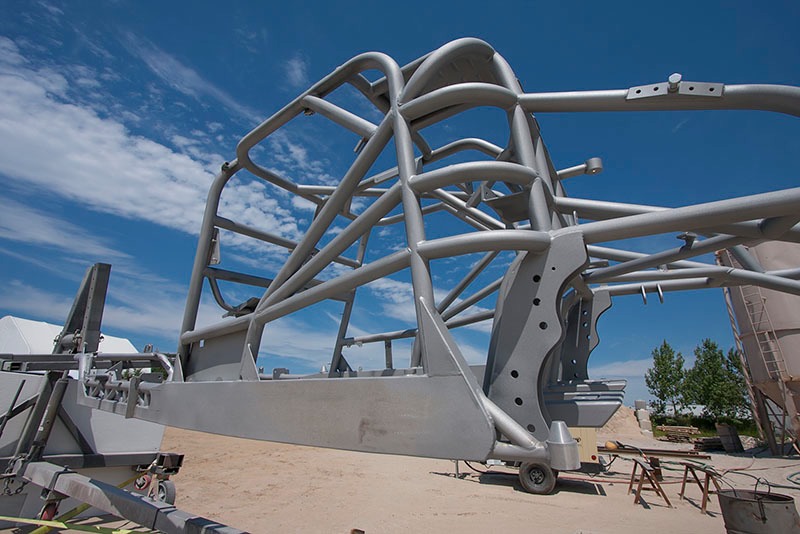
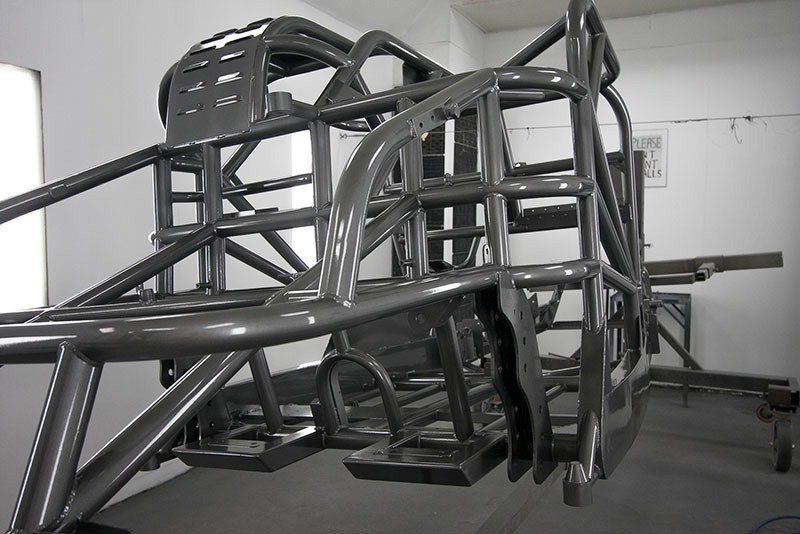
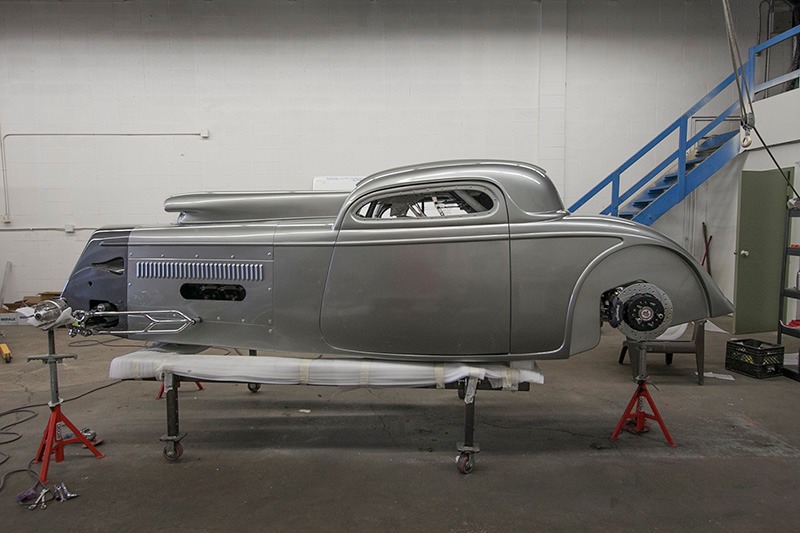
After the body has been fitted the car is disassembled and the frame is sandblasted and painted.
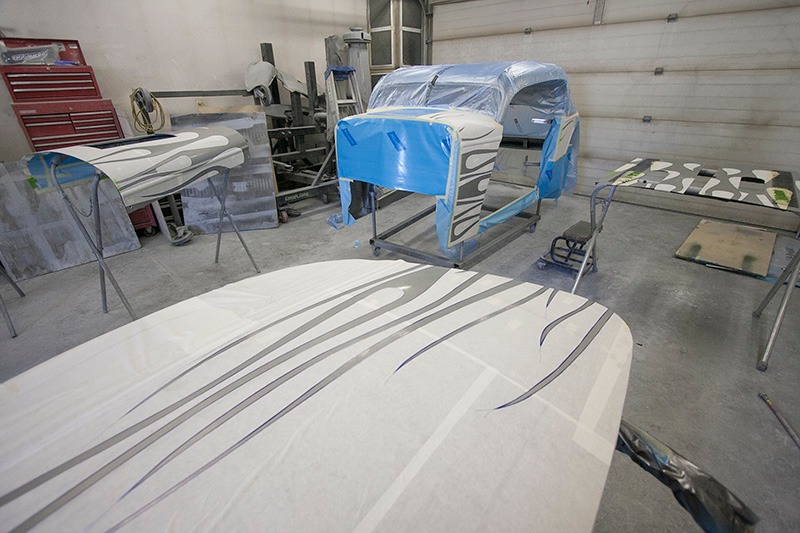
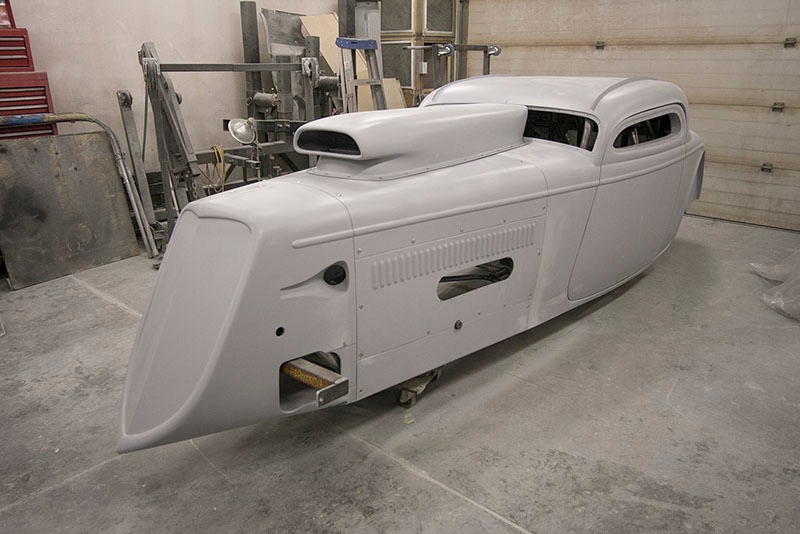
The
body color is called Vapor Silver. Only one coat of clear is applied at
this stage, enough to protect the base color while taping out the
flames.
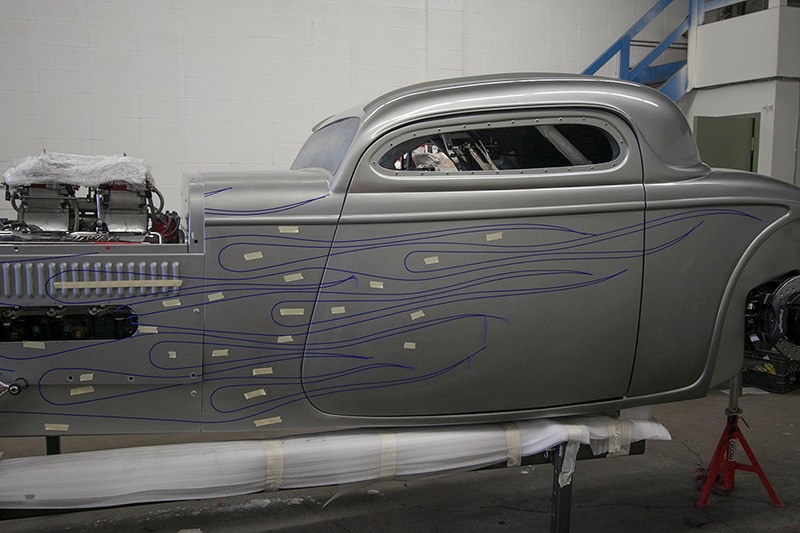
Once
the body and all panels are installed back on the chassis the flames can
be taped out. This car has fairly flat sides and thus allows for
another way of taping out the flames. Using a computer, the picture
below was placed in Adobe Illustrator and the flames were drawn over top
the image. Once the the design was completed the file was transfered to
a laptop computer and projected on the car with a video projector. With
most of the lights off the projected image is very clear and it is easy
to follow the lines with tape. Once the first side is completed, simply
flip the computer image left to right and project it on the other side.
This technique makes it very easy to duplicate the design on both sides
of the car.
This
photo looks like the car has lots of shaving cuts. The small pieces of
masking tape are indicators which areas are to be masked. Once the
panels are removed it is sometimes confusing which areas are to be
masked and which are not. Having the tape indicators eliminates this
confusion.
Masked and ready for the second color.