1 2 3 4 5
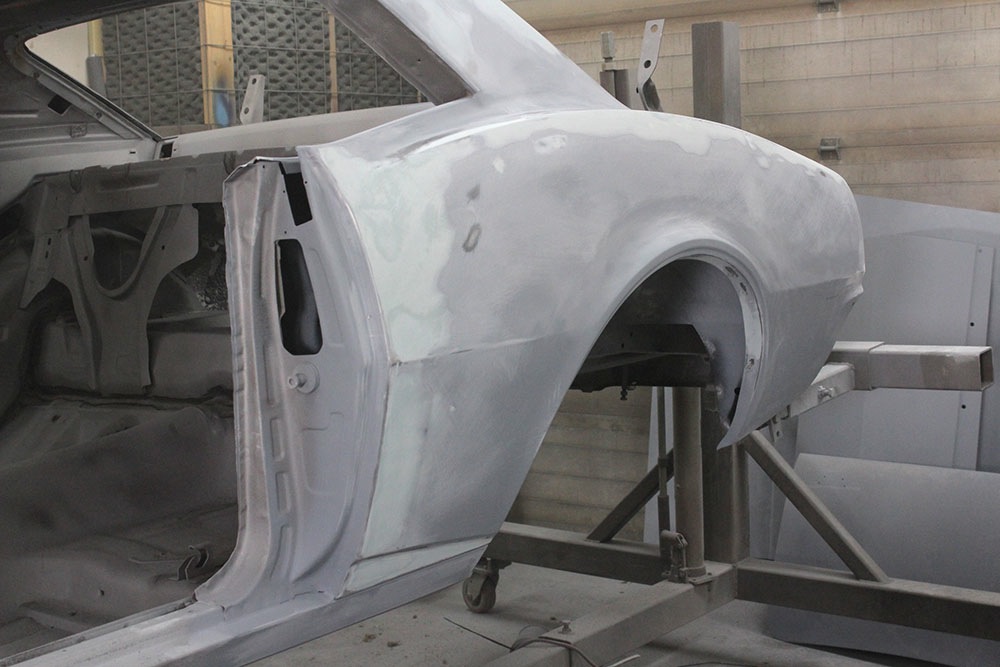
A dent in the sail panel was pulled out using weld on studs.

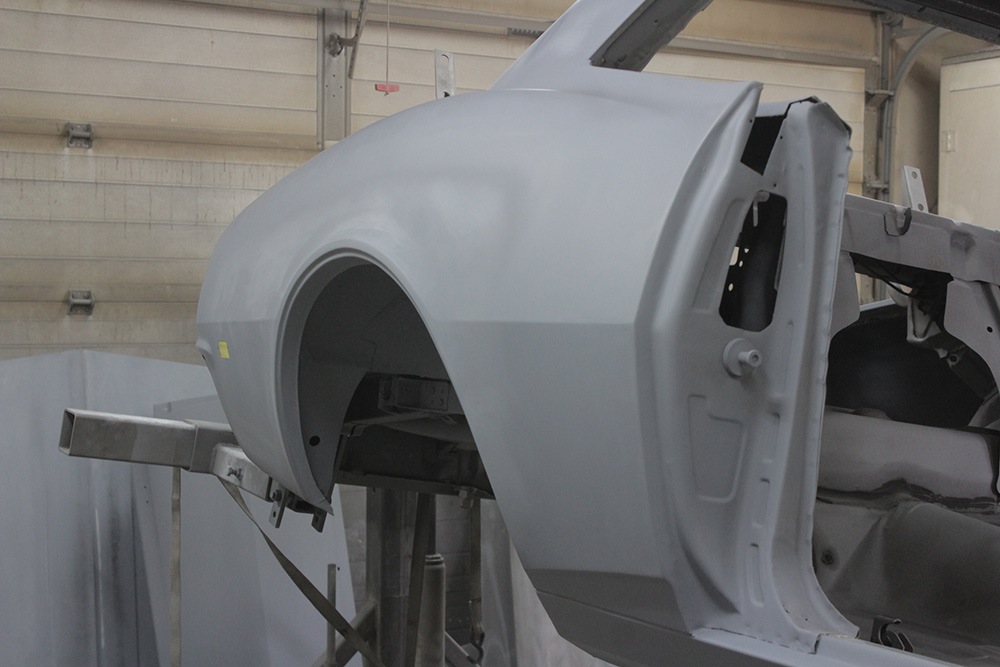
The quarter panel is welded in place, followed by two coats of primer and then body filler, and re-prime.

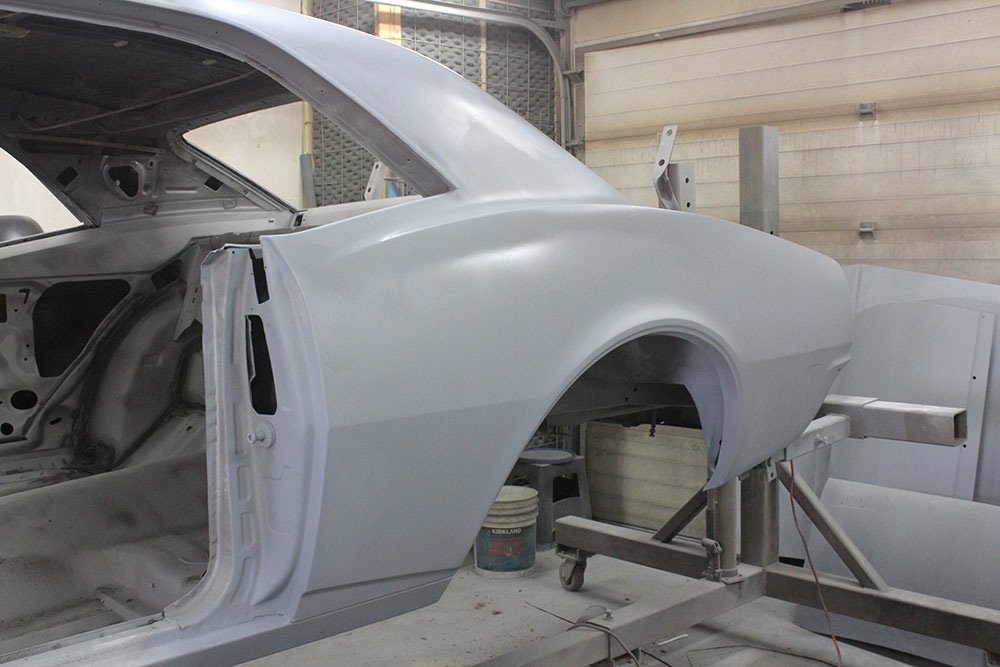
The same procedure is carried out on the passenger side.
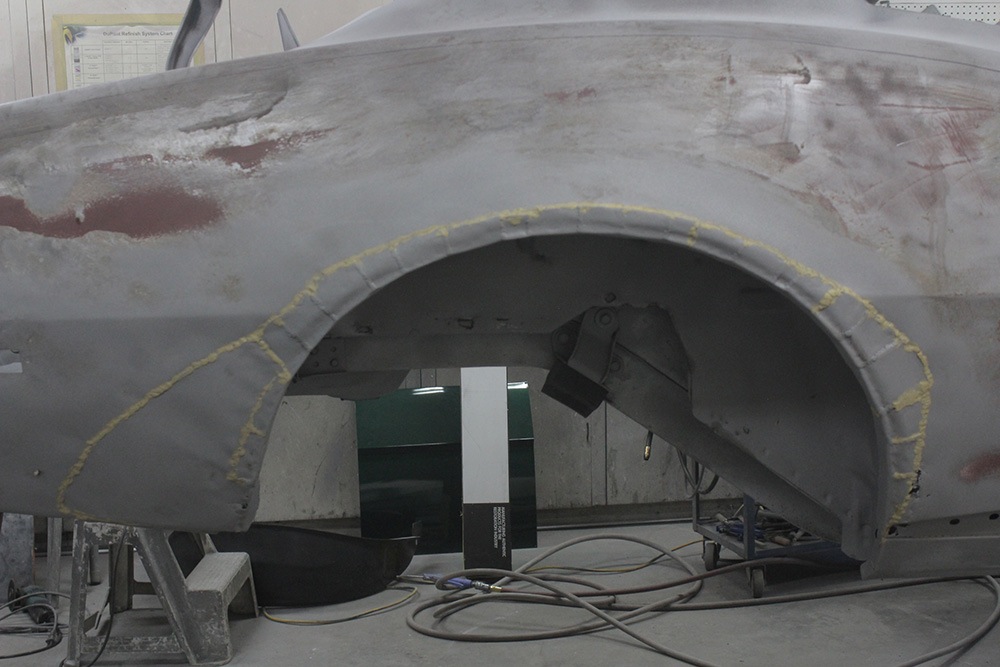
The outer wheelhouse is complete and the inside is undercoated before the quarter panel is attached.

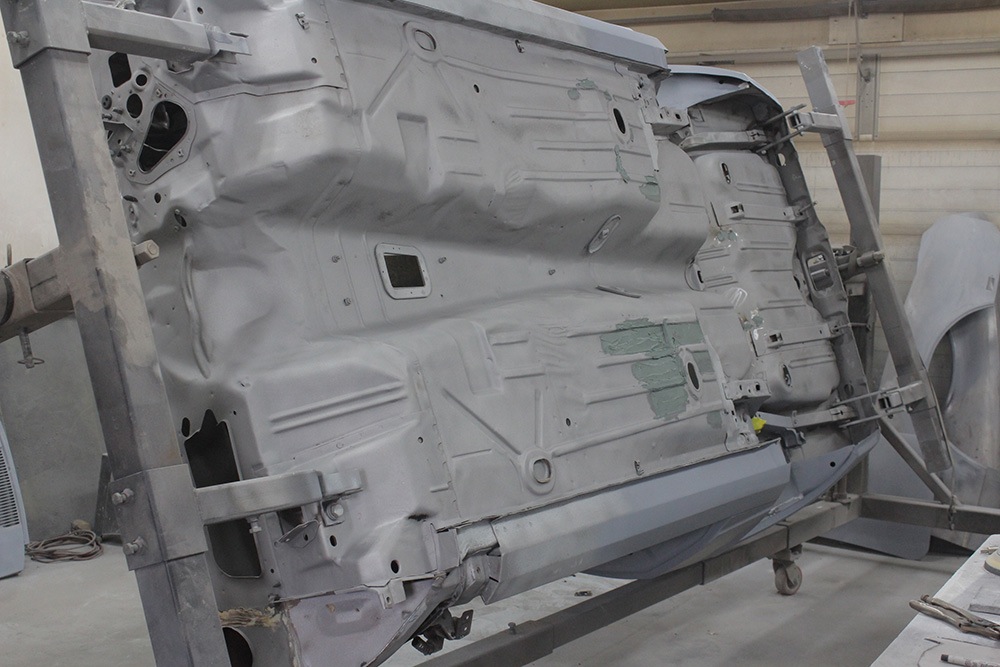
The bottom of the body needs some minor body work.
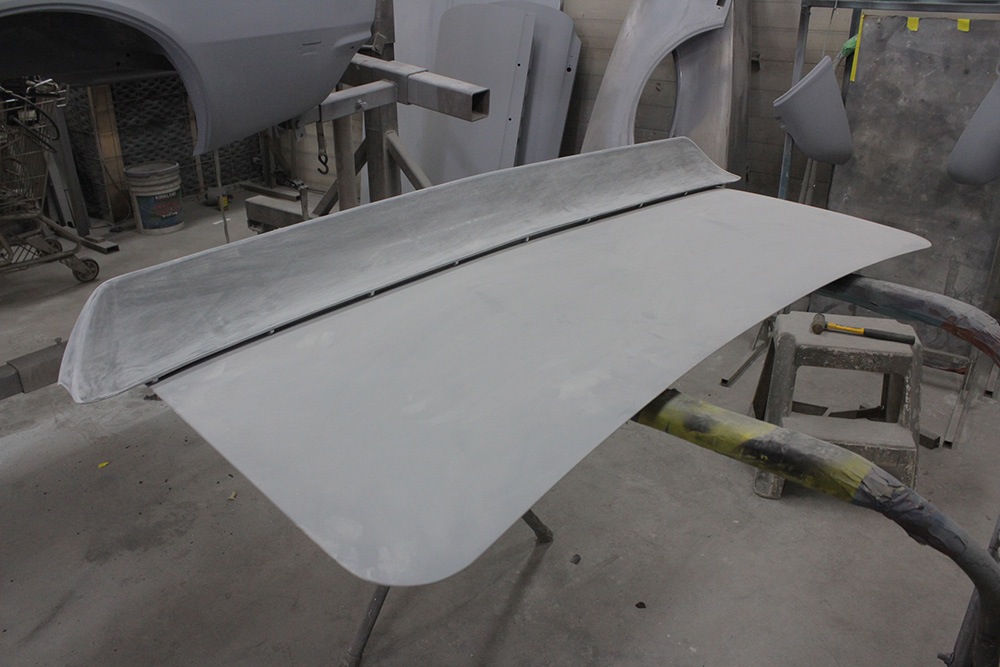
The new rear spoiler is mounted on the trunk lid.
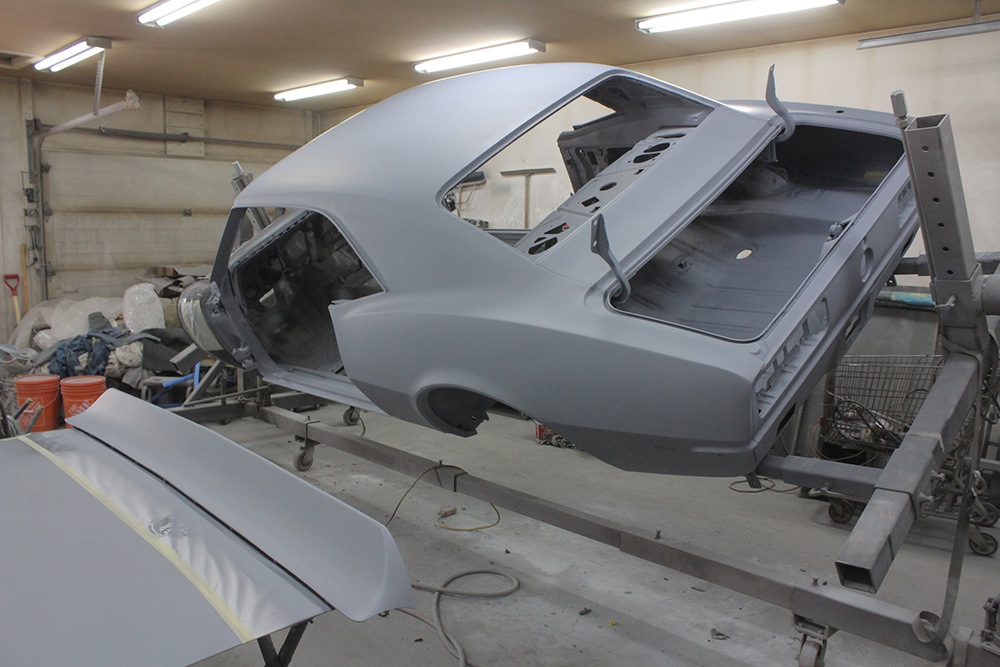
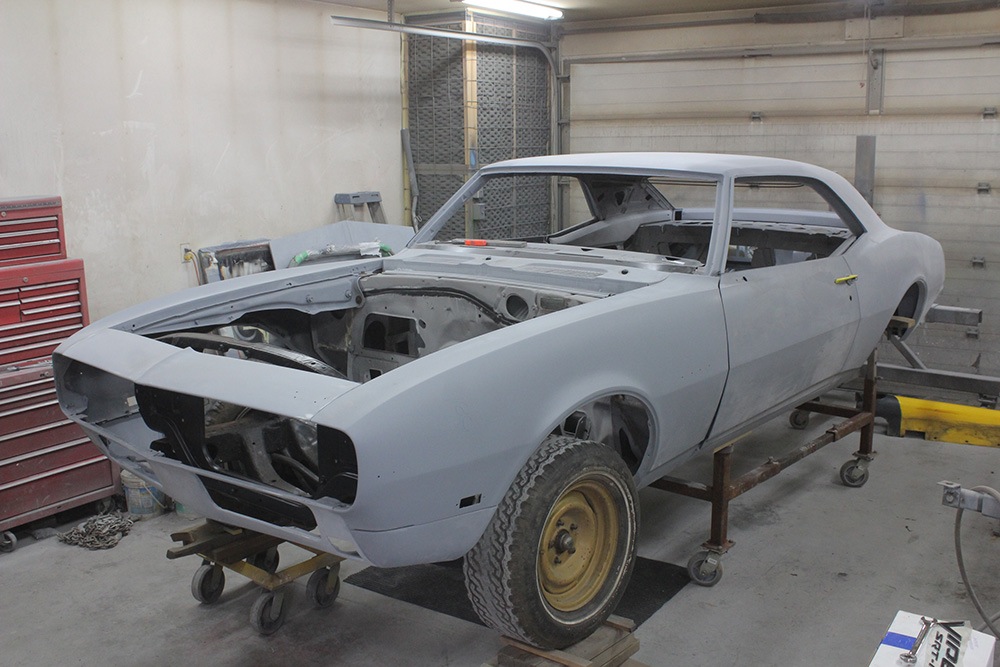
The body is now in primer ready for block sanding.
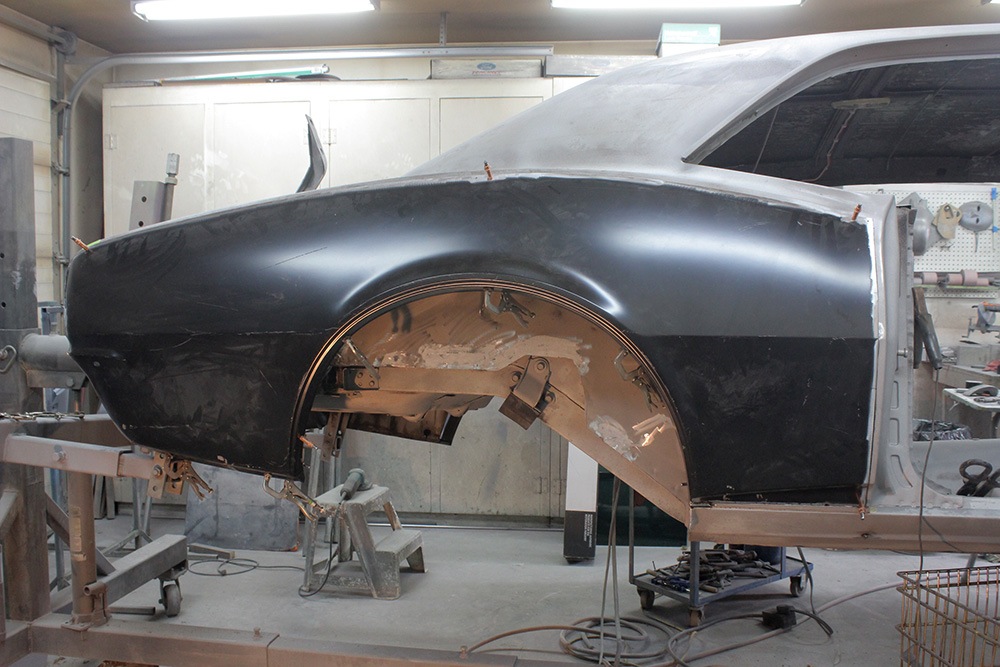
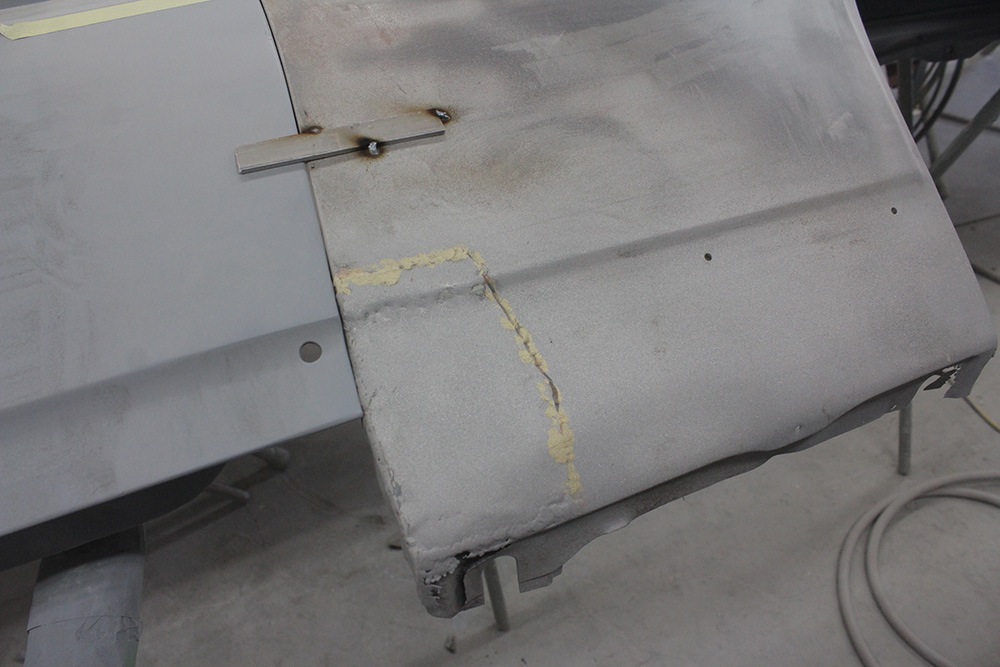
The bottoms of the front fenders are replaced with patch panels.
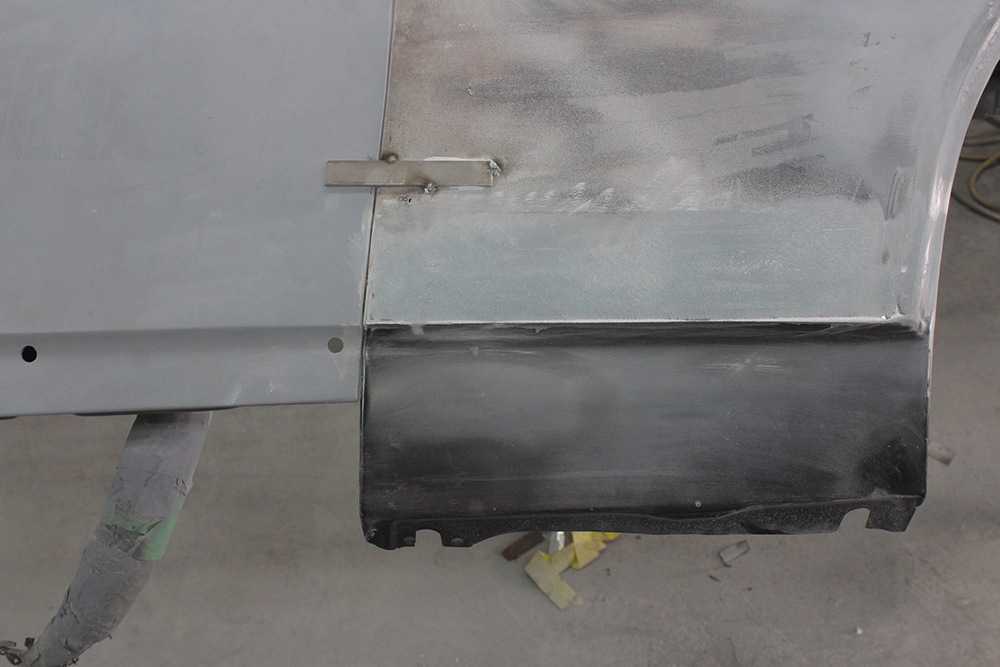
Other fender has patch replaced.
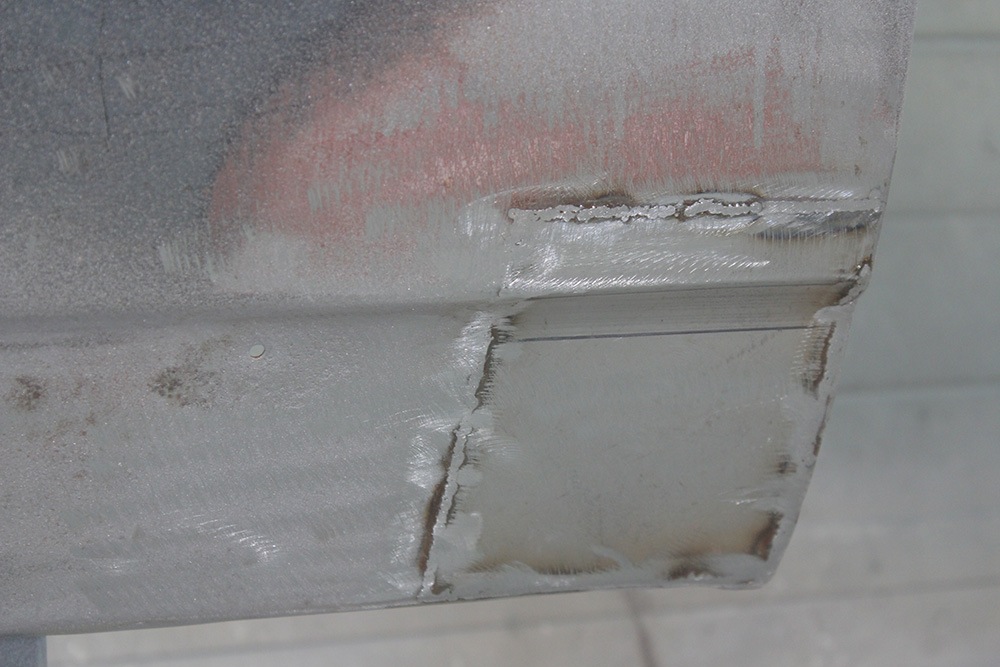
All panels are test fitted for alignment and gaps. There is some adjustment required on the bottom of the fender as seen in the photo.
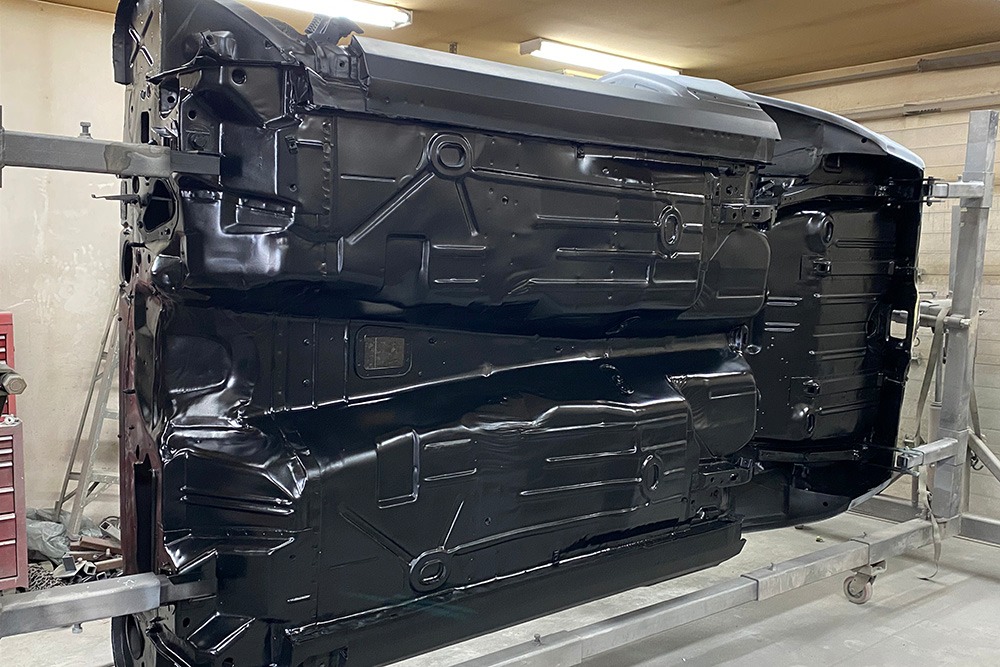
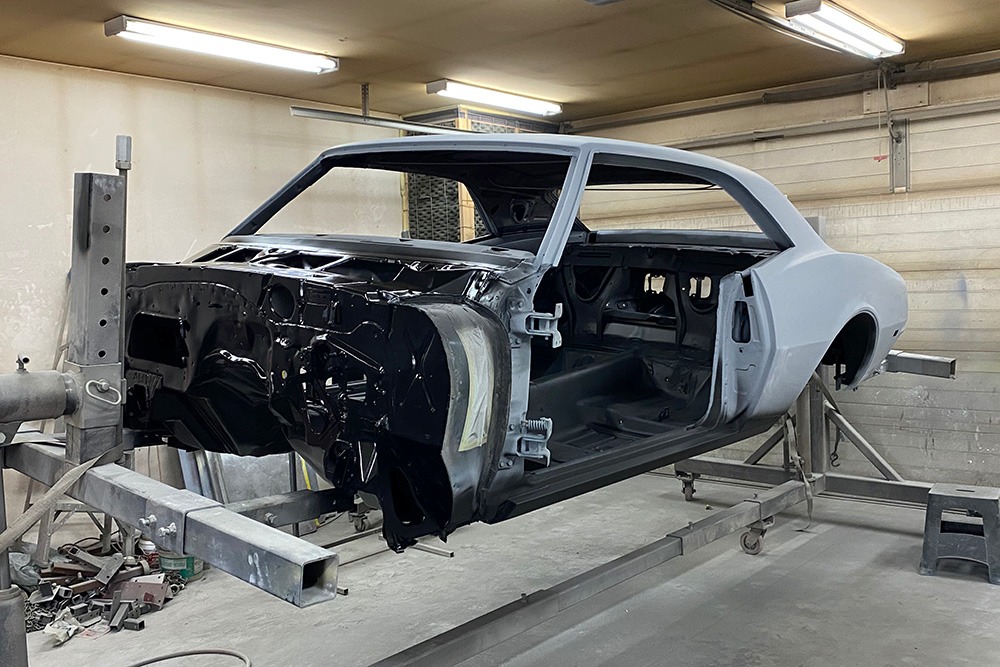
The bottom and inside of the car is painted.
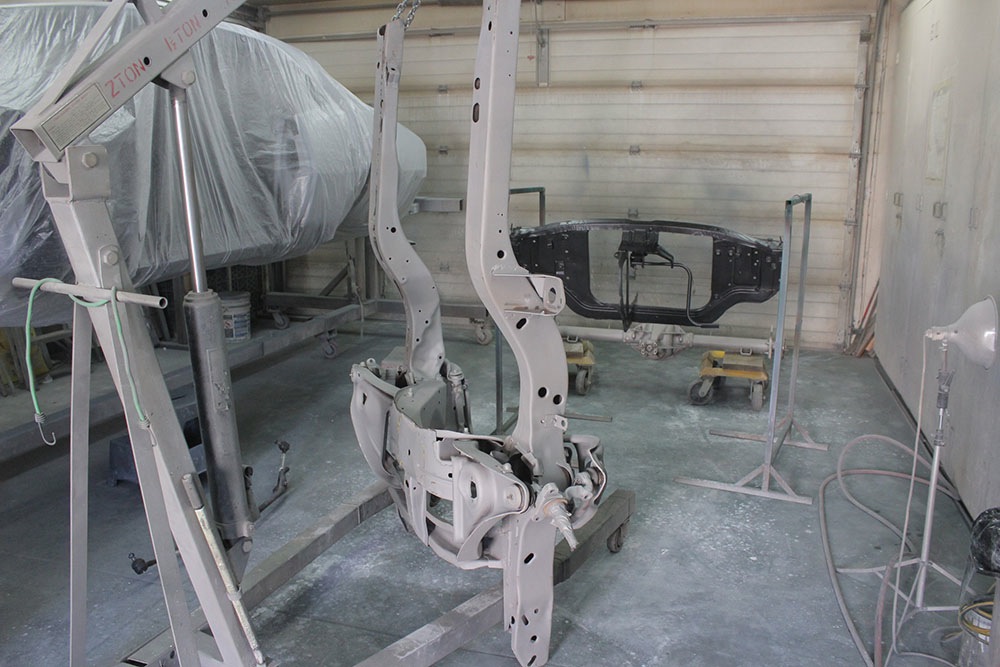
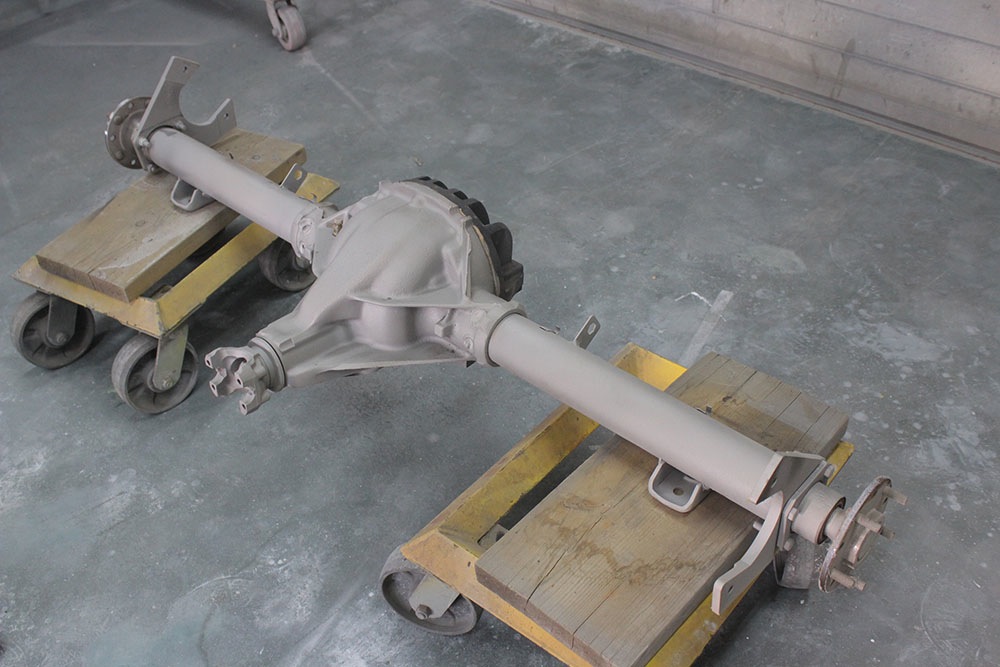
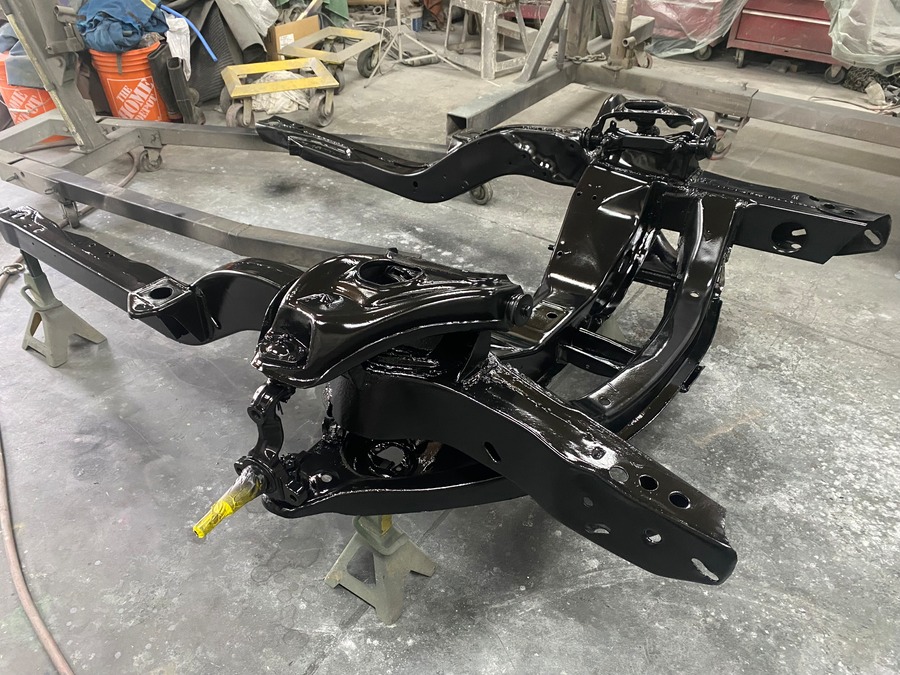
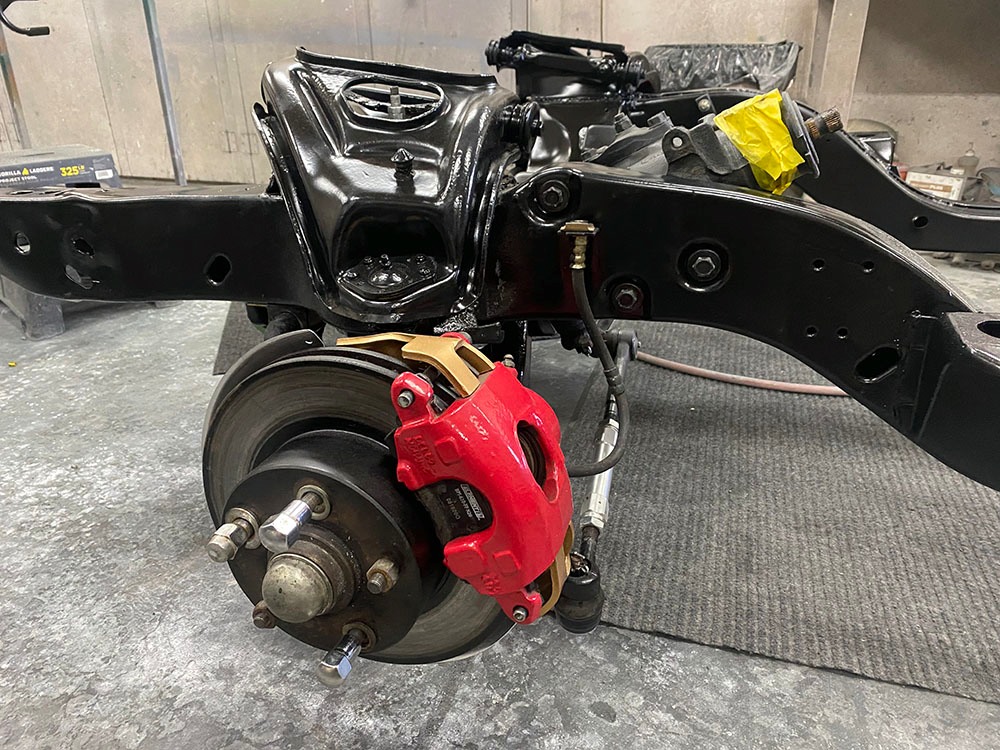
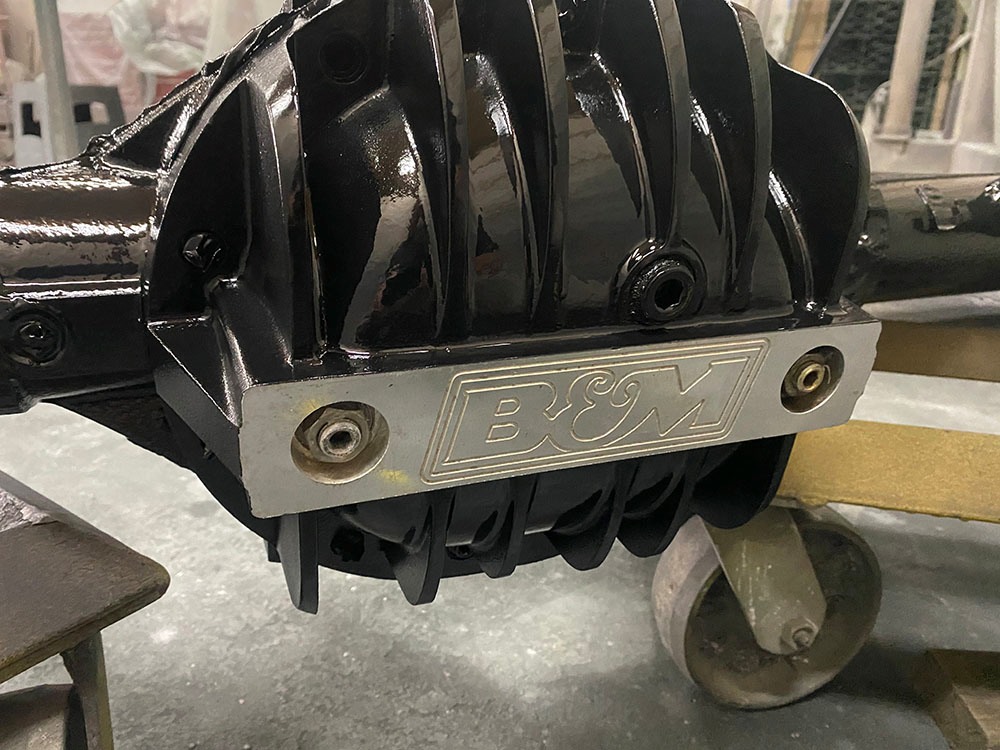
The rearend and subframe are sandblasted and painted.
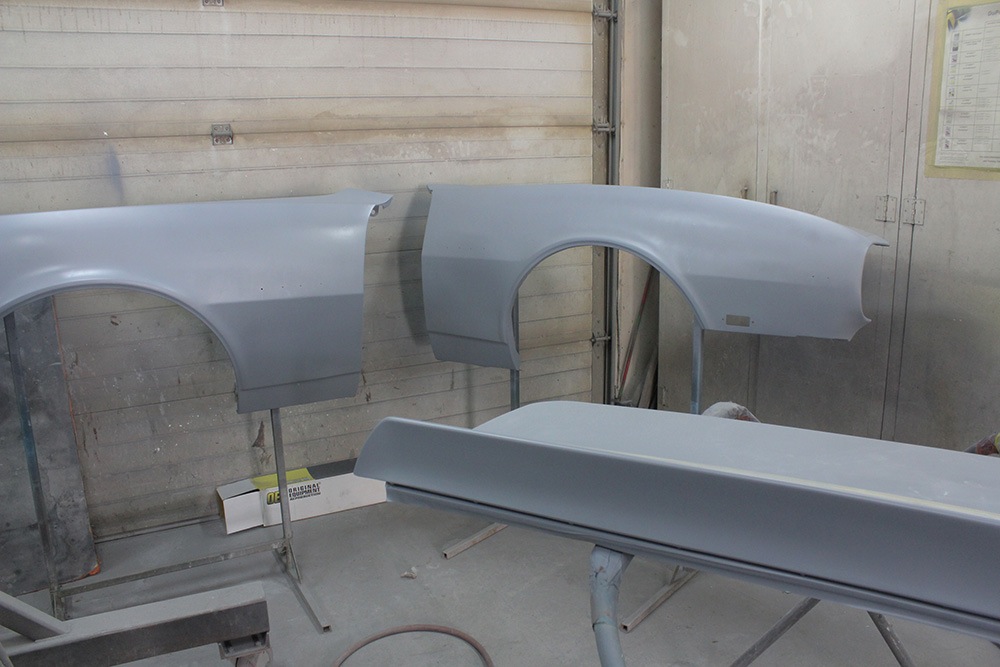
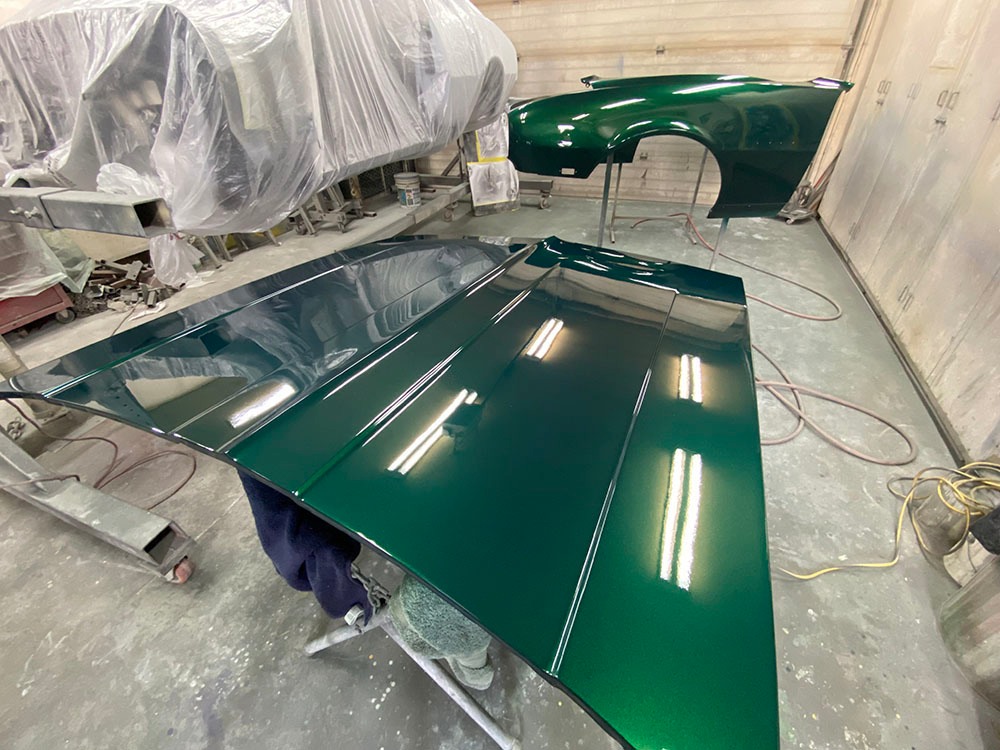
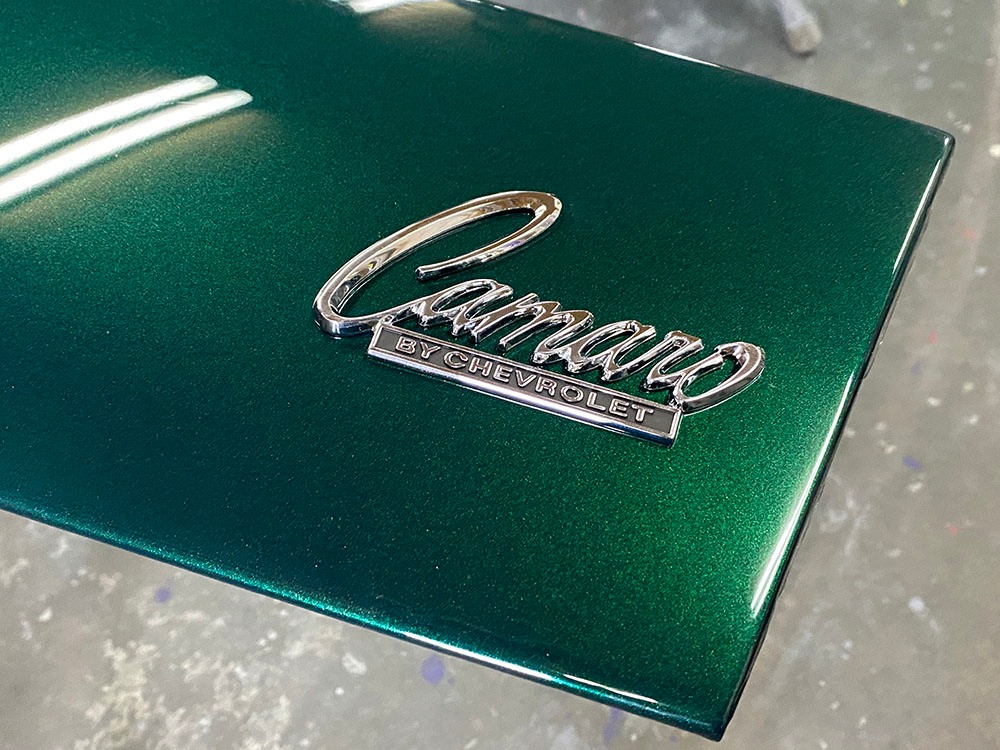
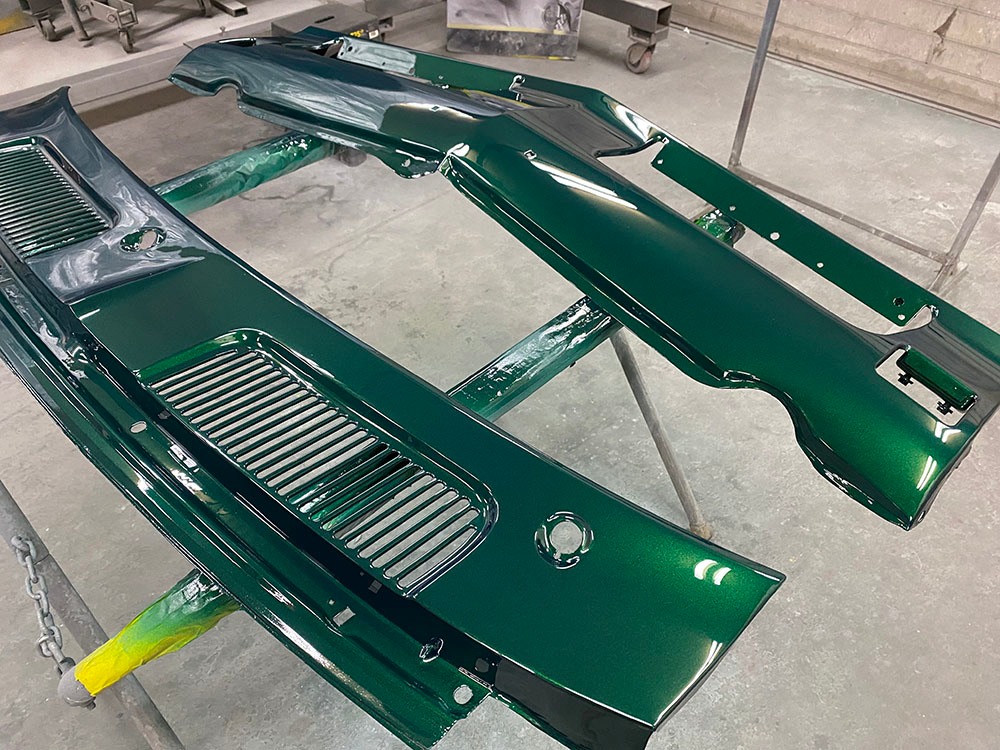
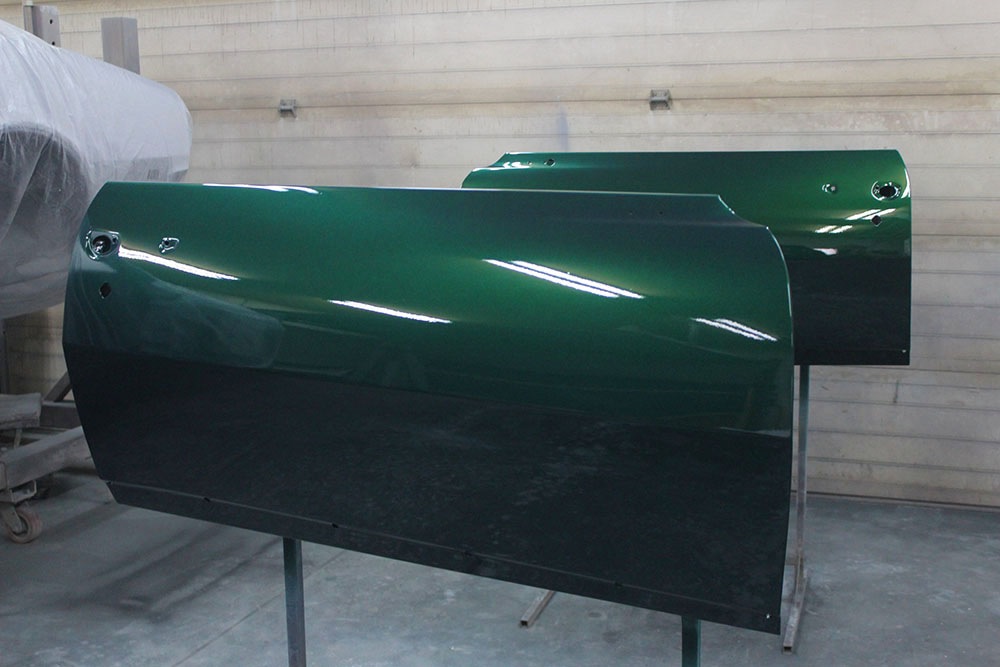
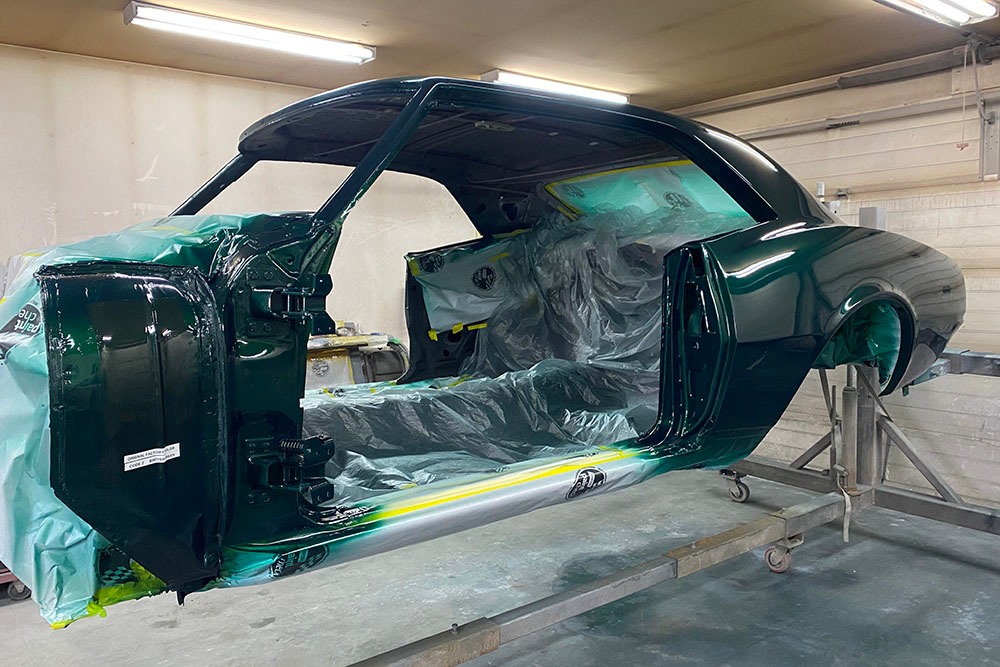
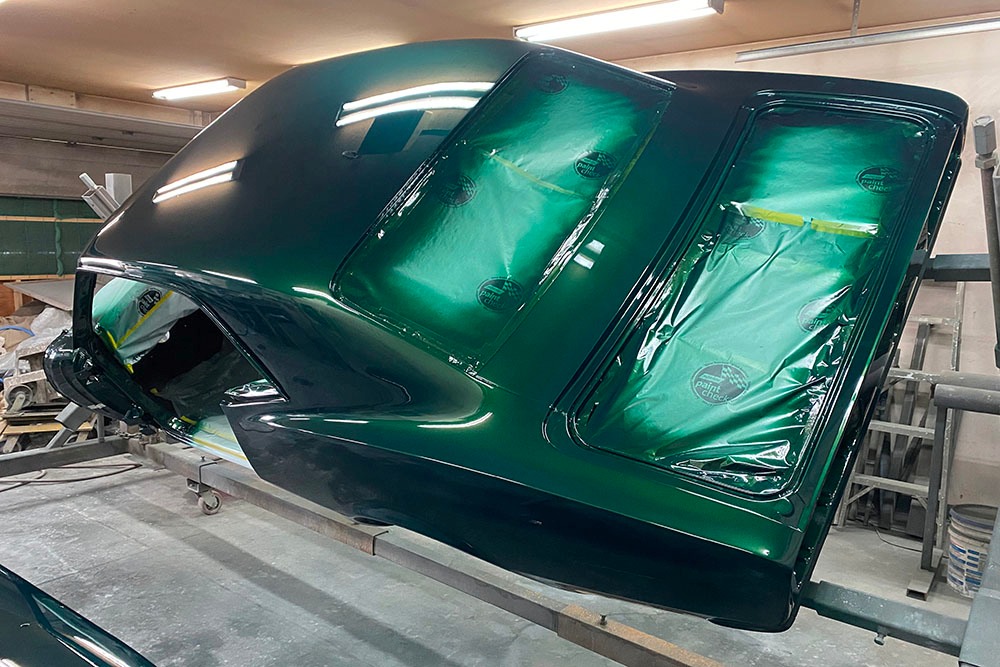
The body parts are being painted.
The car is finished with painting and body is reassembled.


The new wheels and tires installed.

1 2 3 4 5
More photos to come…