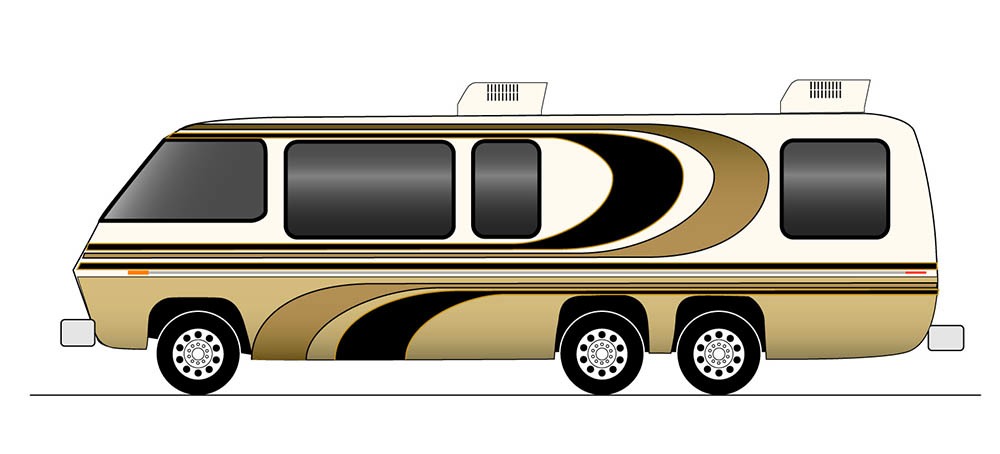
Here is the rendering of the paint design for this motorhome.
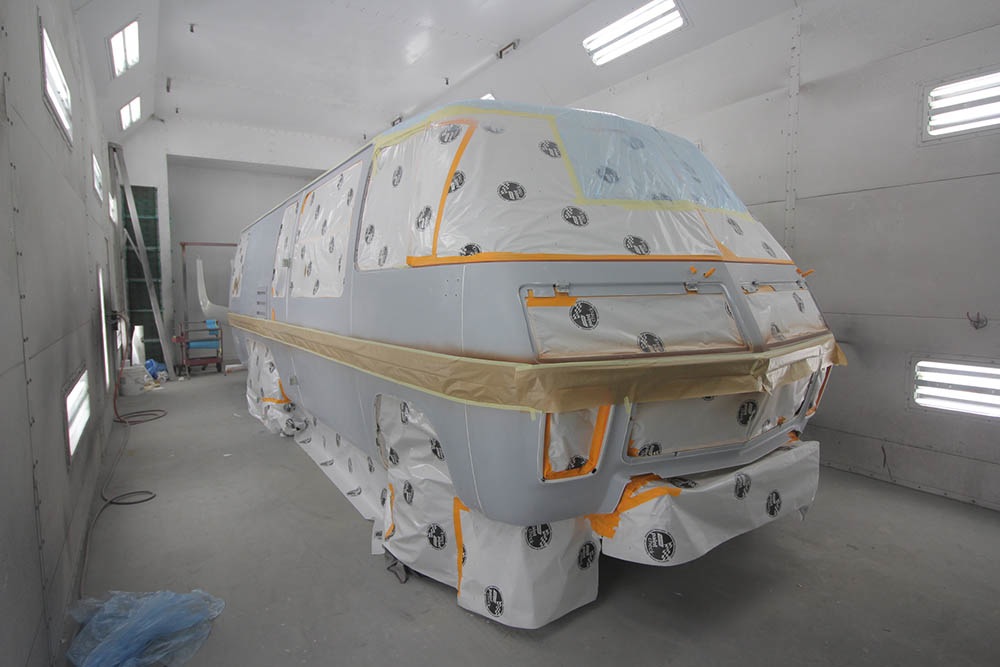
The bodywork was completed by Designer Coachworks and is painted their paint booth. It is masked, prepped and ready for paint.
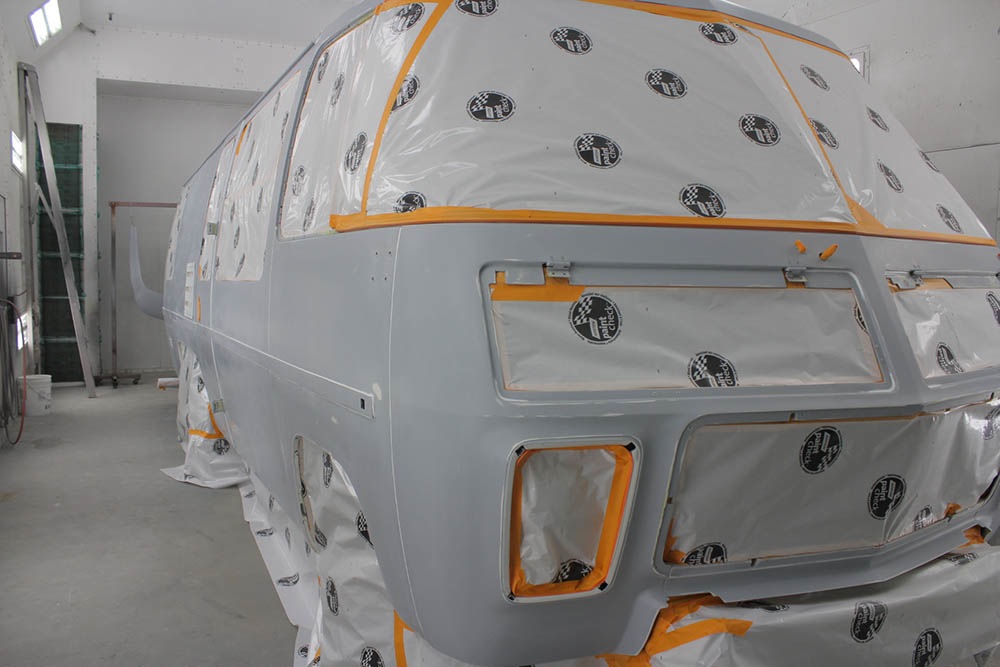
The first color to be applied is the copper stripe down the length of the body.
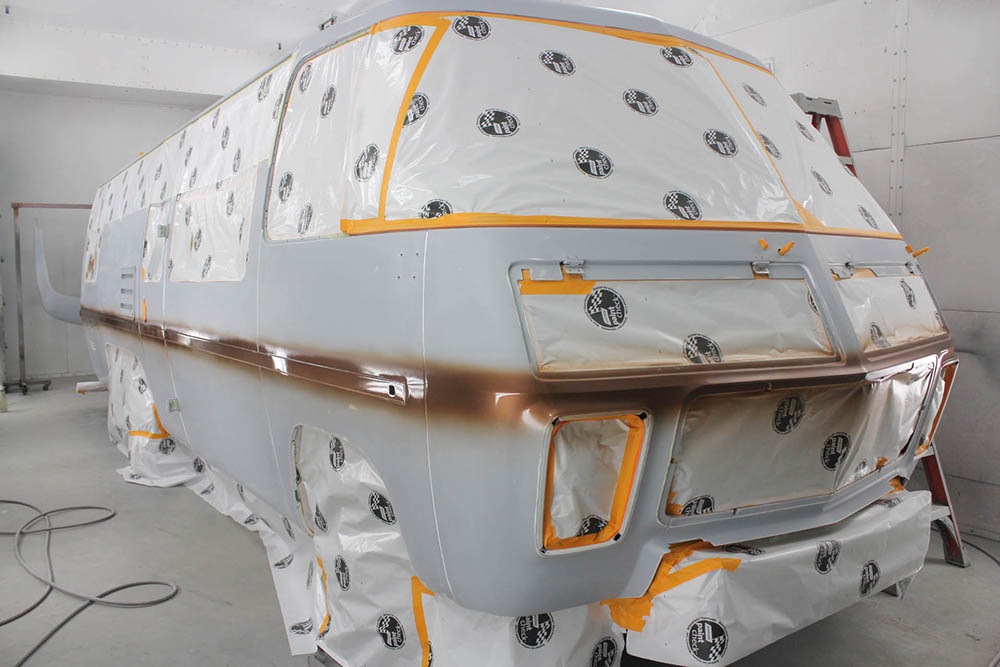
The copper stripe was masked to protect it while the roof was being painted. There are no stripes on the roof so once it is painted, it is complete and masked until the job is finshed.
The next stripe is the black stripe next to the copper stripe. These two colors will separate the two main body colors.

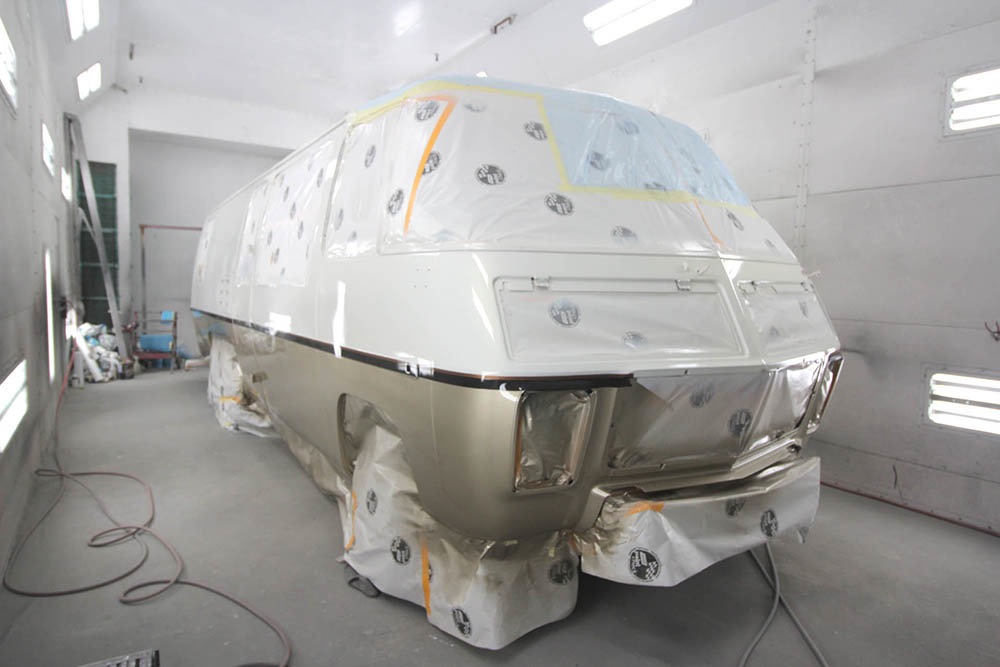
Each color receives one coat of clear to protect it while subsequent colors are applied. Once the black is masked the bottom half of the coach is painted a sand color.

After painting the bottom half, the masking paper is reversed and the top half is painted with a white/gold pearl. After the top half is painted the coach is completely unmasked and a coat of clear is applied to the whole vehicle. This protects the paint from any small mishaps in the subsequent steps. The following day when the clearcoat has cured, the clear will be scuffed and ready to apply the curved stripes in black and copper on the coach.
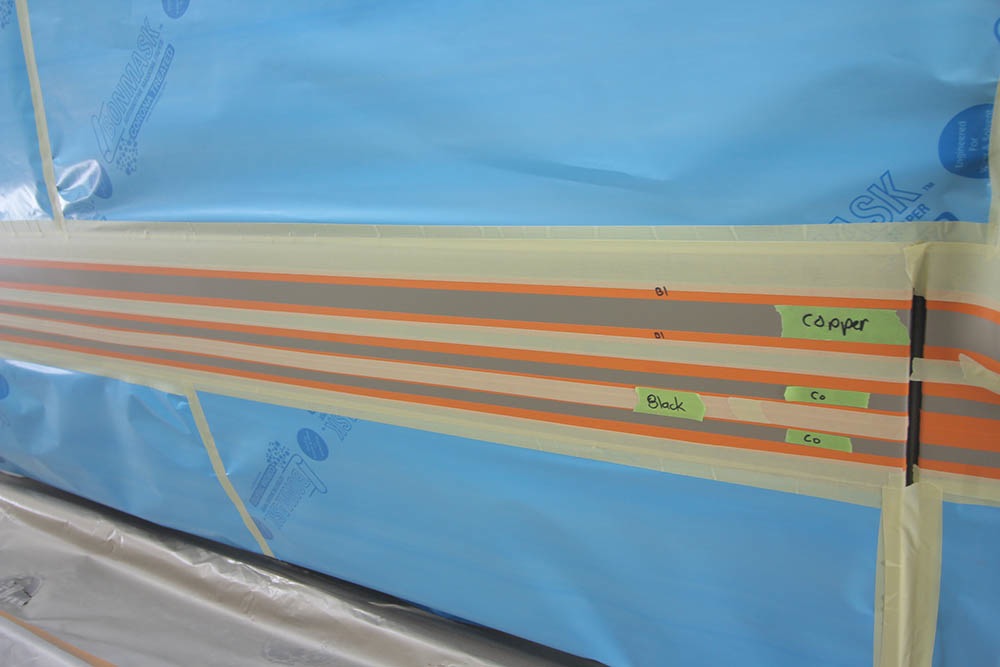
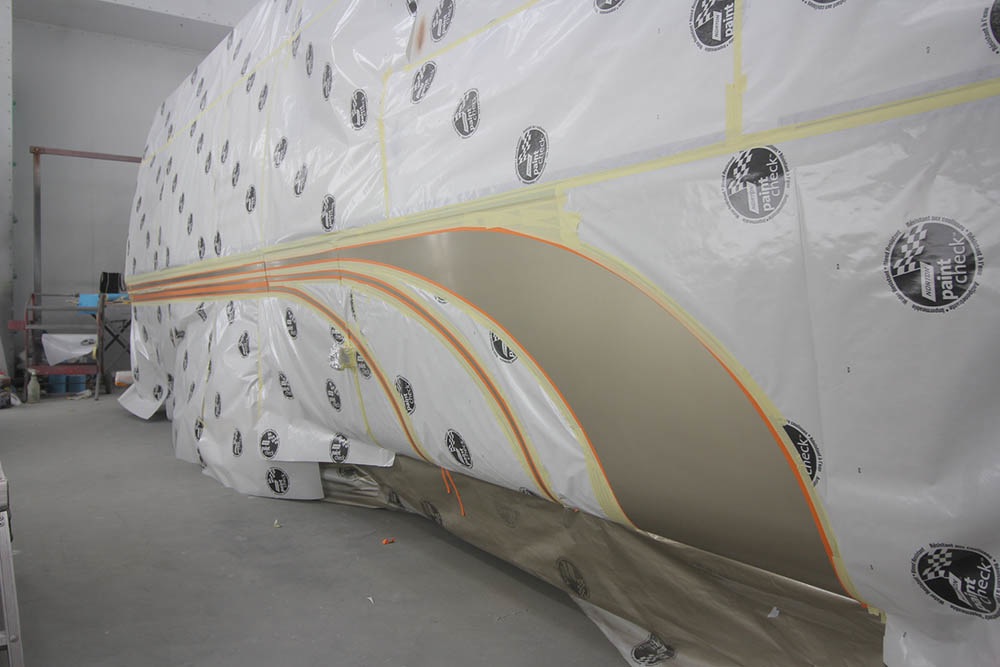
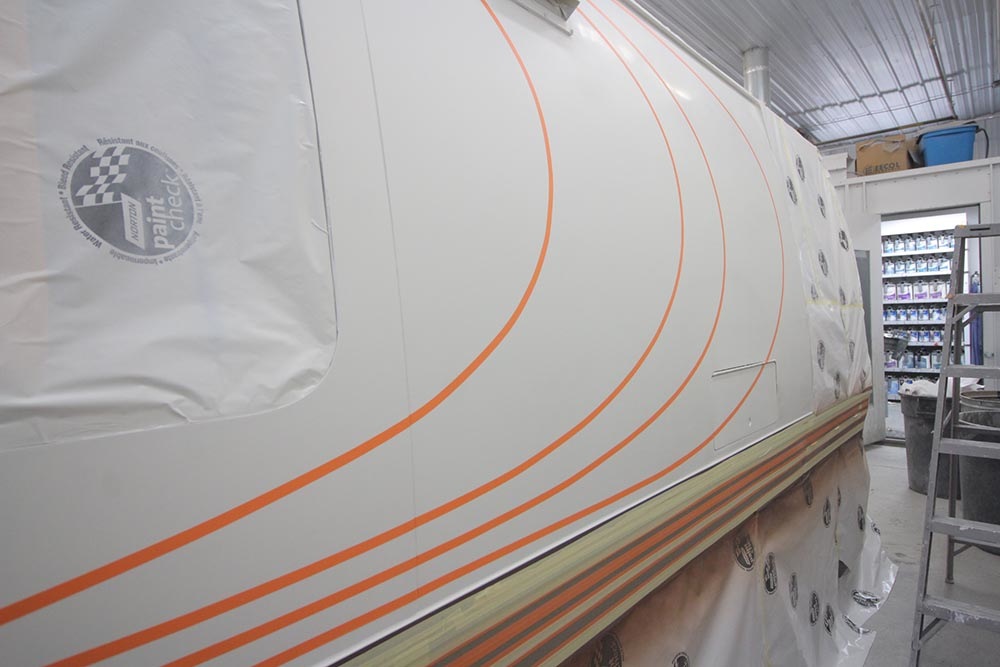
The lower stripes are laid out with fineline tape. At this stage it is important to remember which color goes where. It helps to mark where the colors go.
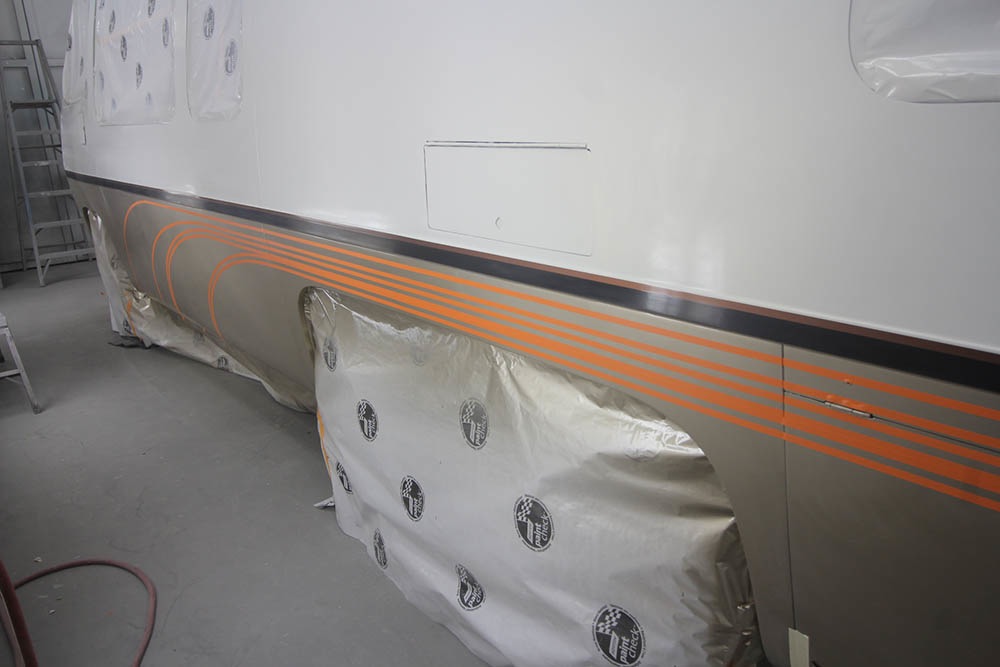
The copper stripes on the bottom are finished masking and ready for paint.
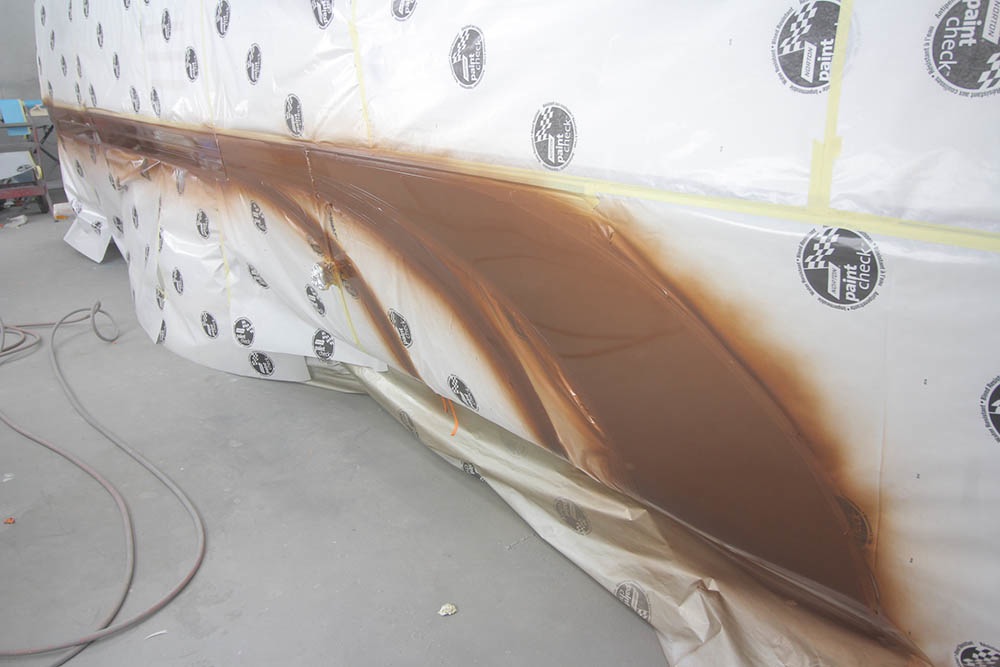
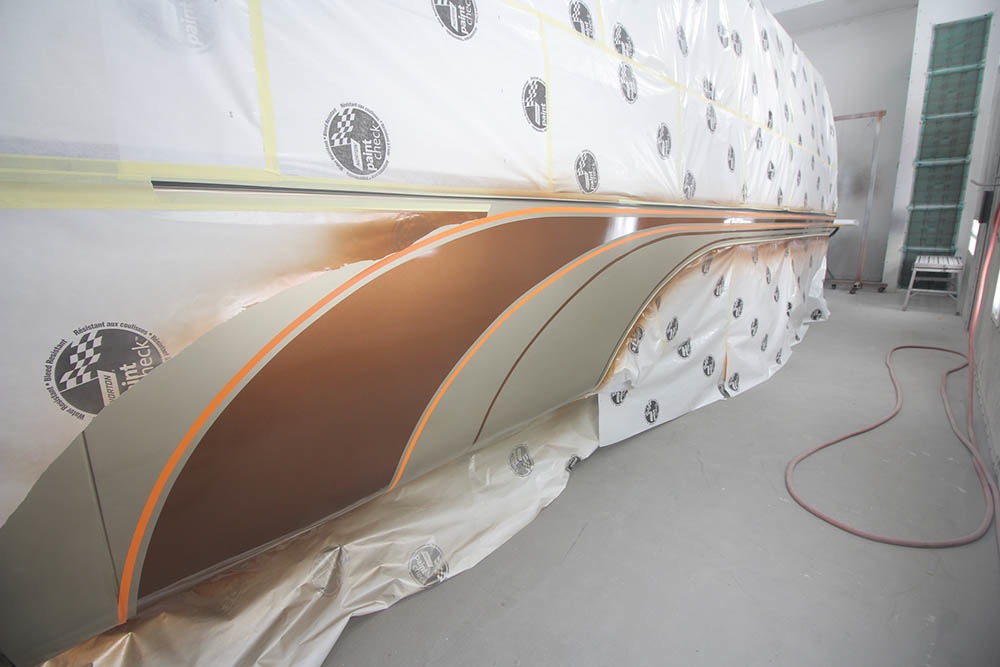
The copper is painted and the reverse masking is in progress for the black color.
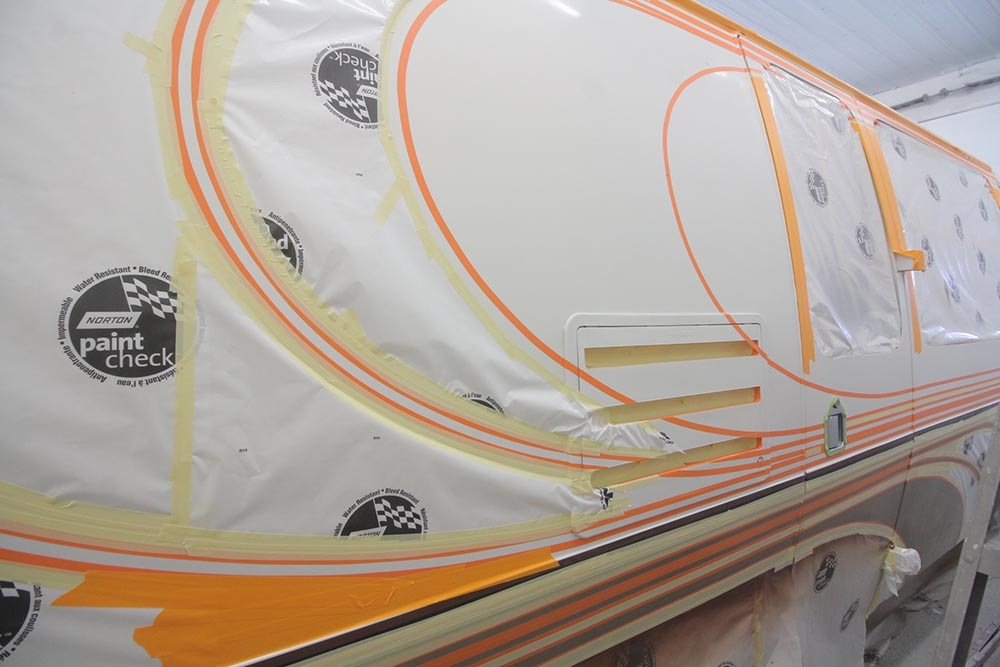
The upper stripes wrap around the front of the vehicle.
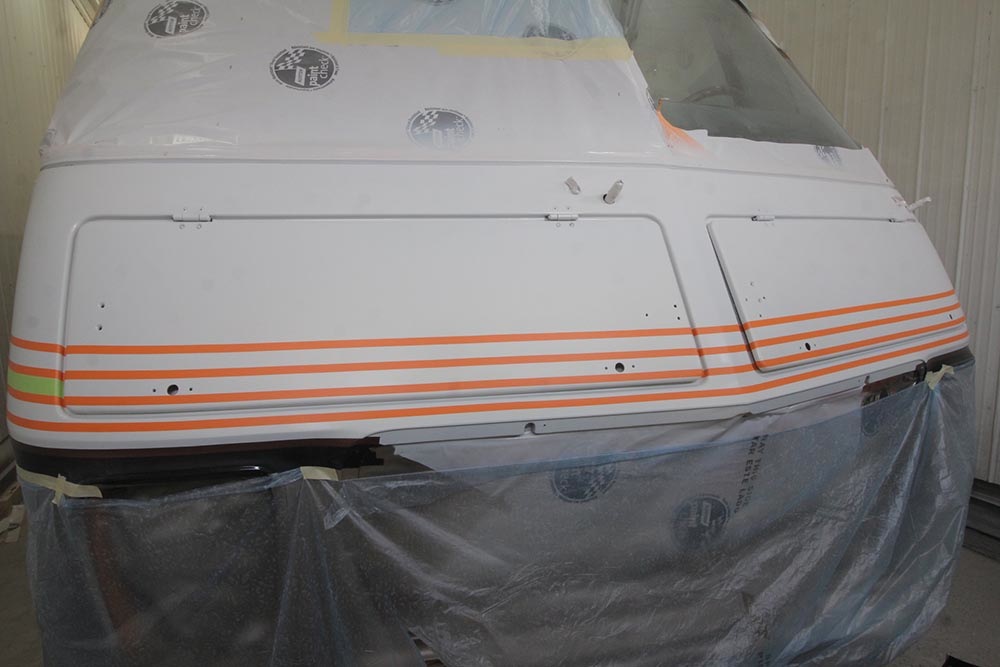
Laying out the upper stripes and more masking.
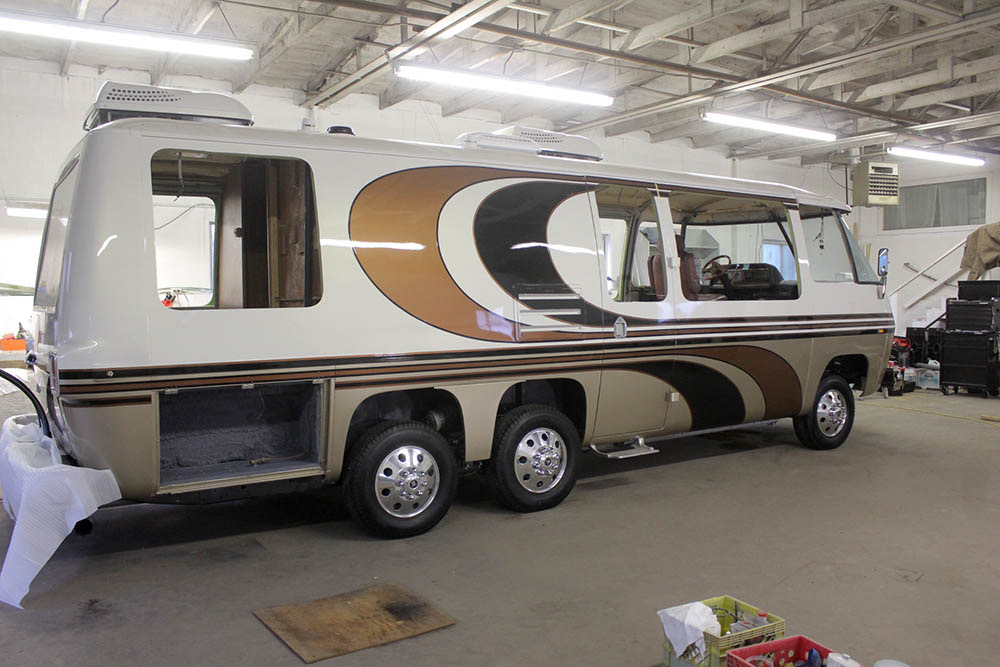
The coach is painted and being re-assembled.
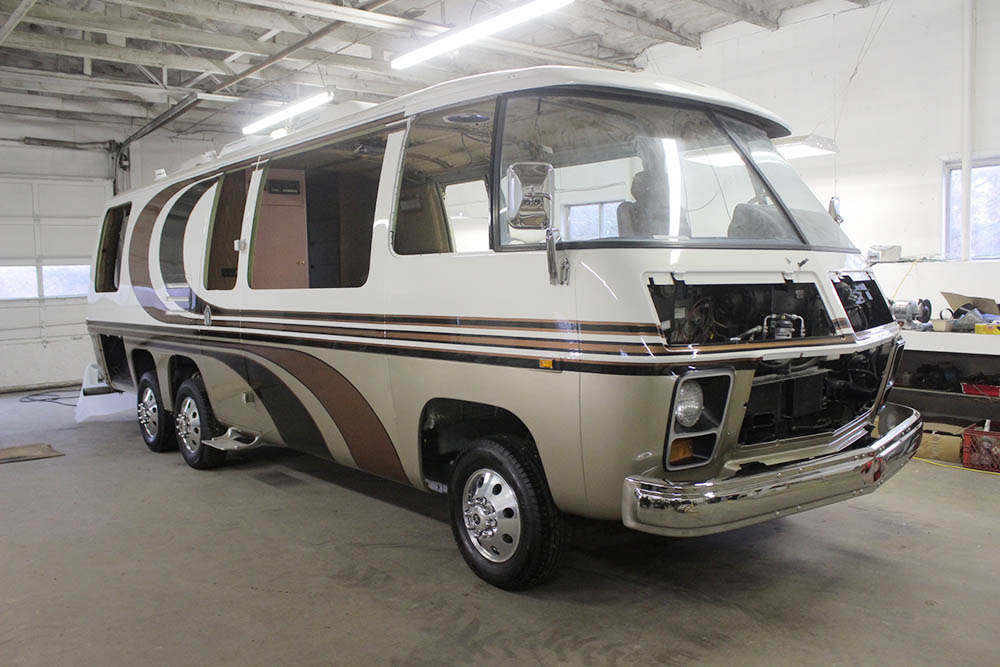
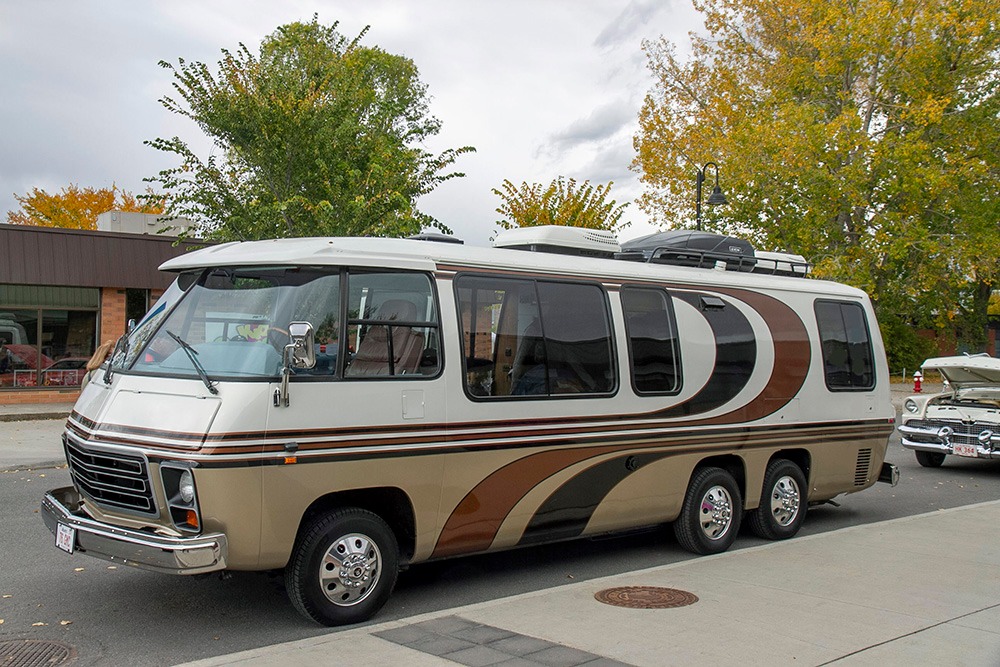
Here is the finished project.