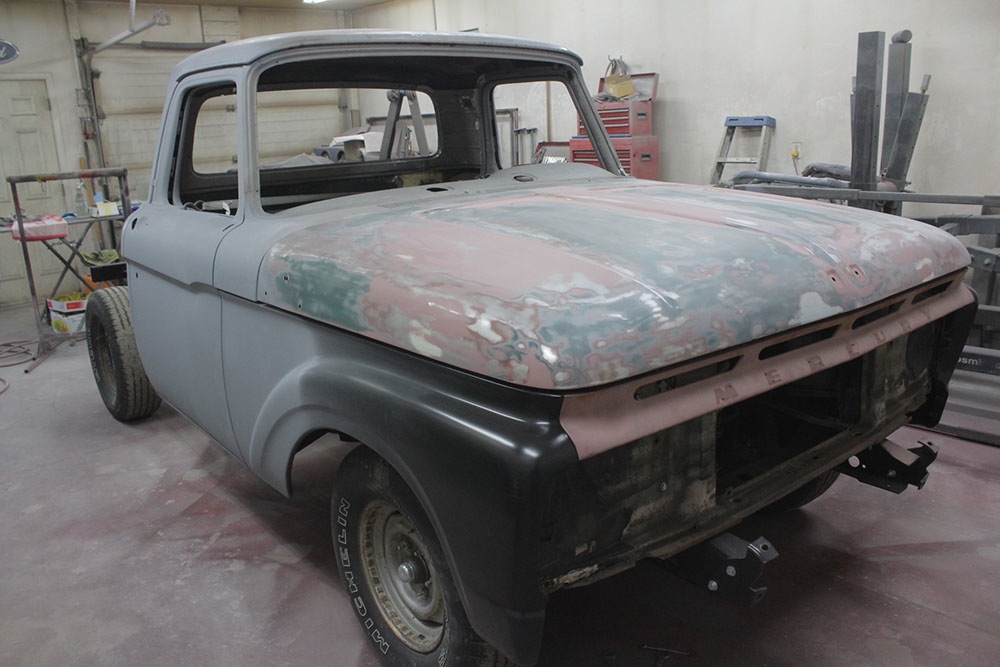
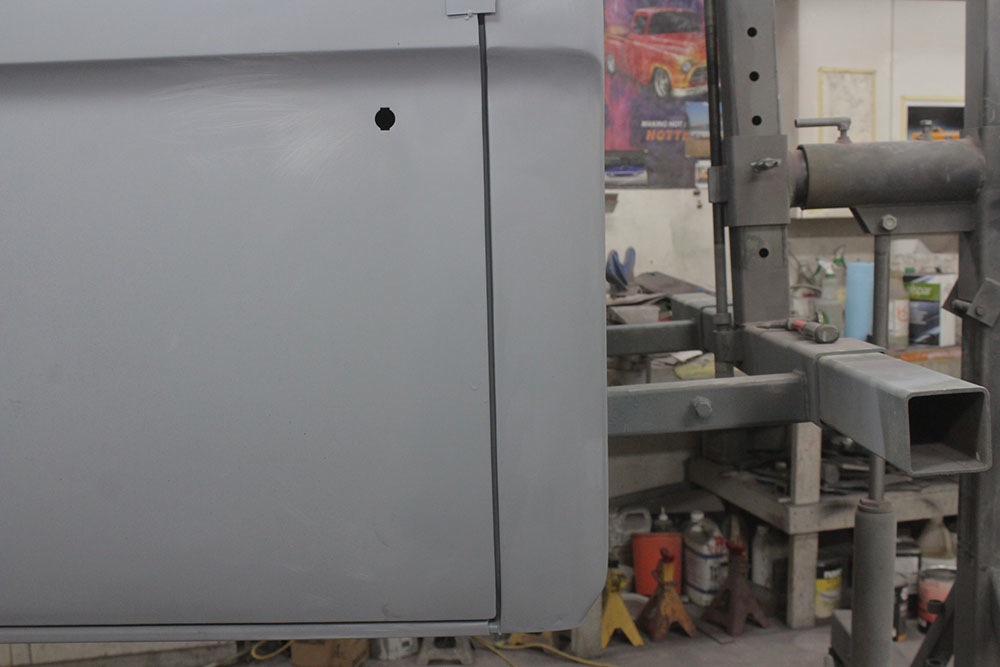
This 1964 Mercury M100 arrived with metal work finished. The panels and gaps need to be aligned, primed and block sanded prior to painting.
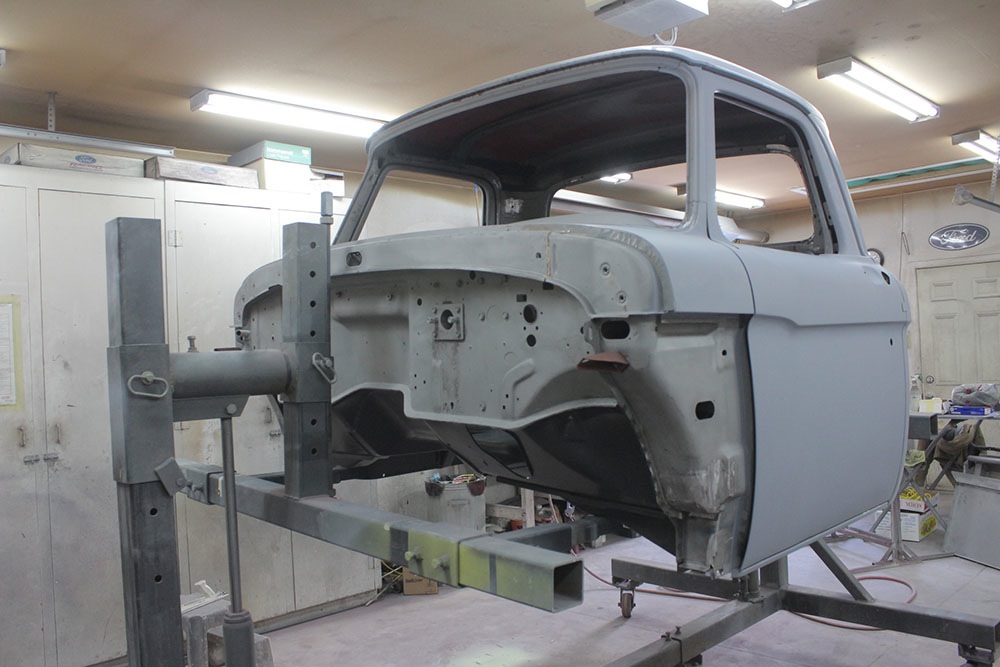
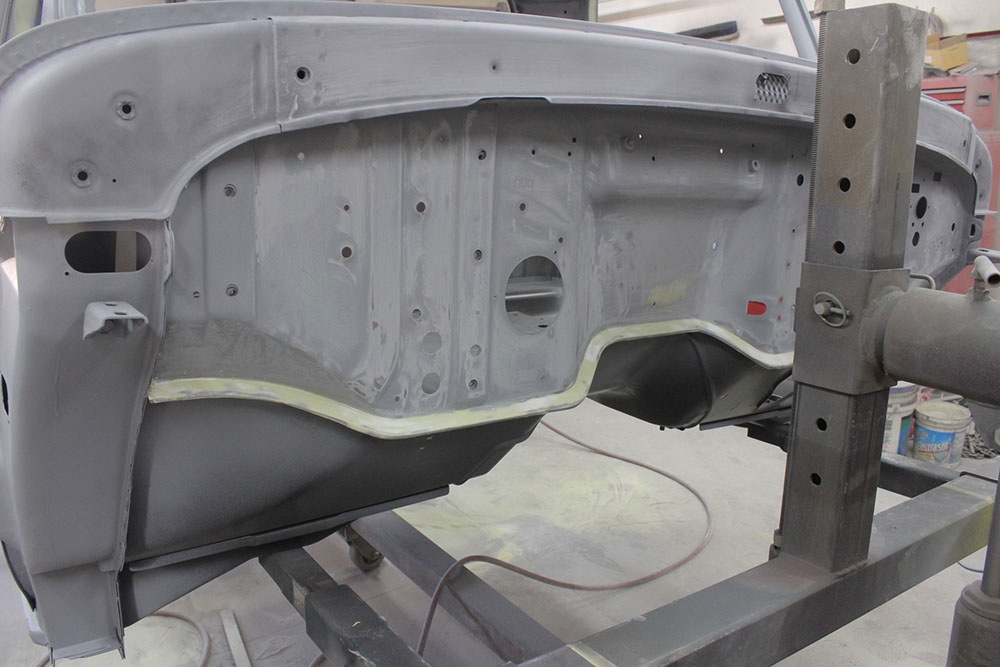
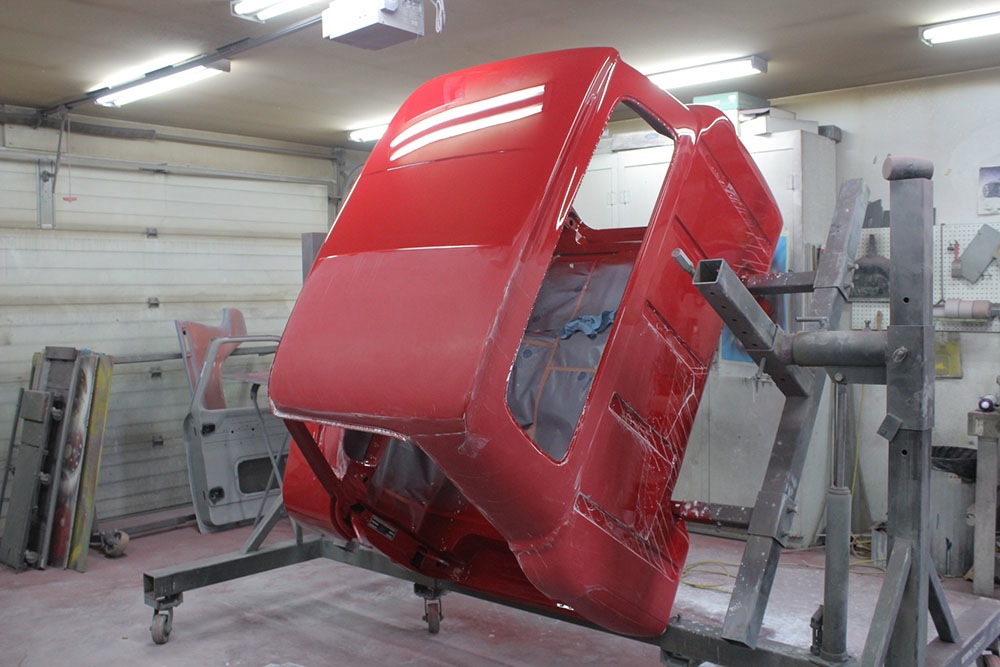
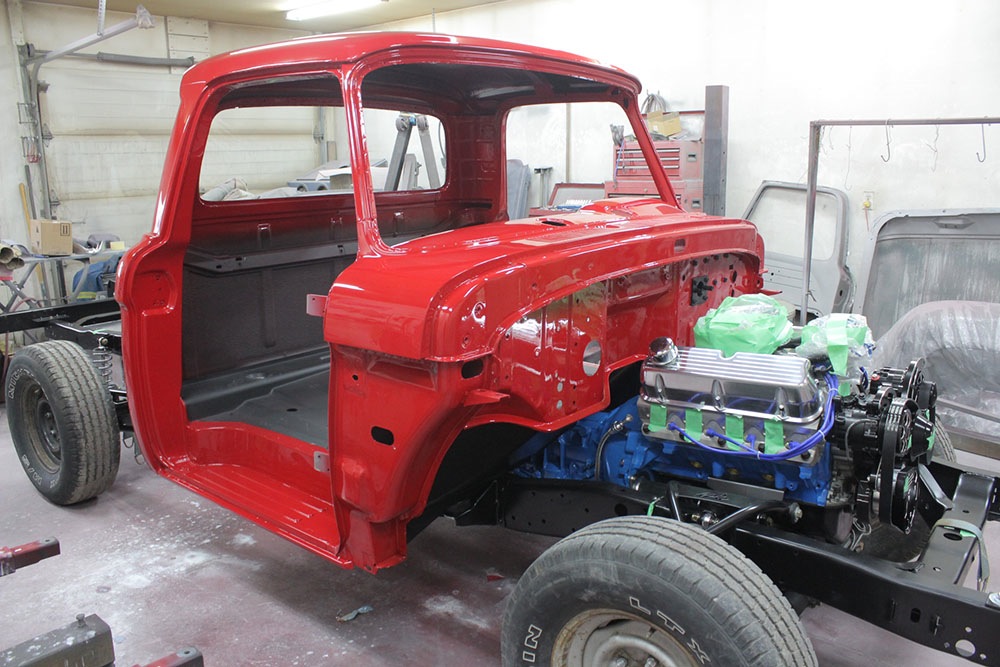
The cab was removed from the frame and mounted on the rotisserie for finishing.
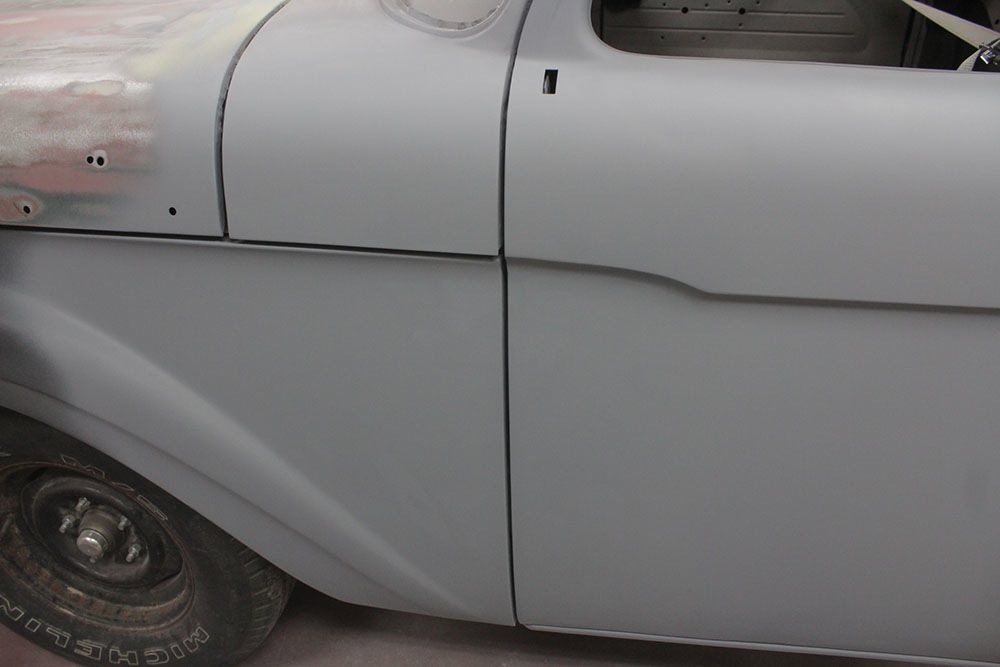
The panels and gaps are aligned. Now comes the block sanding stage, then paint.

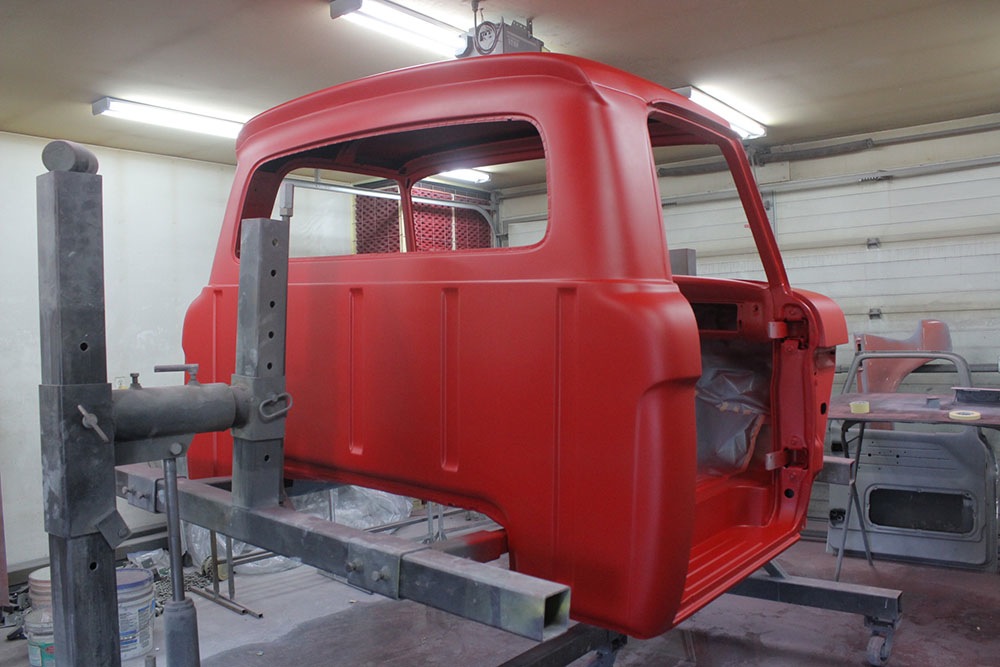
This
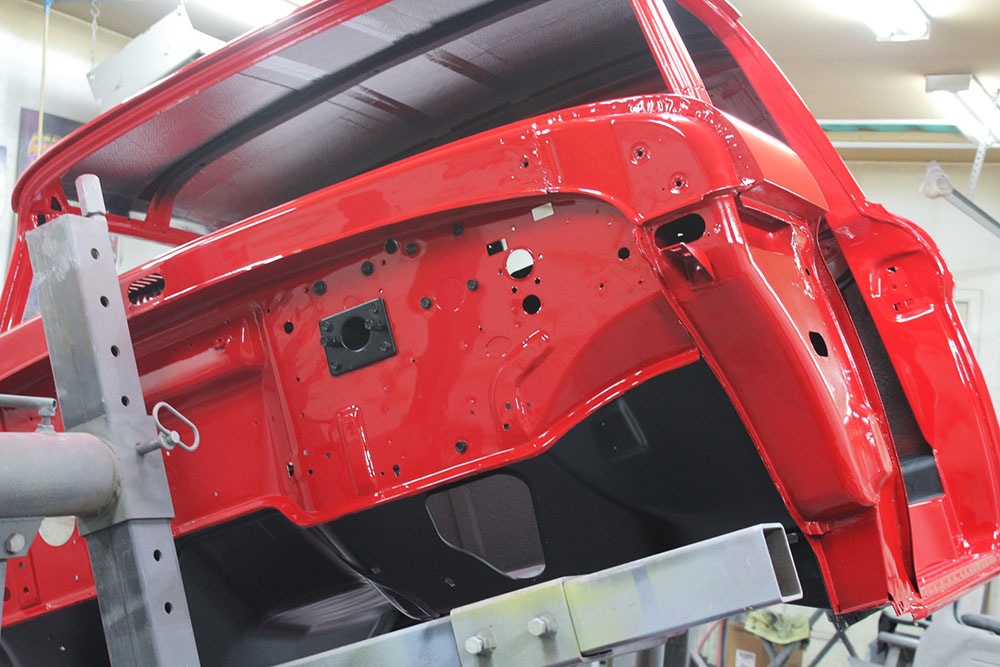
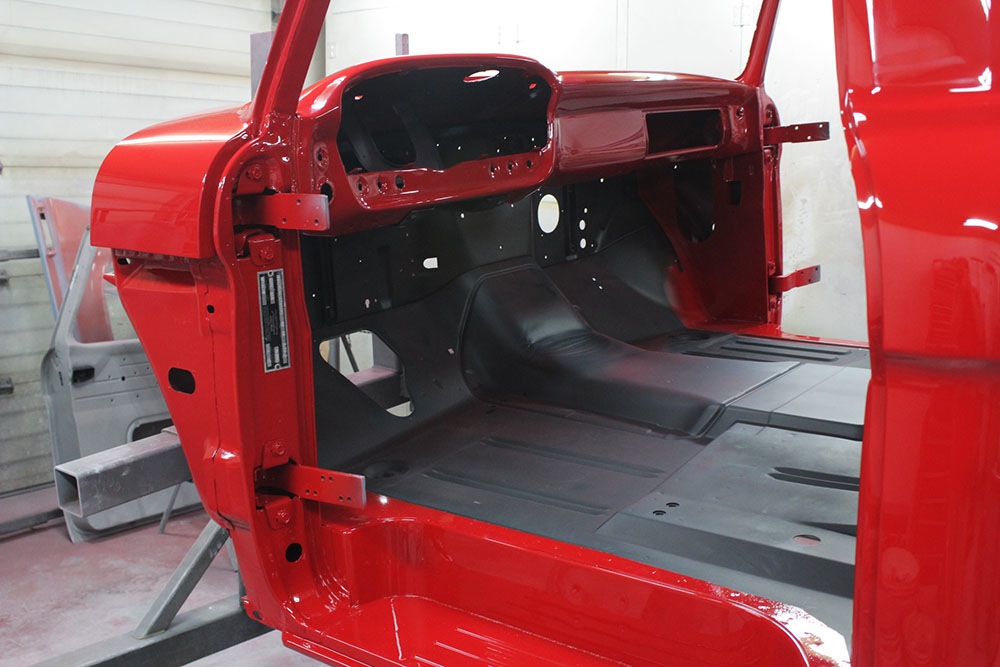
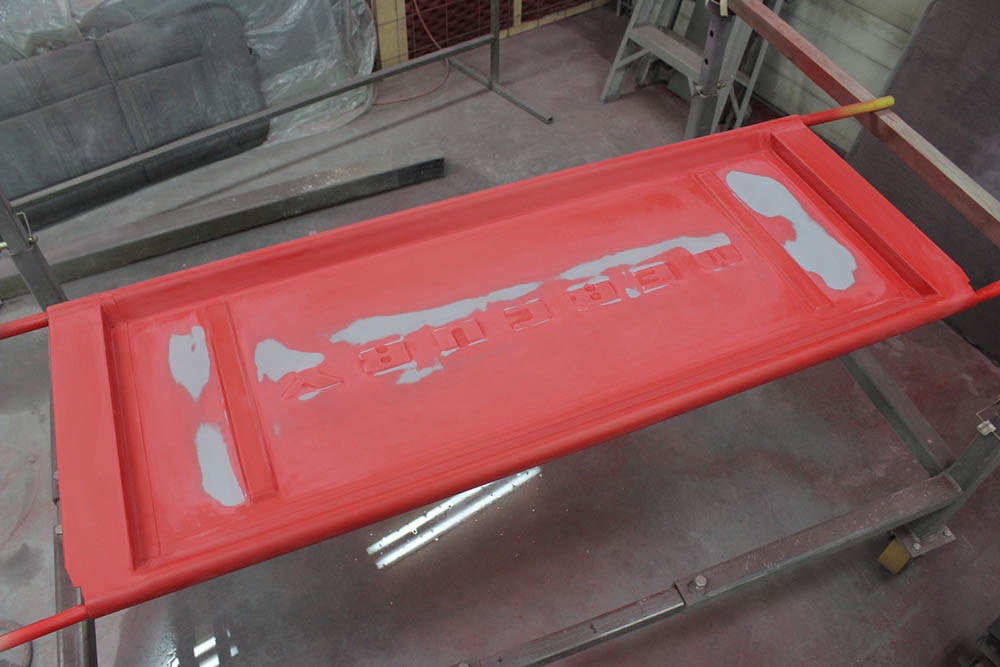
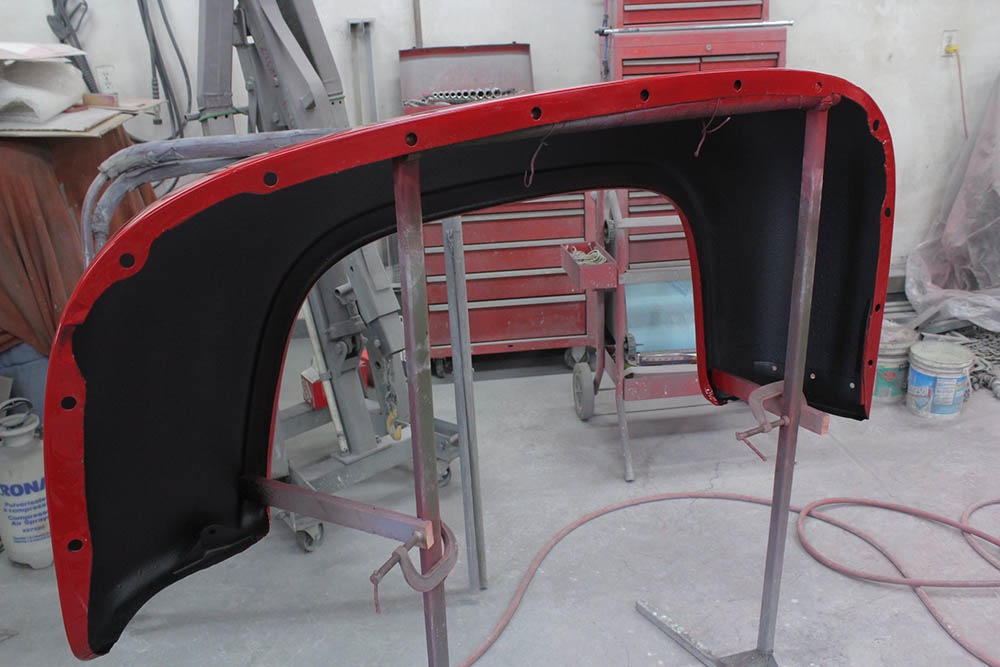
is the red sealer made by House of Kolor. Using a sealer that is a
similar color to the final color ensures very even coverage with minimum
coats of basecoat.
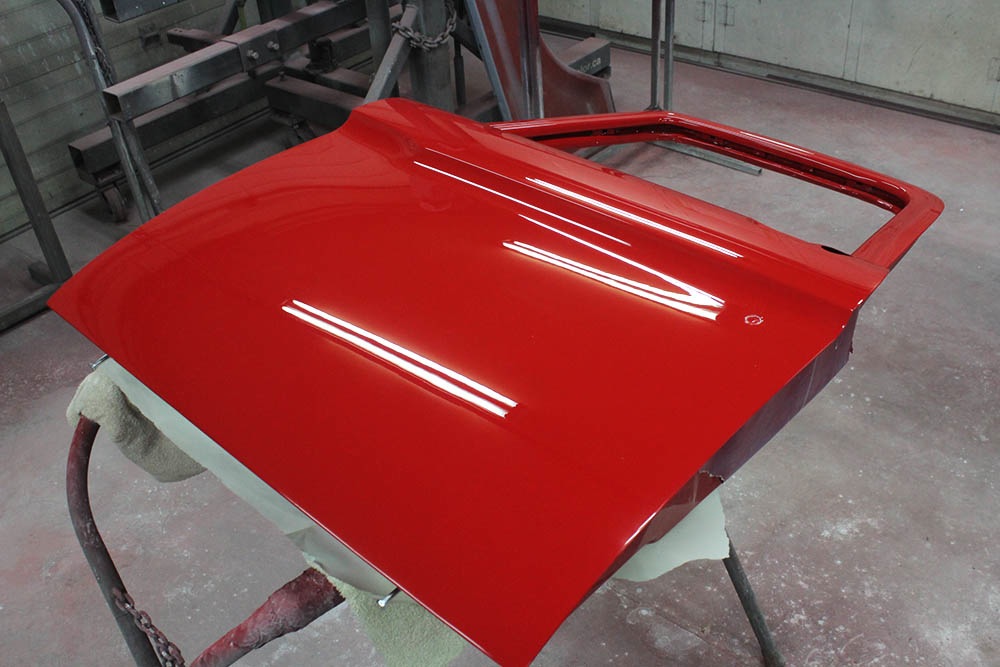
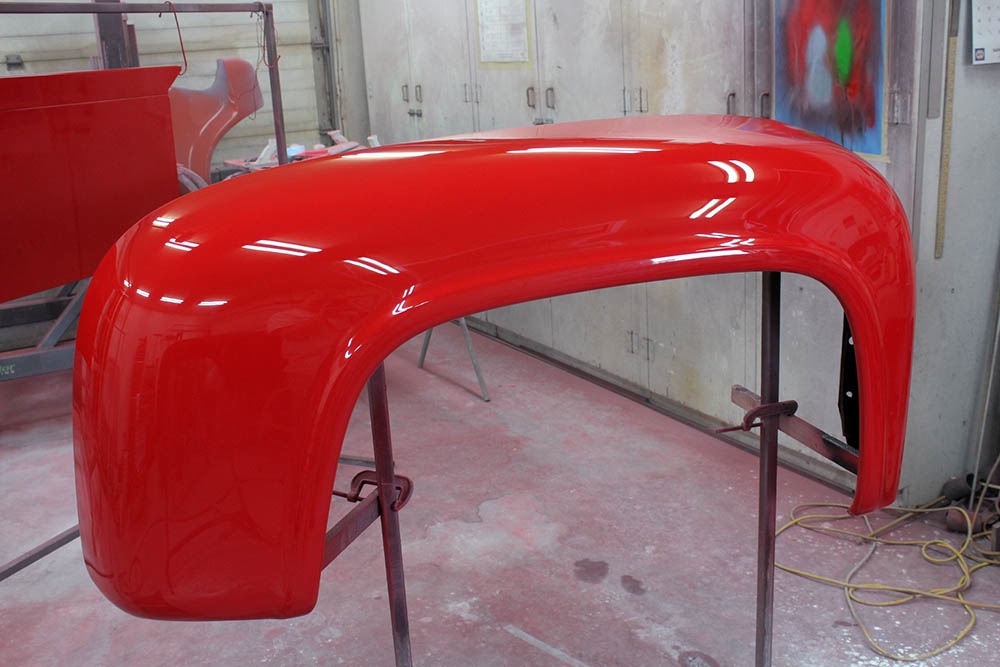
Wet sanding and polishing in progress.
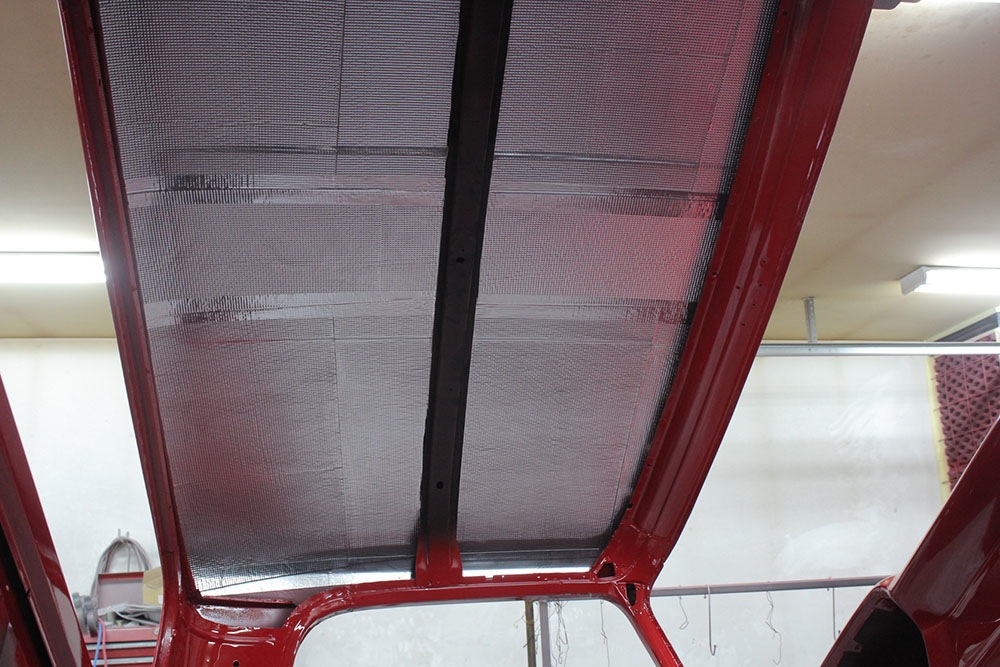
Dynamat was applied to the roof while the cab is still on the rotisserie.
Cab is mounted back on the chassis.
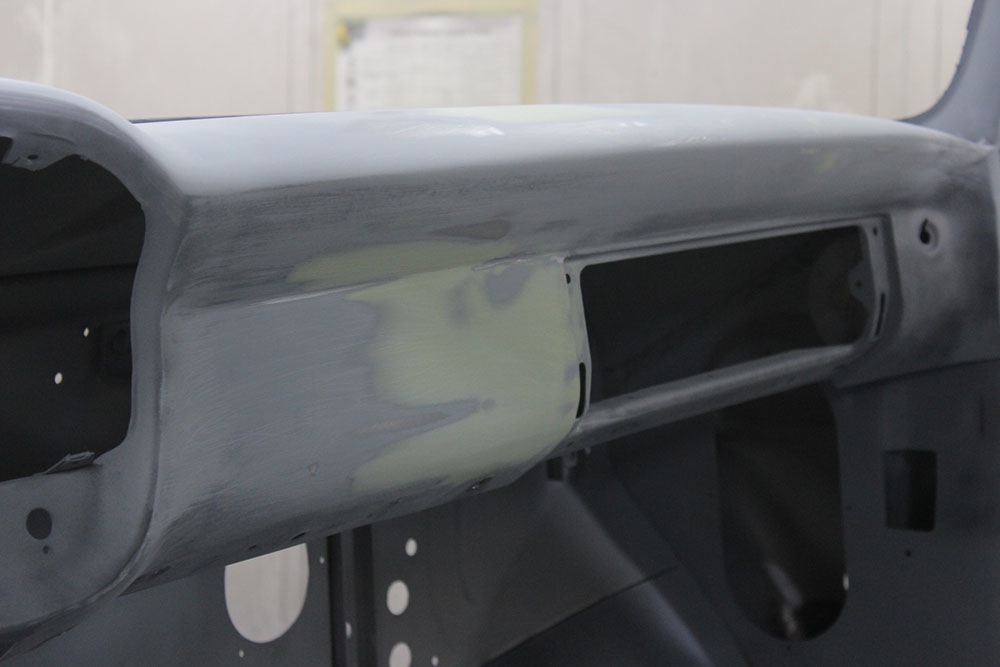
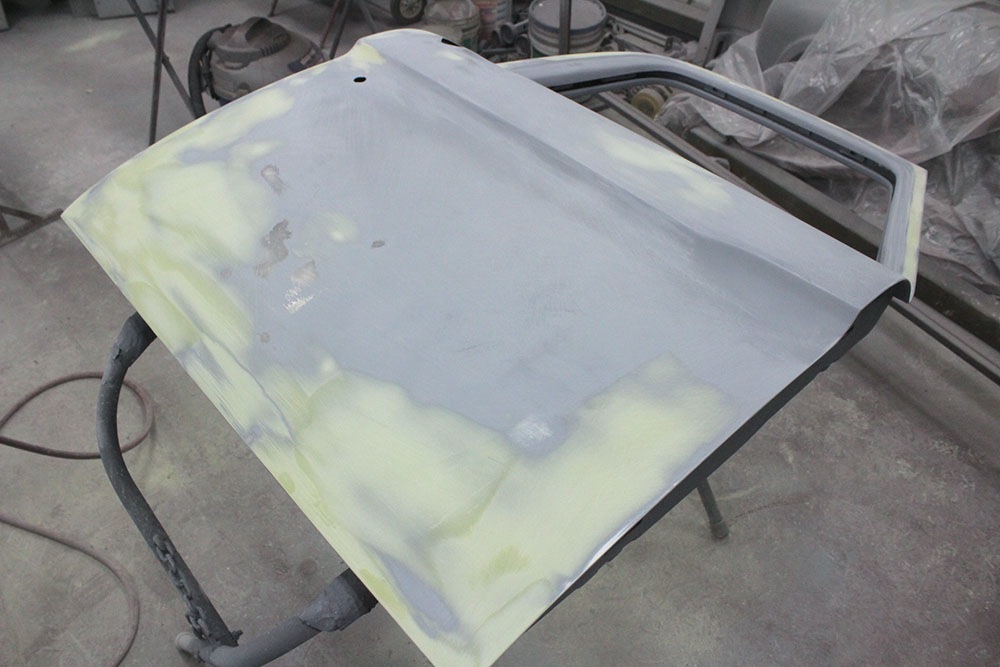
We now proceed to the remaining panels with priming and block sanding in preparation for paint.
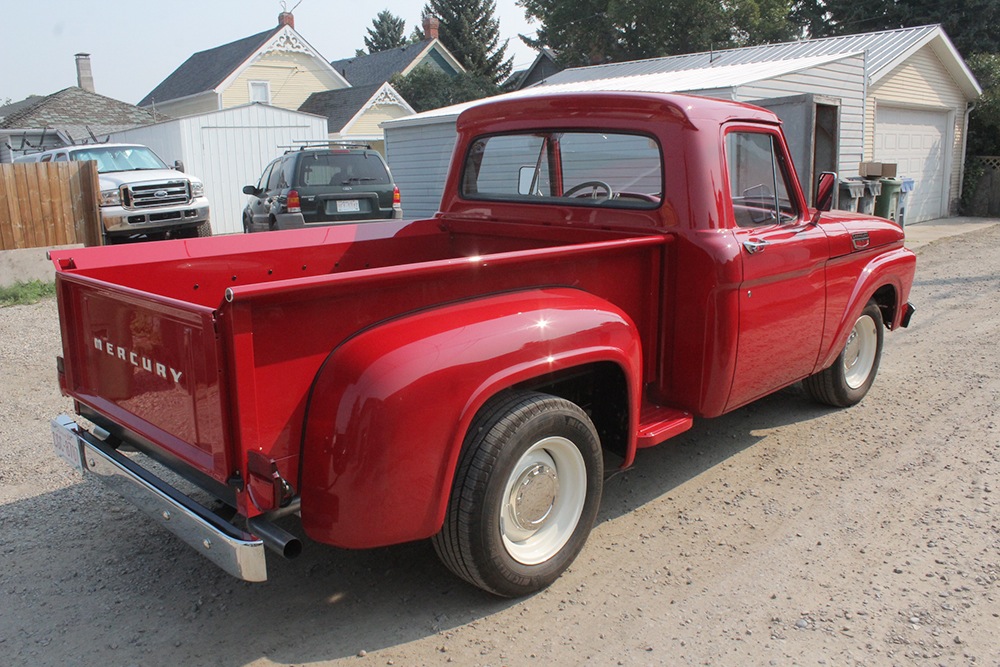
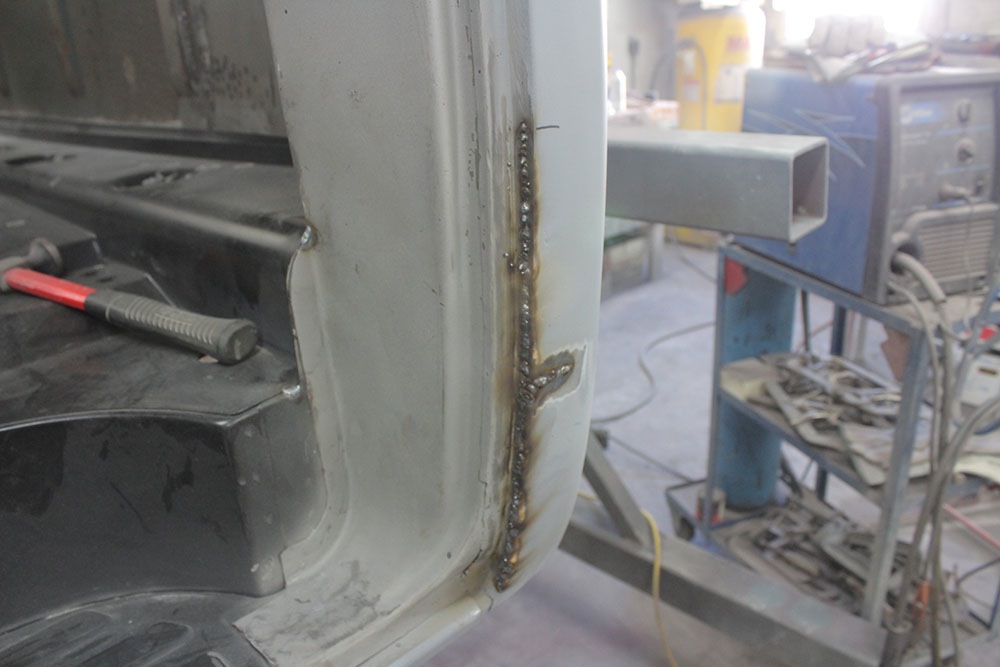
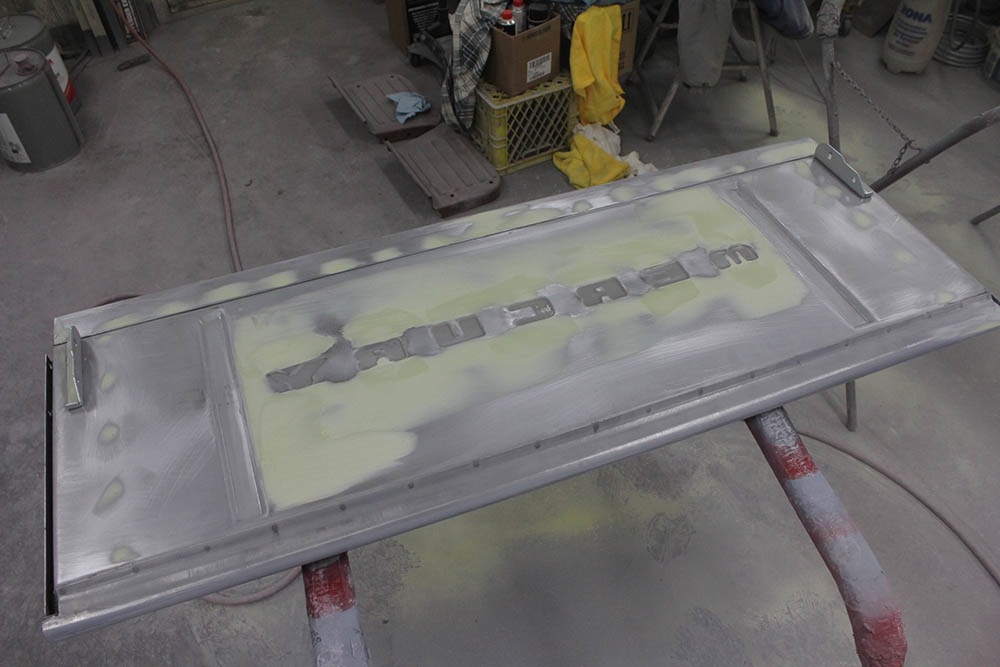
The tailgate had the "Mercury" embossing cut from the old tailgate and welded into the new tailgate. There was some work required to smooth everything out to a straight and smooth finish.
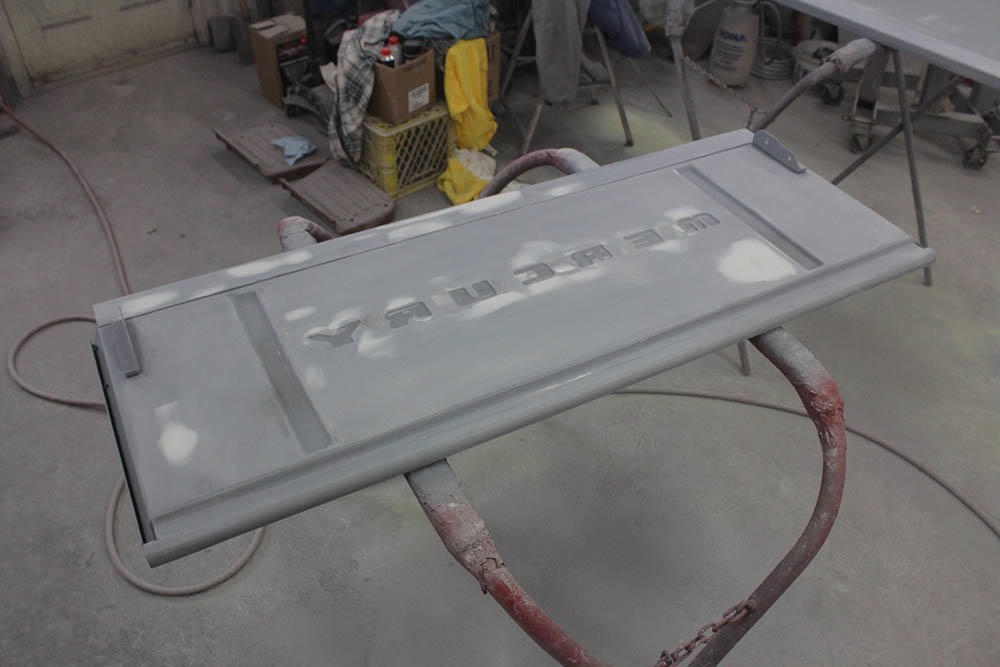
Some final sanding was needed before final color is applied. This is the red sealer.
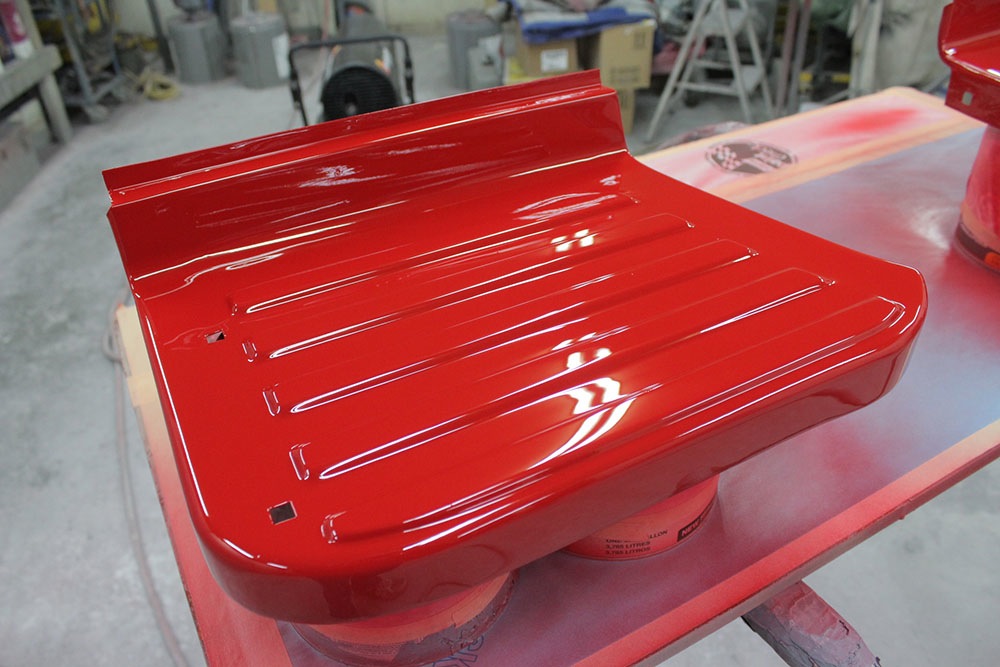
More panels are painted.
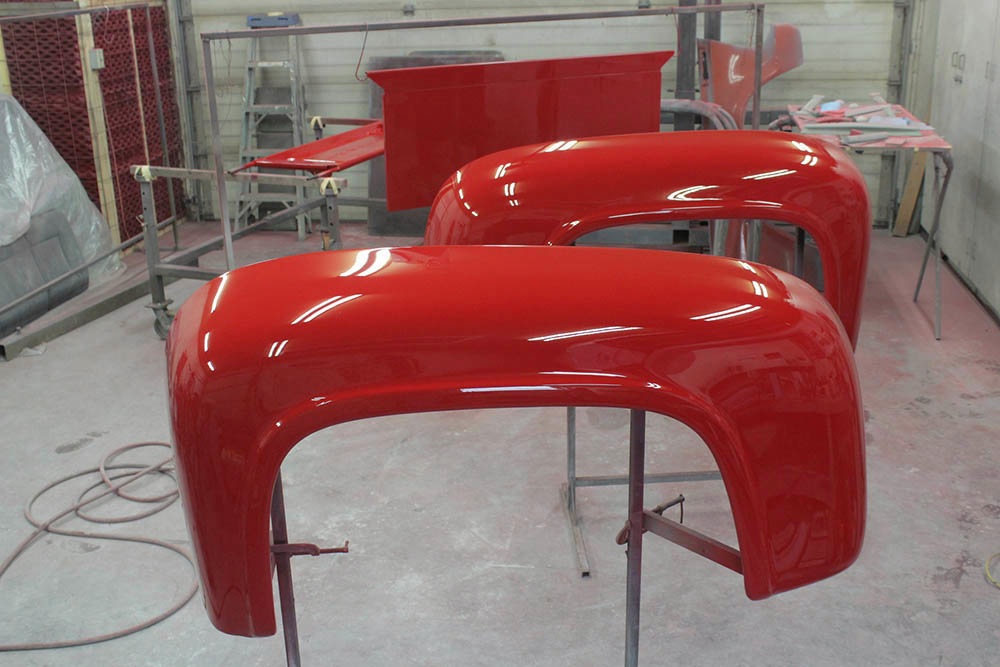
Fenders are completed, wet sanded and polished and undercoating sprayed on the inside.

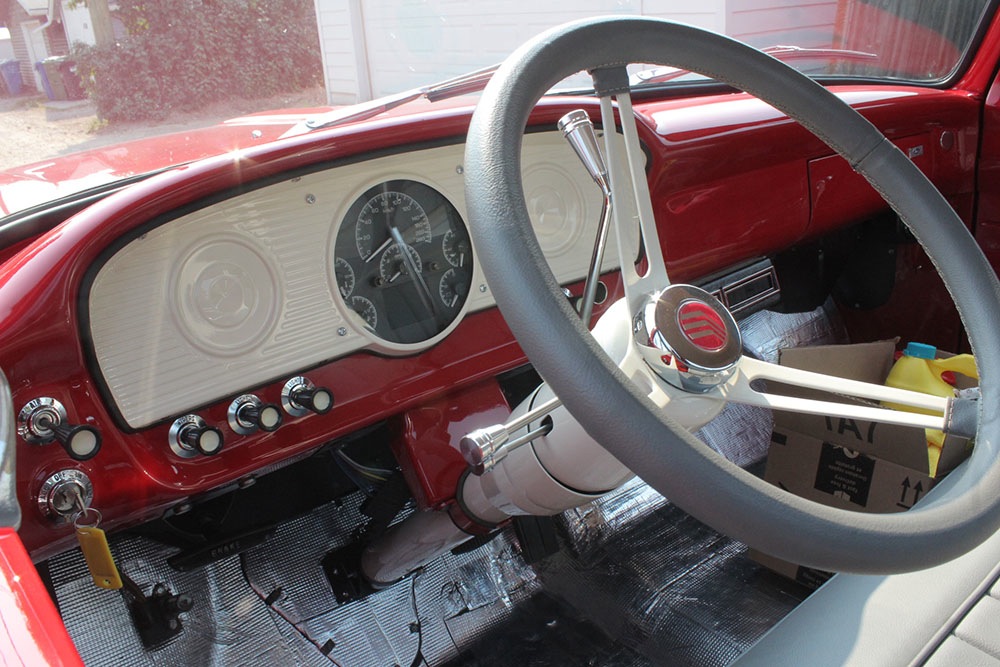
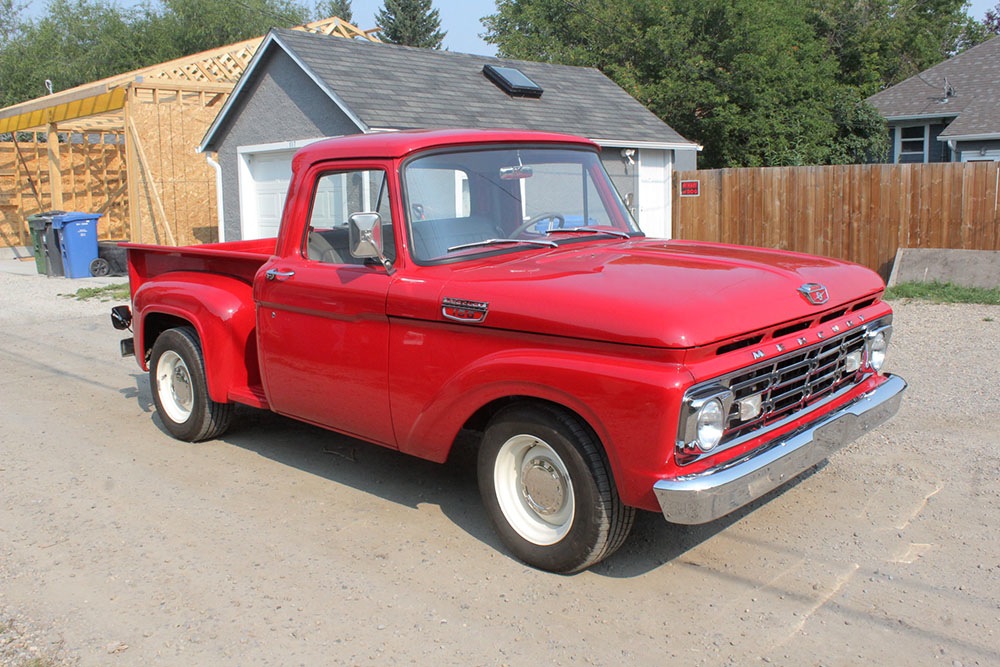
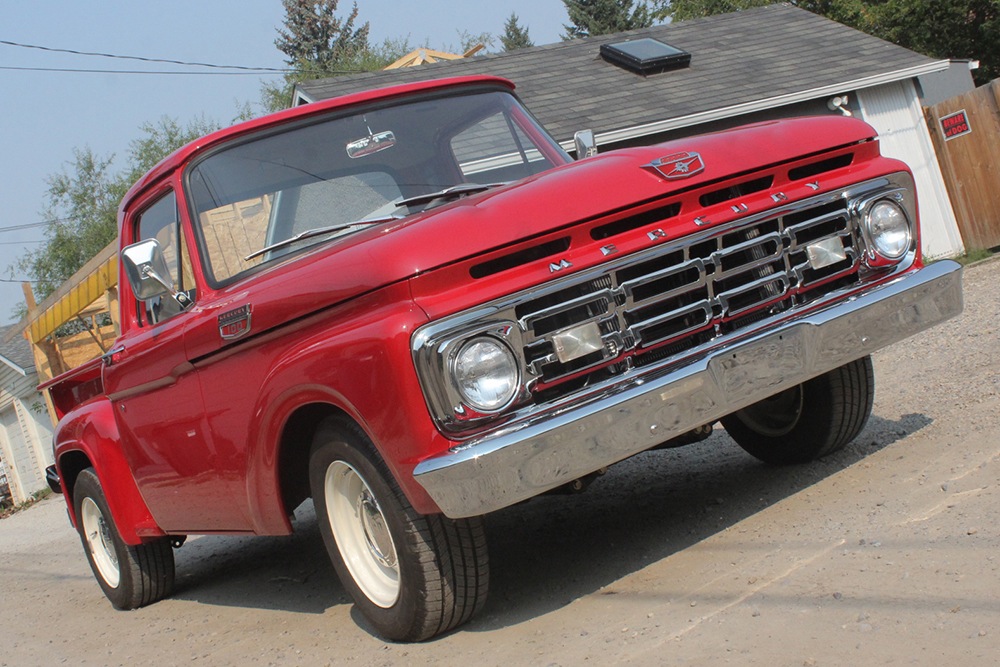
Truck is completely assembled.