1 2 3 4 5
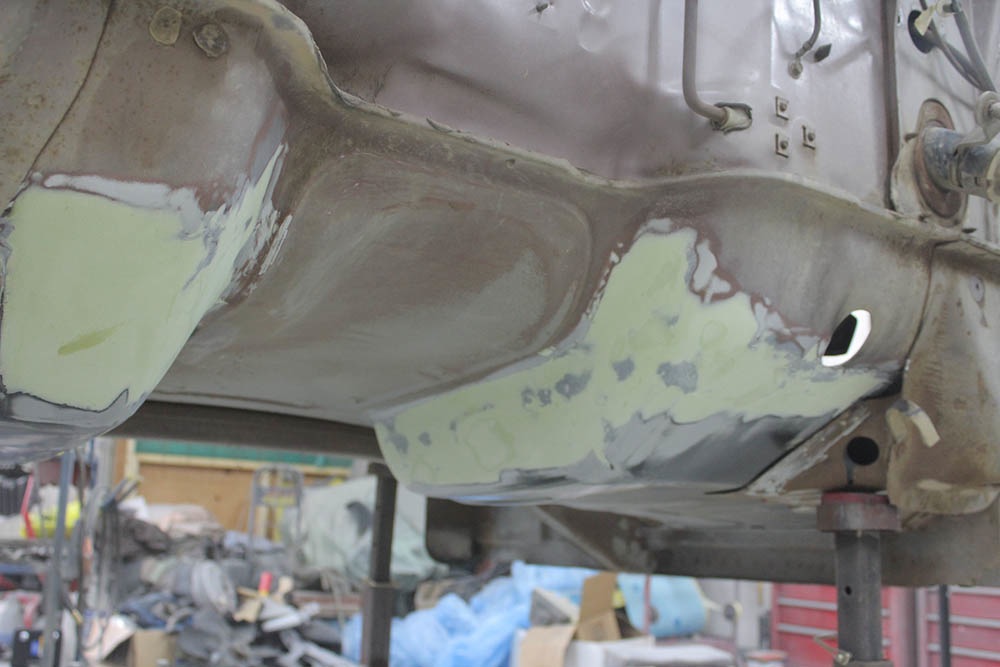
Cab cornerstructures are rebuilt and new cab corner sheet metal installed.
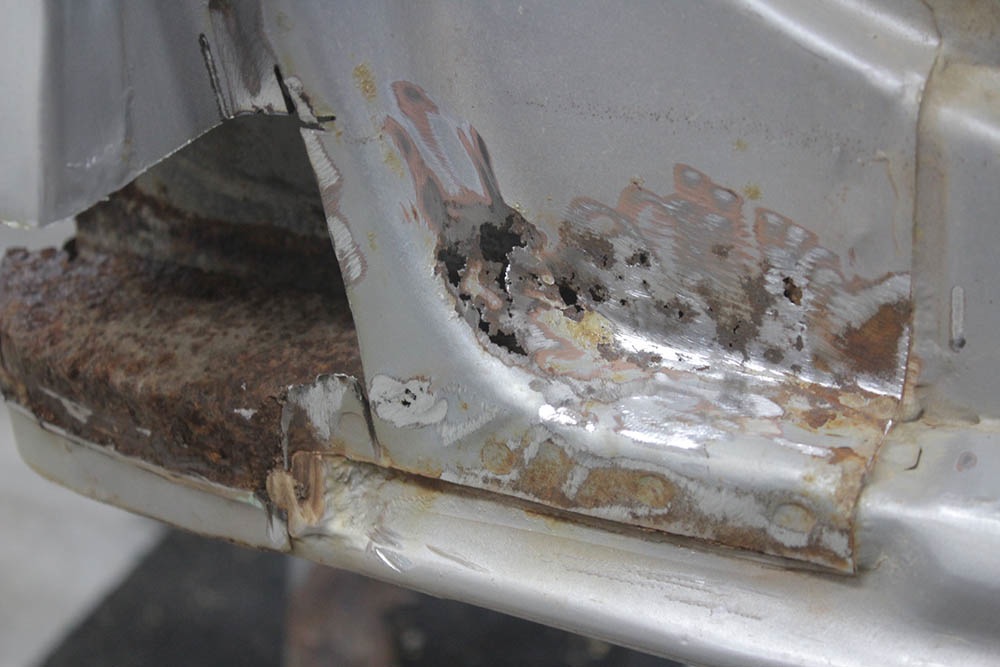
The cab corners are left off until the inside ares can be sandblasted and painted.
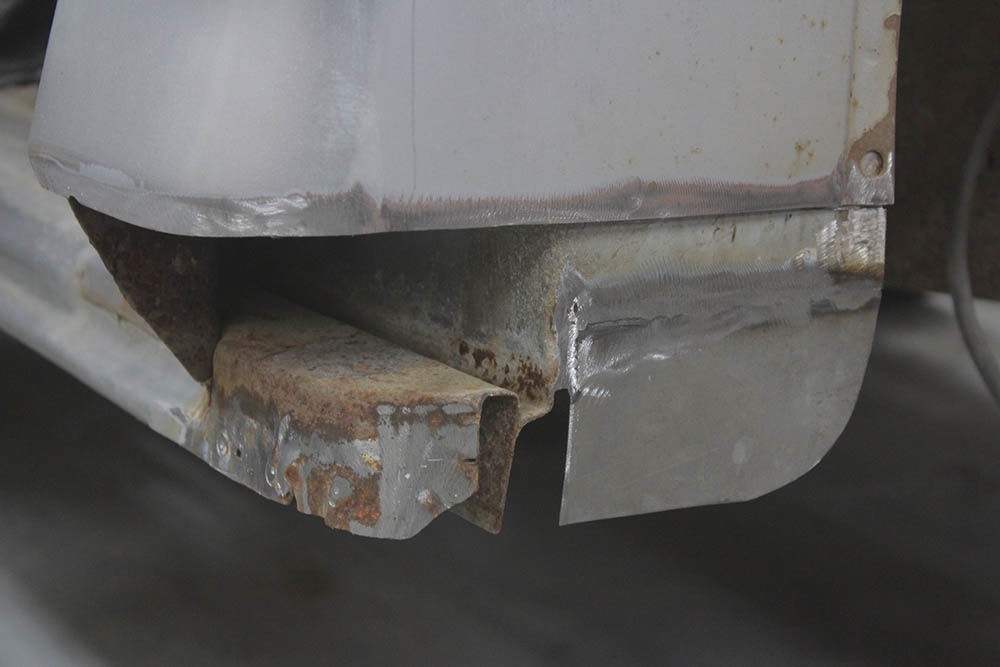
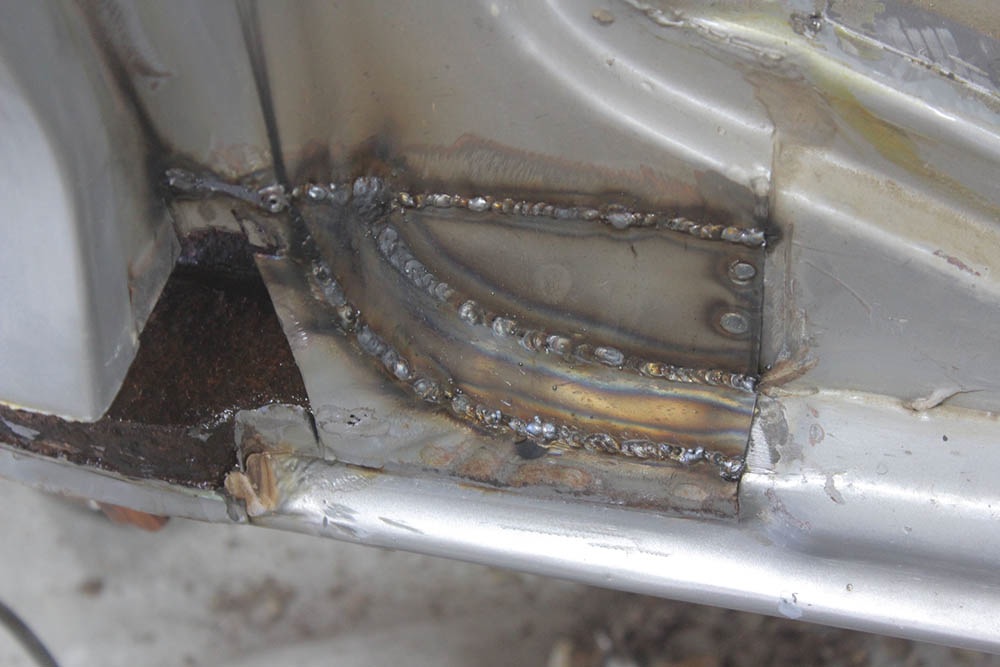
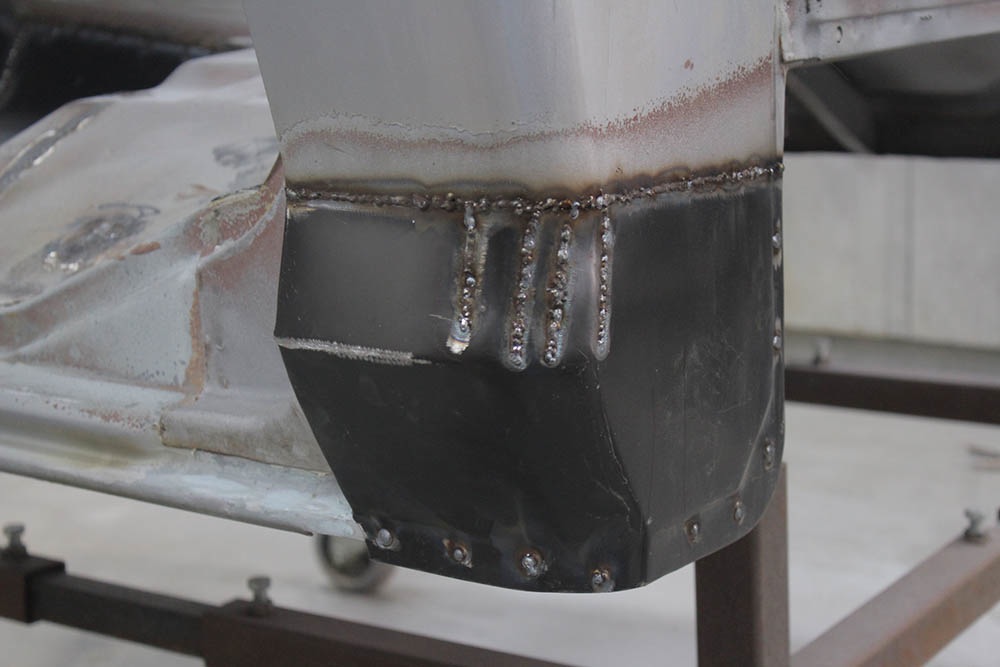
After sandblasting the interior of the cab corners they are painted before welding on the new corners.
The cab is ready for removal.

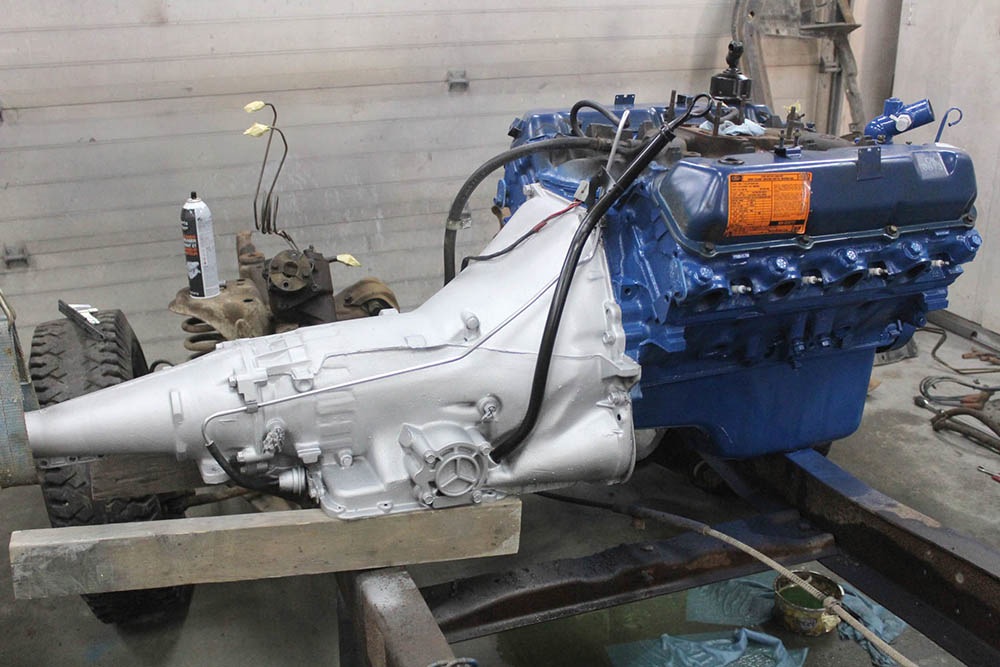
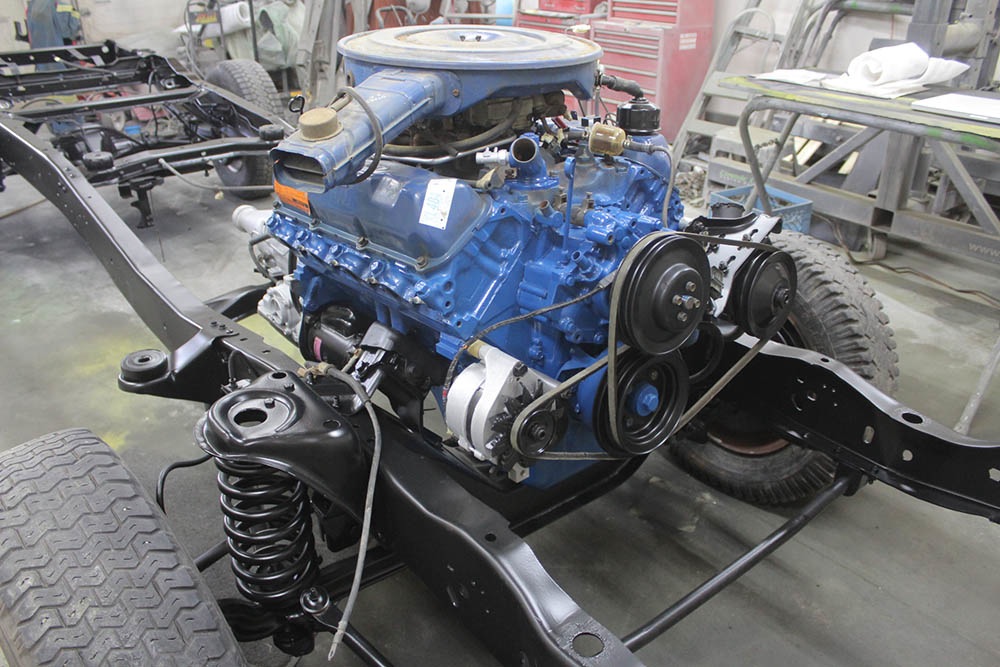
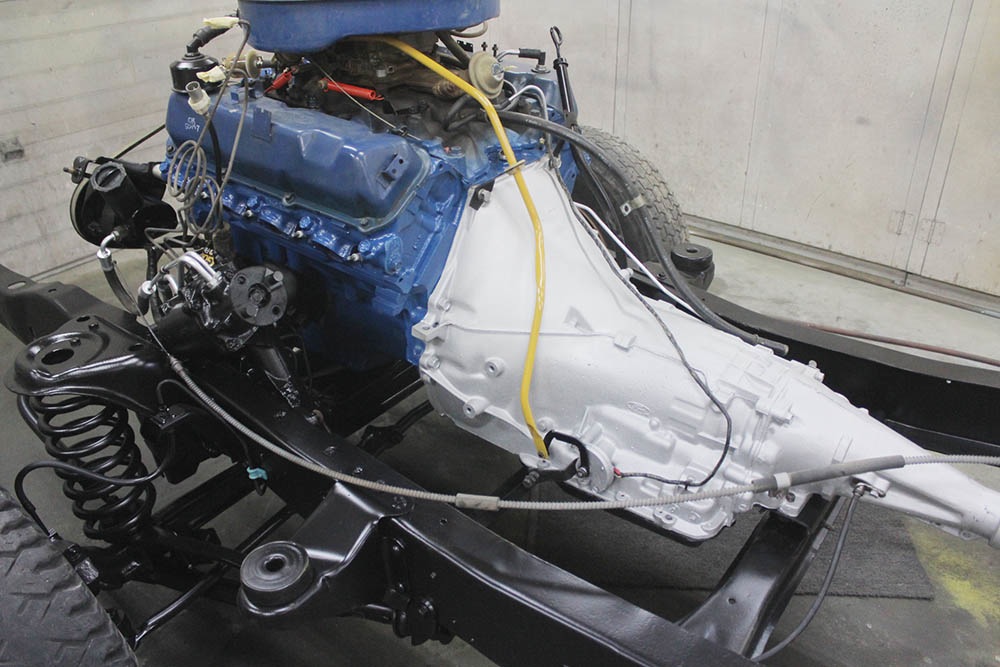
Engine and transmission are pulled from frame and cleaning, painting and detailing are next.

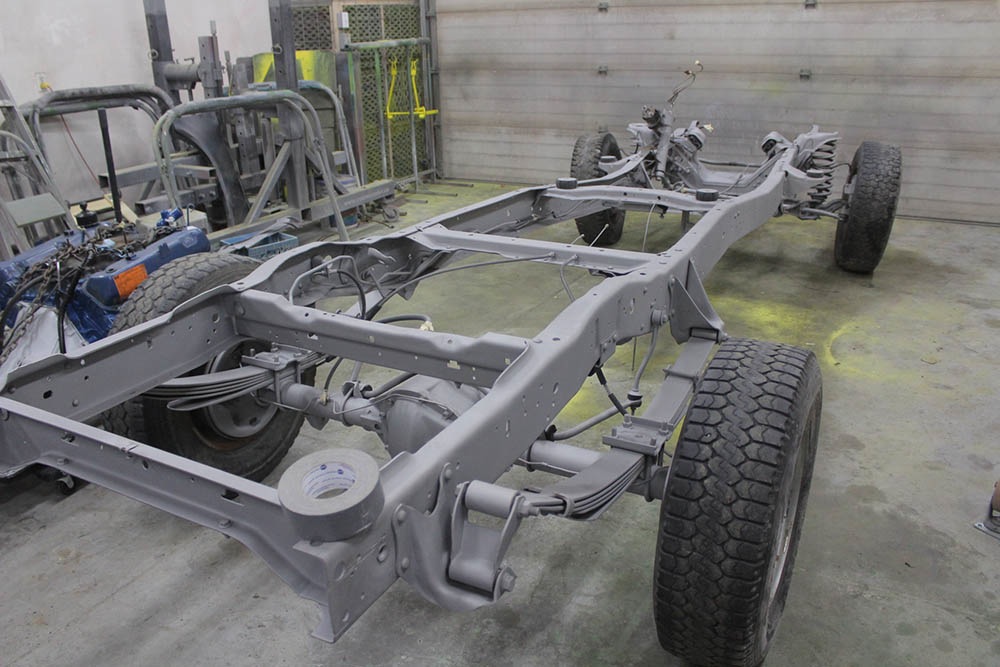
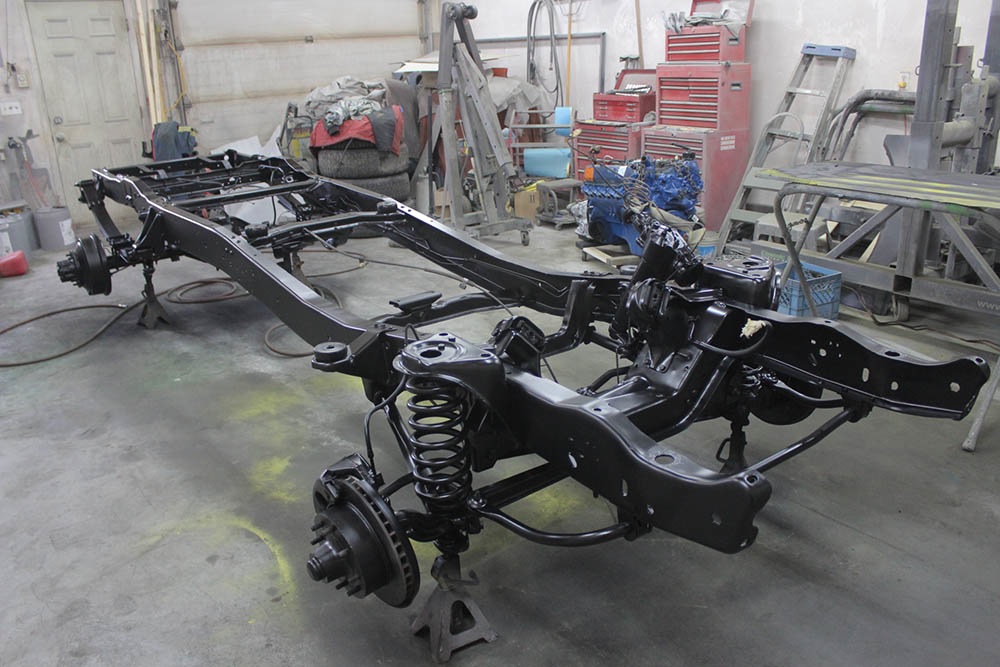
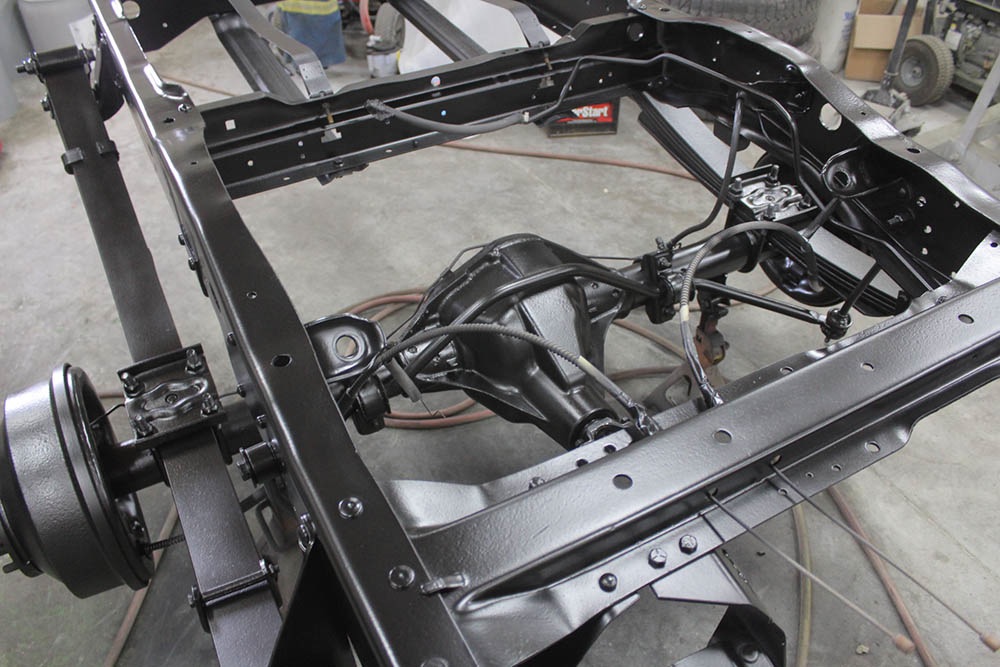
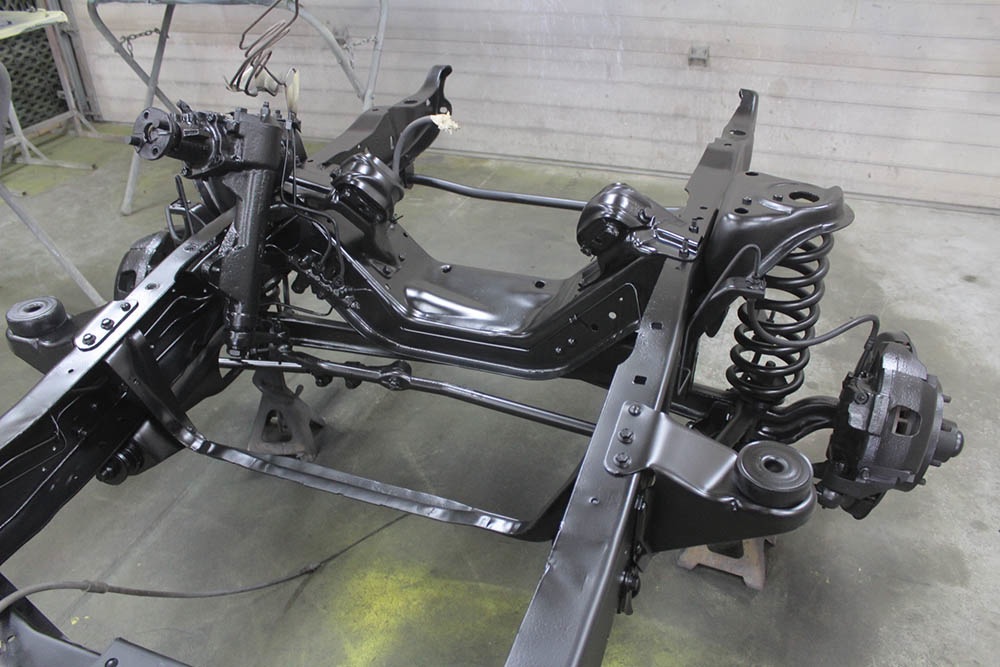
The frame is sandblasted and ready for paint. First step is a black direct-to-metal primer followed by a semi-gloss black paint.
Engine and transmission are re-installed. New valve covers, intake and carb will be installed later.
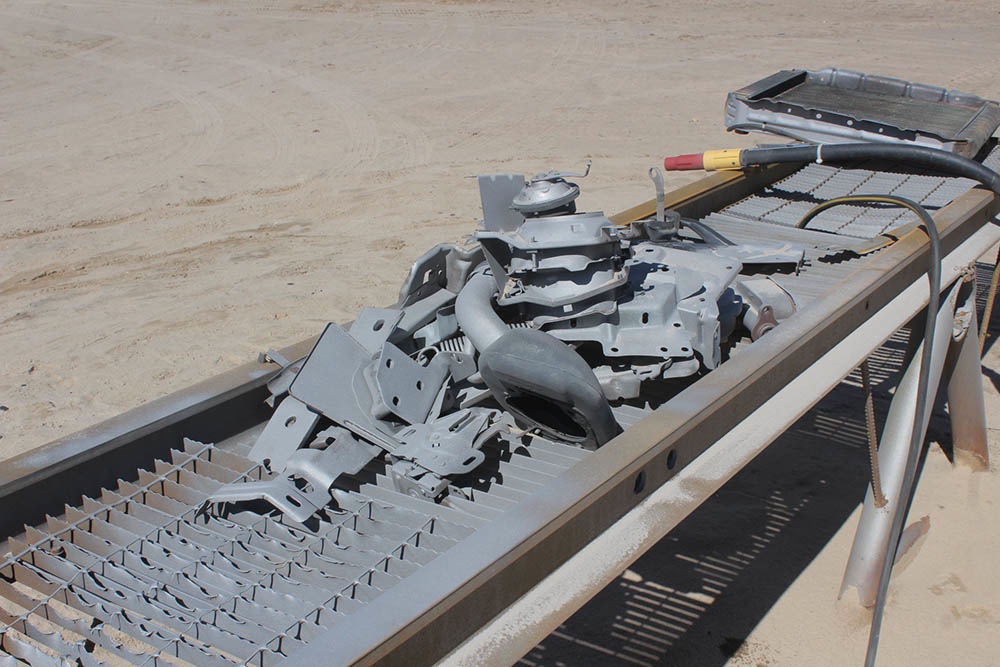
Miscellaneous parts are sandblasted.
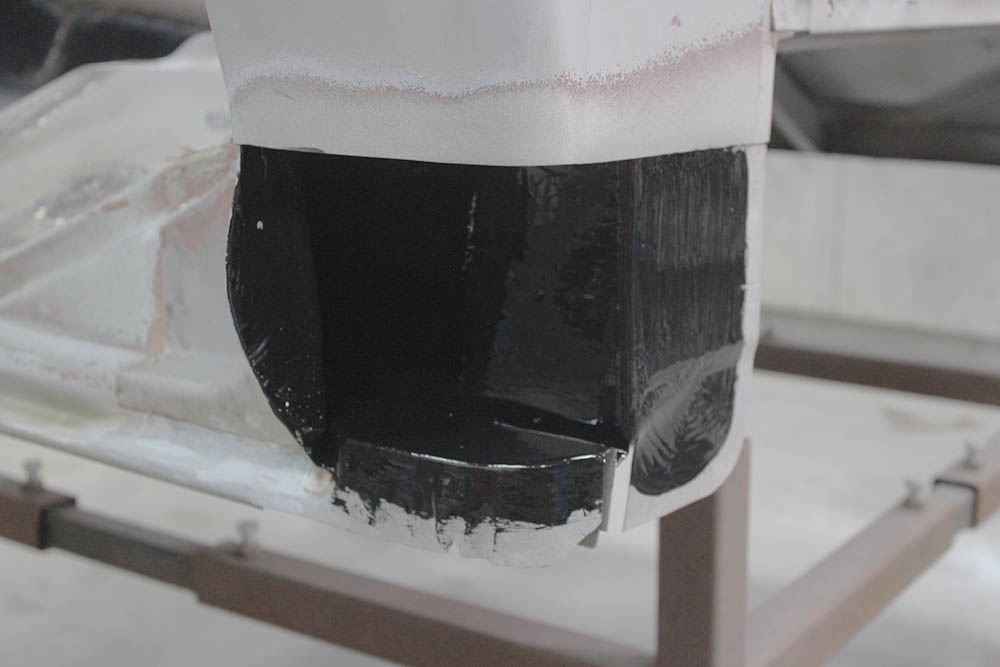
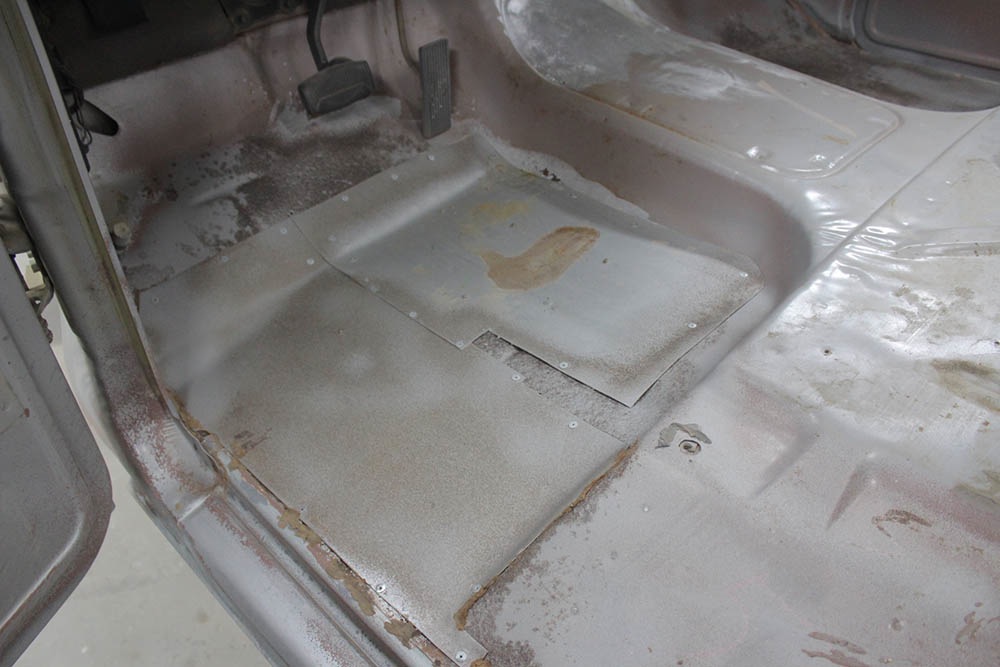
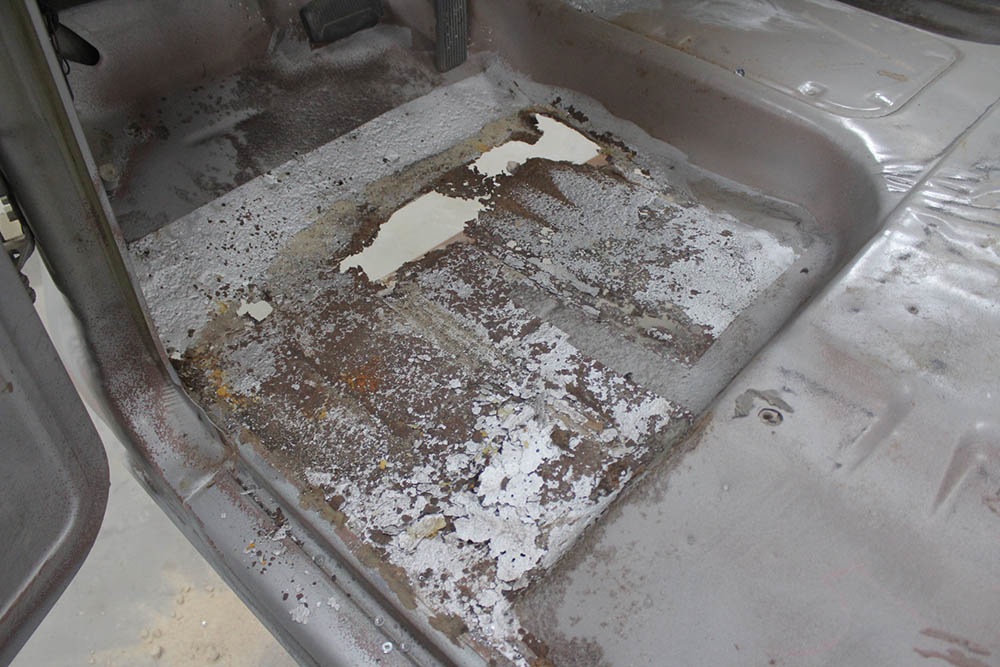
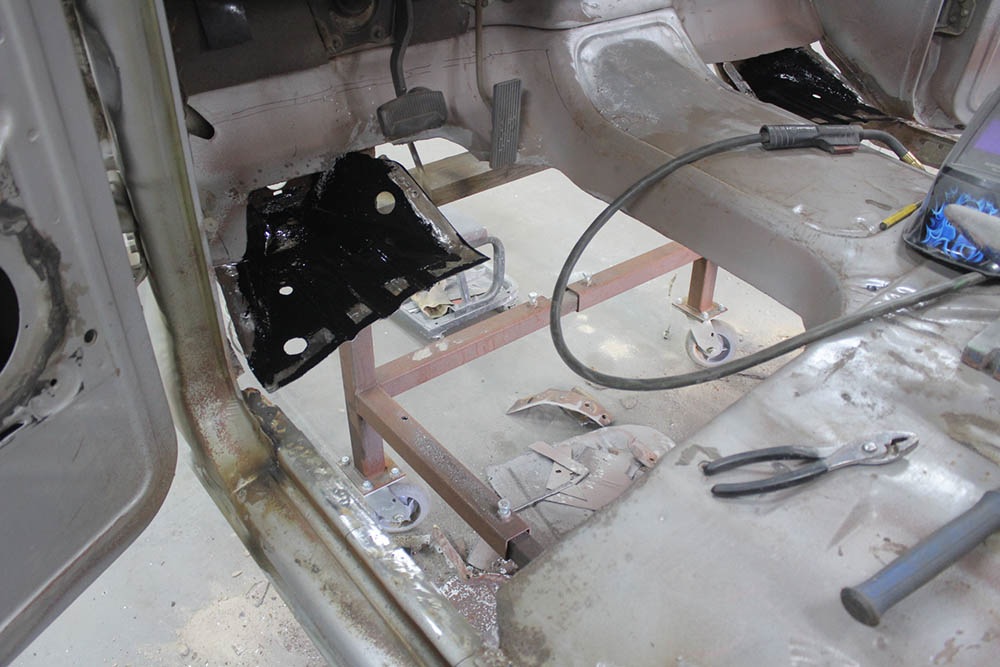
The floor panels are badly rotted and need to be replaced. At some point sheet metal was riveted over the panels.
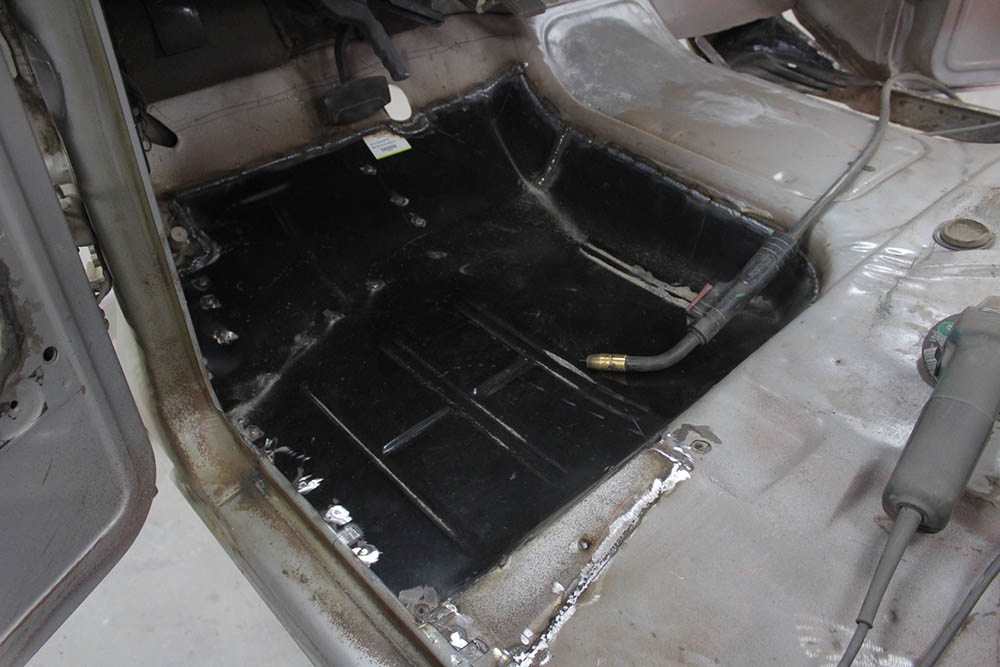
After the floor was cut out, the inside of the cab mount was painted before the new floor panel is installed.
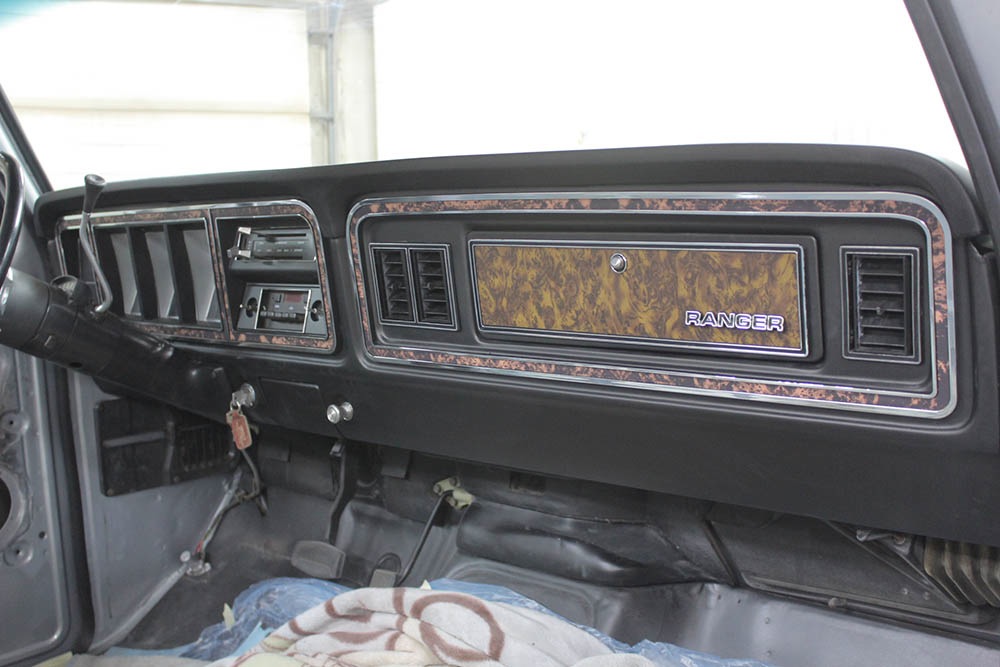
The dash is painted a very dark charcoal and cleared with a flat clear by House of Kolor.

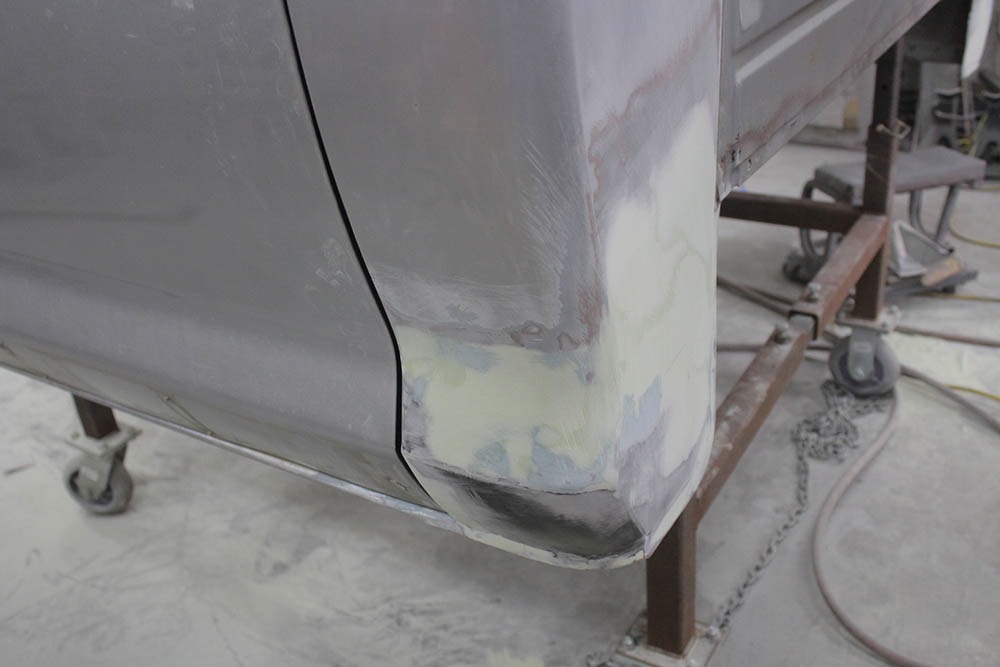
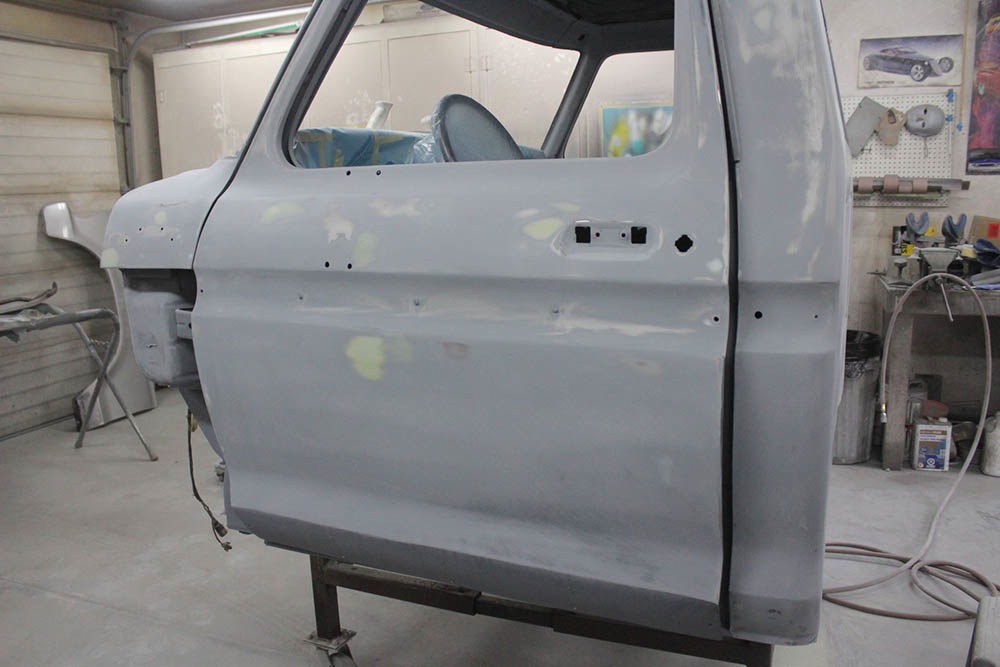
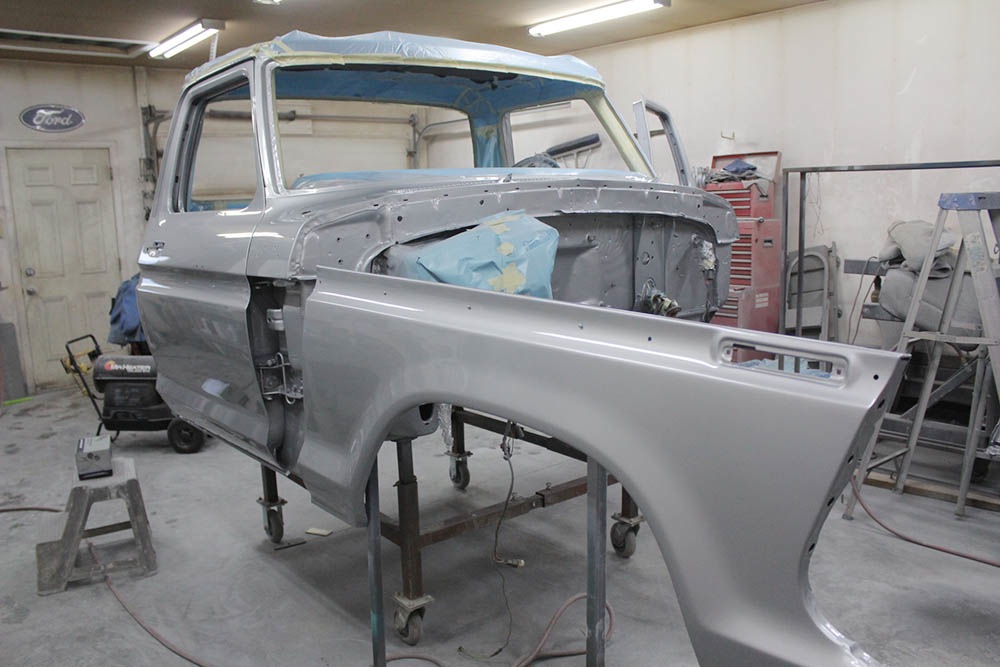
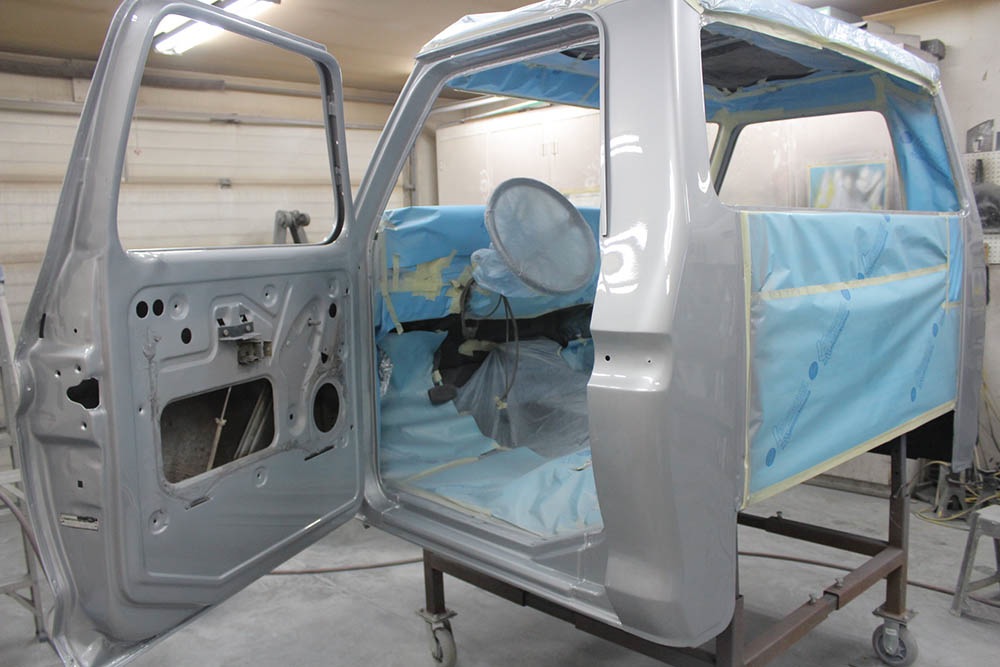
The body is in primer and being block sanded.
The cab and fenders are painted.
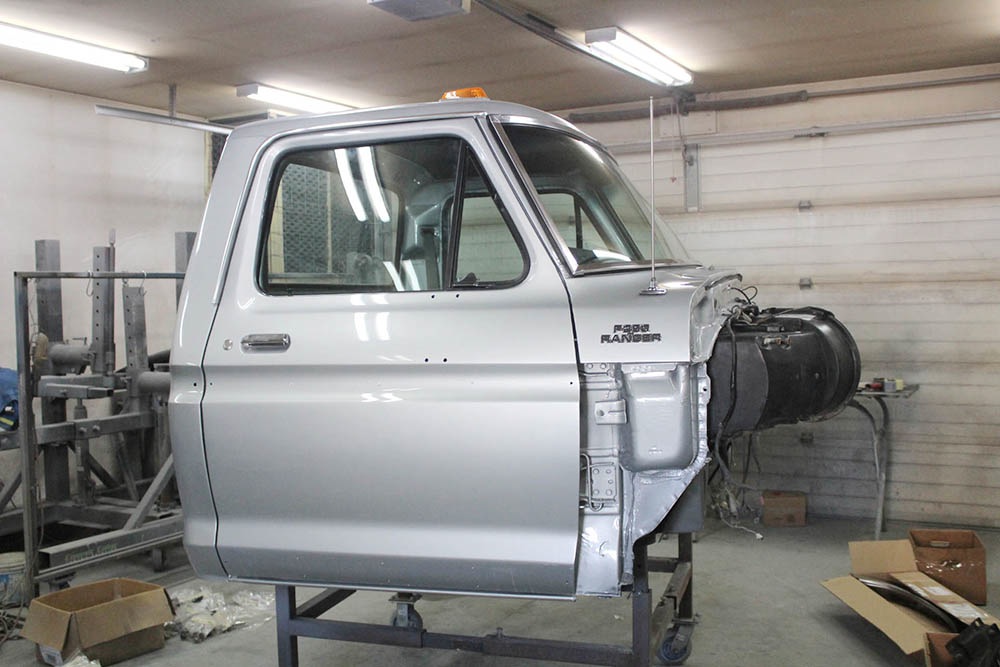
The cab is mostly reassembled.
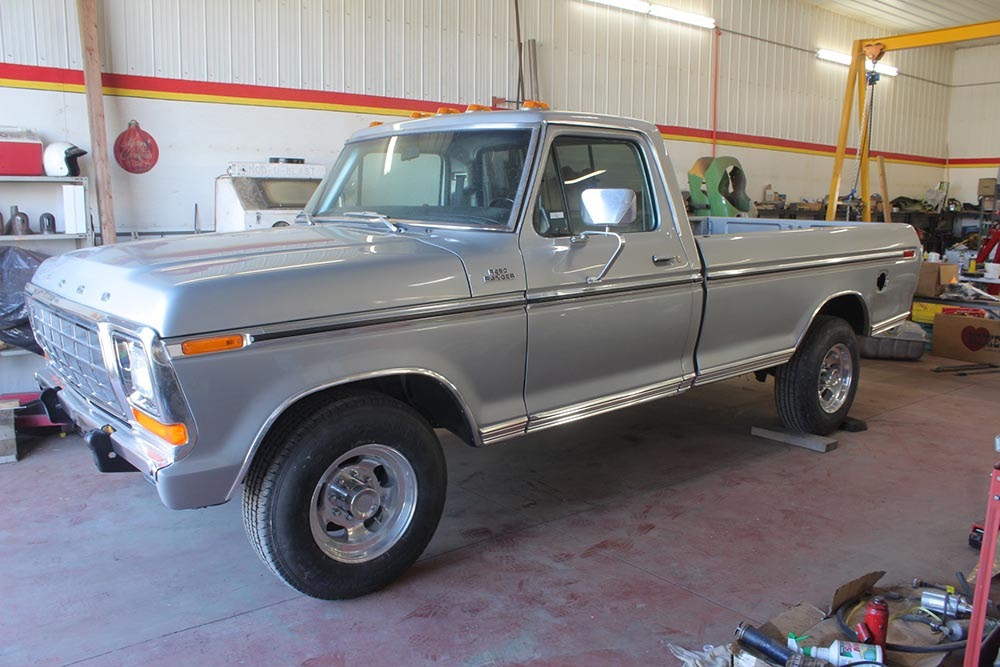
Truck is almost completely assembled.
1 2 3 4 5