|
|
|
|
|
|
|
|
|
 |
|
|
|
|
|
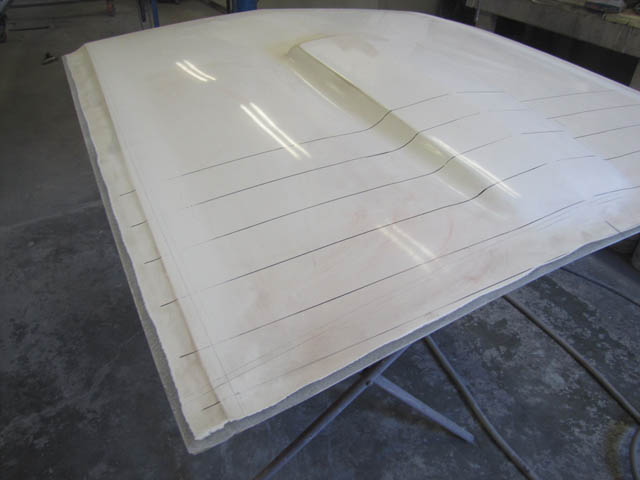
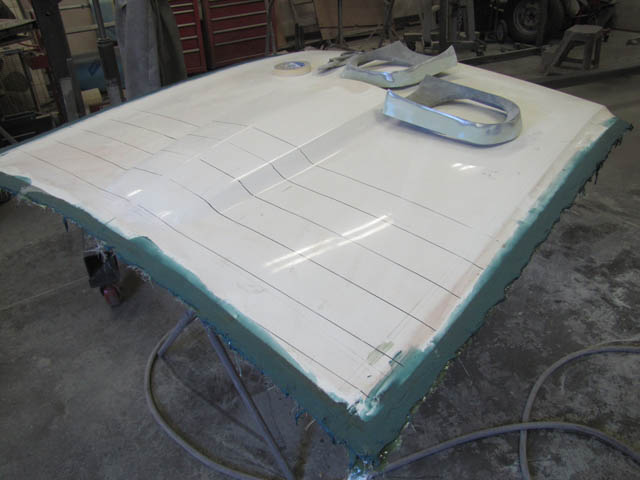
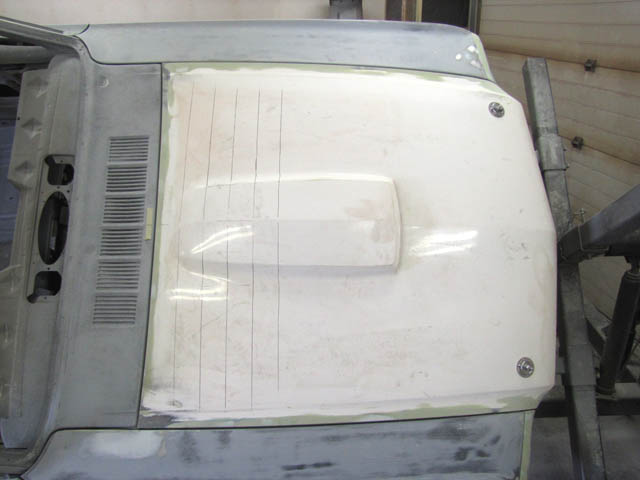
| The fiberglass hood needs material added to the edges to tighten up the gaps. The edge of the hood is first beveled with a grinder so the fiberglass cloth will more surface to adhere to. |
|
|
|
 |
|
|
 |
|
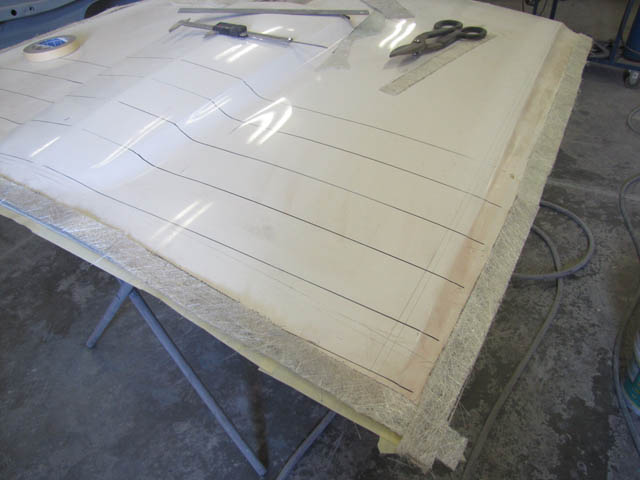
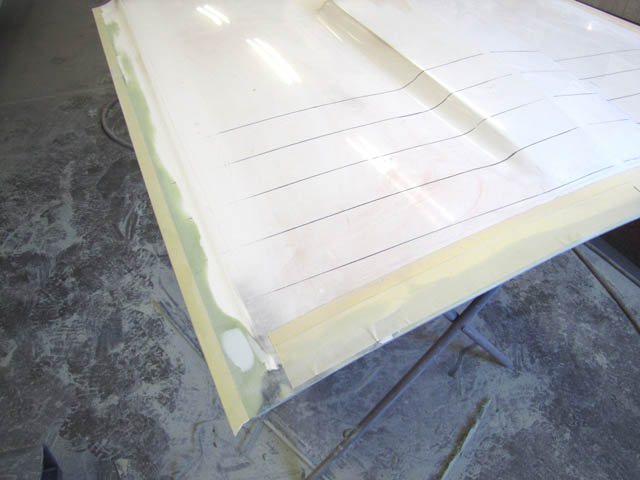
| Masking tape supports the 'glass from underneath. Once the first layer of 'glass has set up it will be stiff enough to support additional layers. |
|
|
 |
|
|
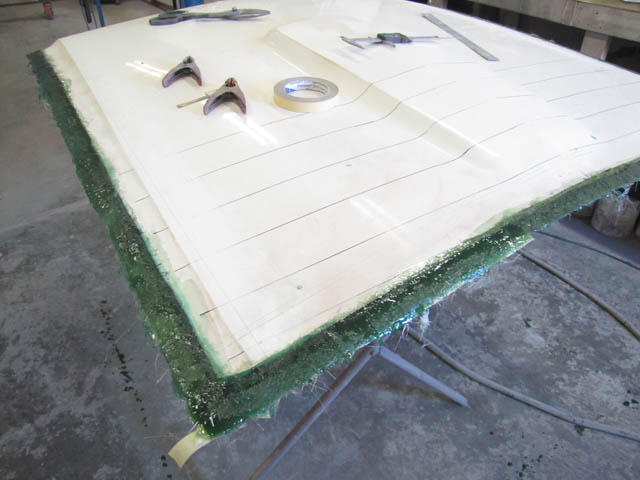
The cured 'glass is ground flat with top of the hood and then a light coat of fiberglass filler is applied |
|
 |
|
|
|
 |
|
|
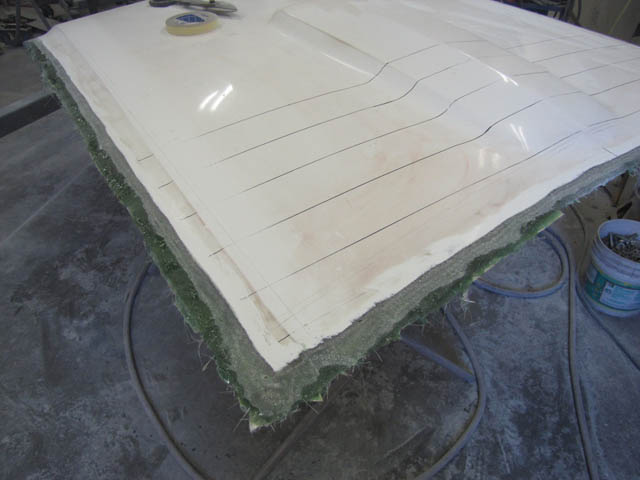
The hood is trimmed to size in steps. There is nothing worse than cutting too much off and having to start over. |
|
 |
|
|
|
|
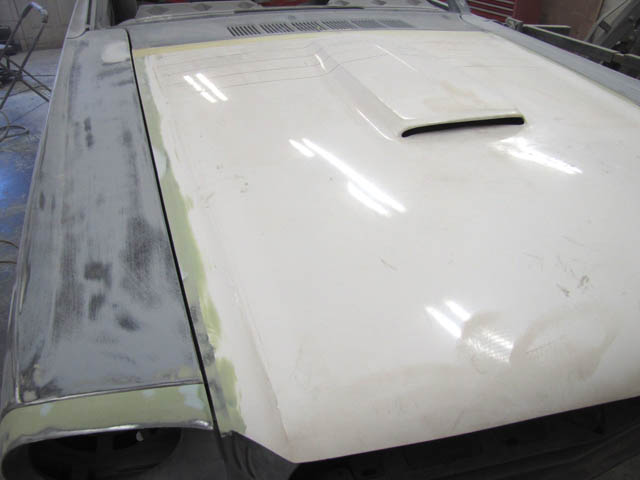
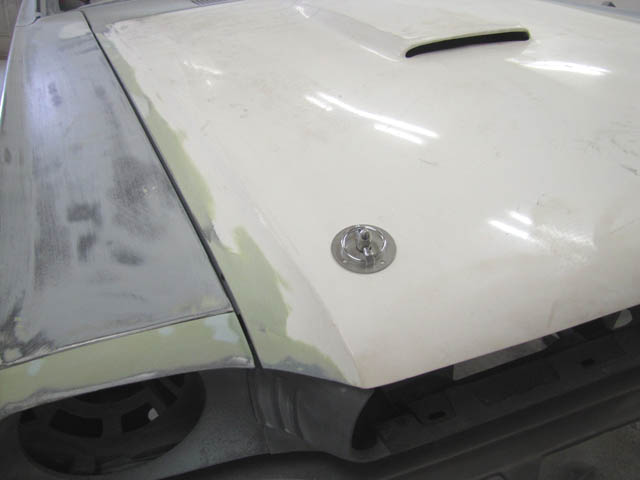
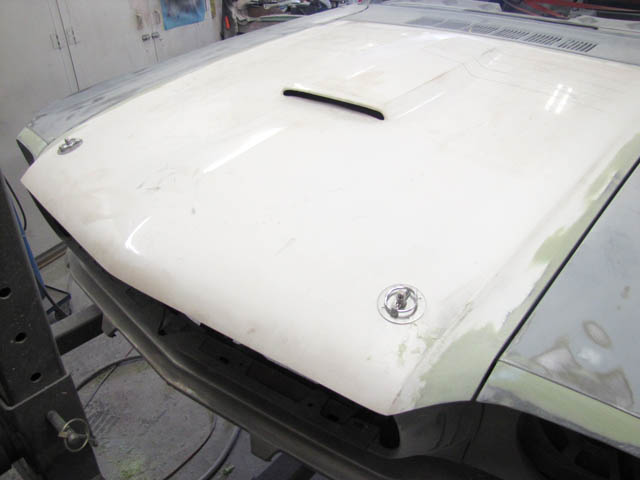
The hood is now test fitted in place without the hinges. It is supported with bolts whose height can be adjusted to level the hood with the fenders. Things are beginning to look quite good at this point. |
|
 |
|
|
|
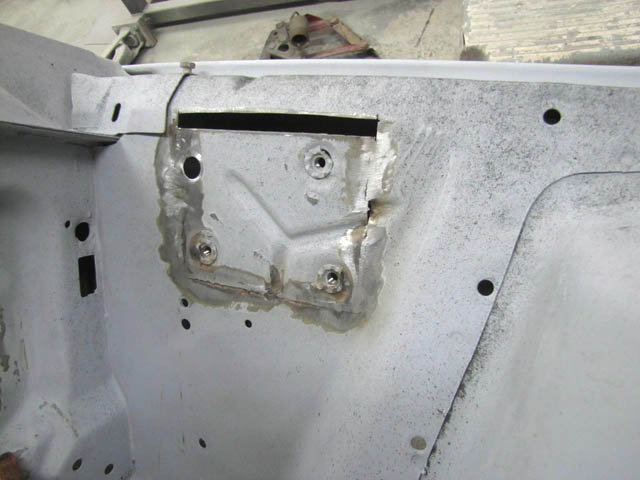
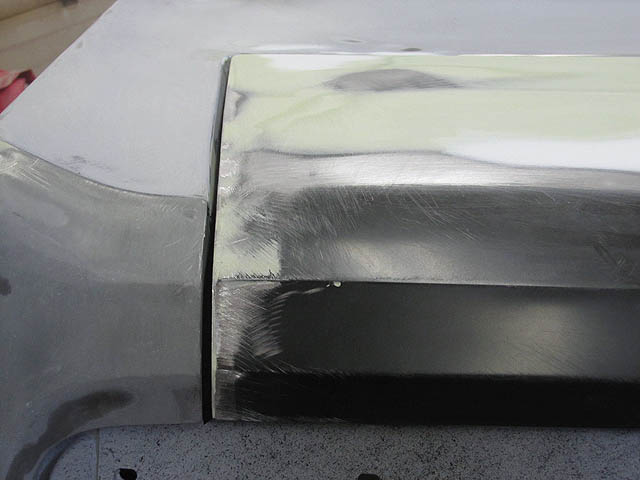
The hood on the driver side was still too high with no more adjustment to go down. To solve this, a section of the apron which included the hinge mounting points was cut out and lowered. This created a gap at the top which was later filled with sheet metal. The fiberglass hood must be a bit taller than the factory steel hood. |
|
 |
|
|
|
|
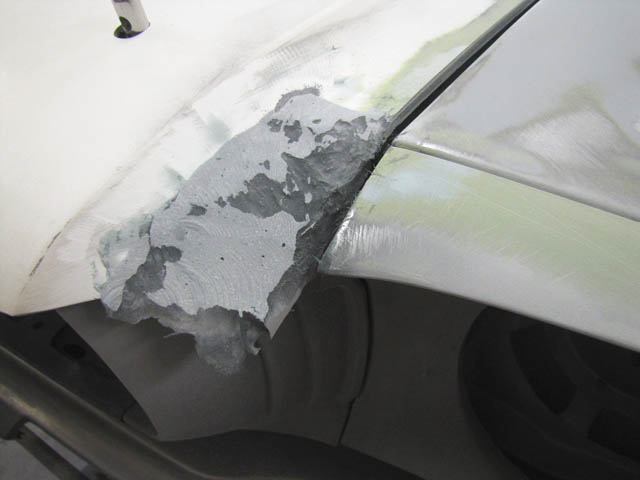
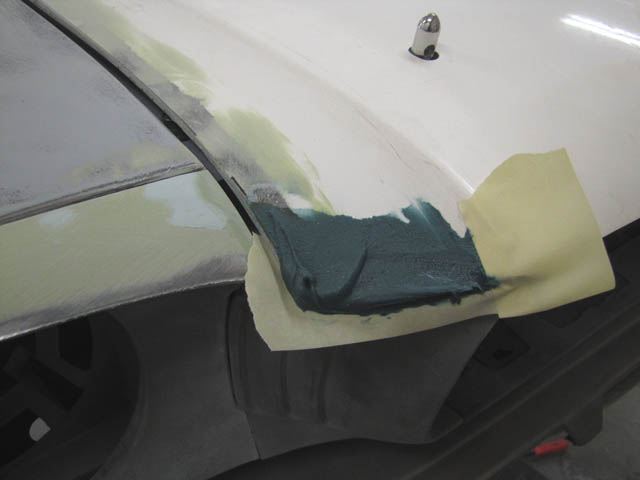
Once the hood is in final position, the front corners are reformed to match with the headlight bezels. |
|
 |
|
|
|
 |
|
 |
|
 |
|
 |
|
|
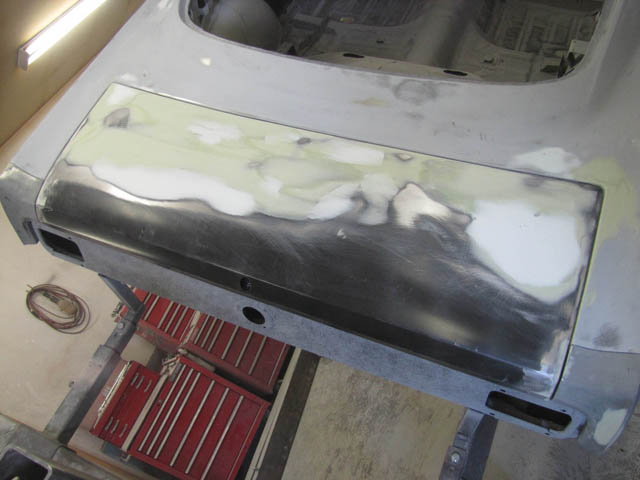
The trunk is now fitted and gaps are all aligned. |
|
 |
|
|
 |
|
|
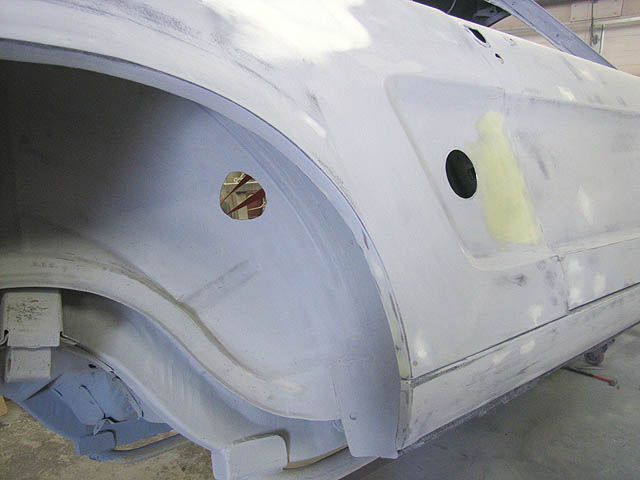
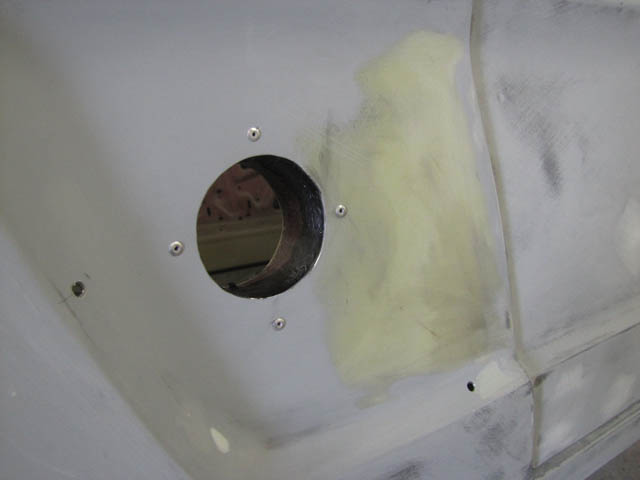
These holes are for the air ducting that is designed to cool the brakes. A fiberglass scoop will bolt on over the scallop area. |
|
 |
|
|
|
 |
|
|
|
|
|
|
|
|
|
|
|
|
|
|
|
|
|
|
|
|
|
|
|
|
|
|
|
|
|
|
|