After shaping the metal panels, they are rolled on the English wheel to eliminate any distortions.

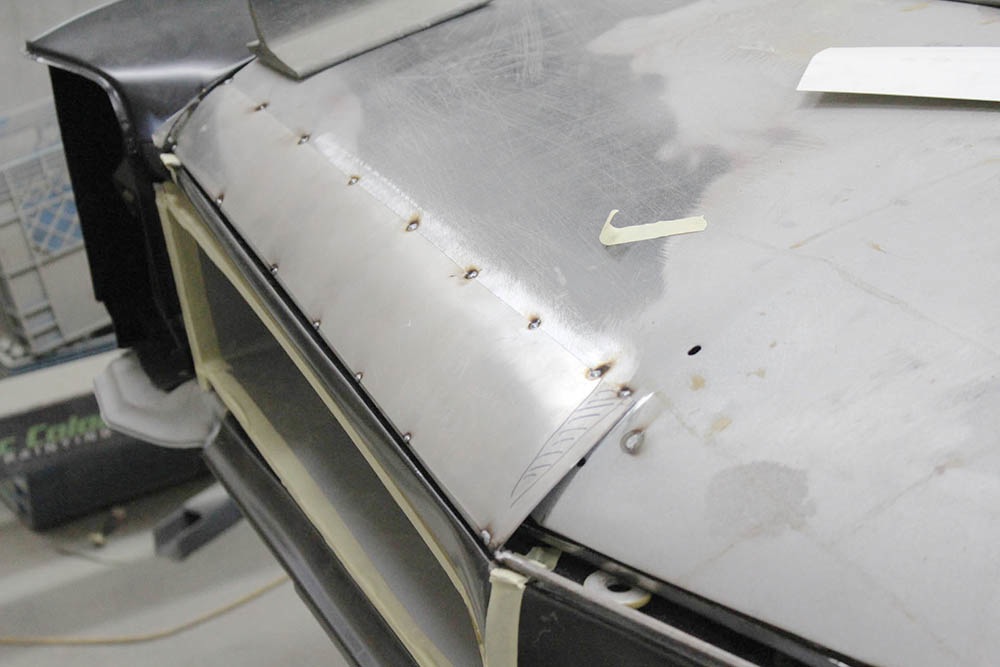
Now there is a nice even gap and the front of the hood is flush with header panel.
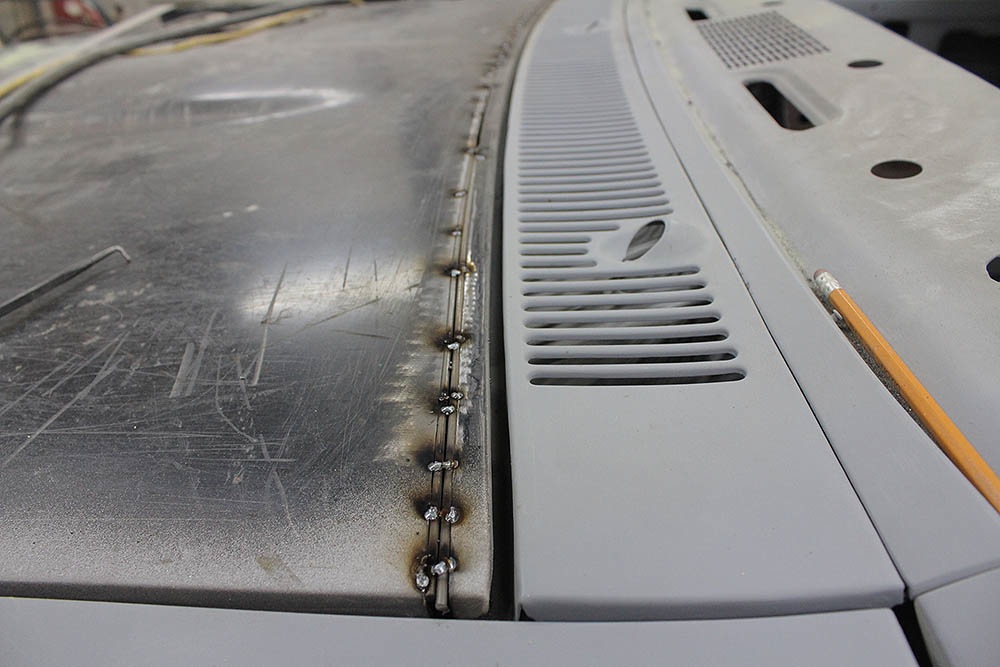
The hood gap at the cowl was too large on one side. It was sliced and 1/8" rods were used to extend the hood.
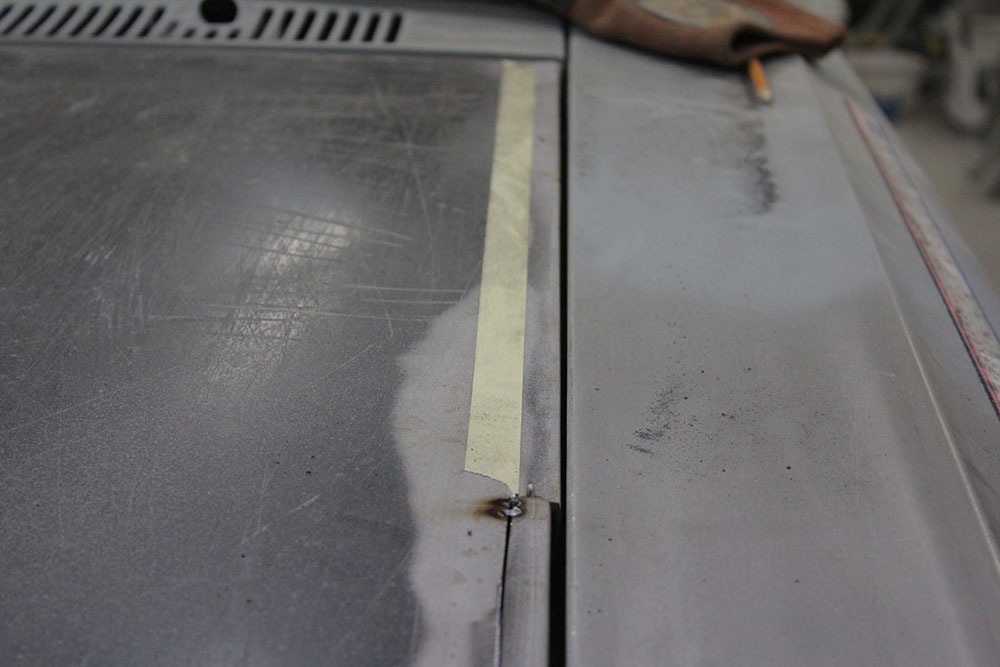
The hood gap was tight at the front, the hood was sliced and a thin sliver was removed.
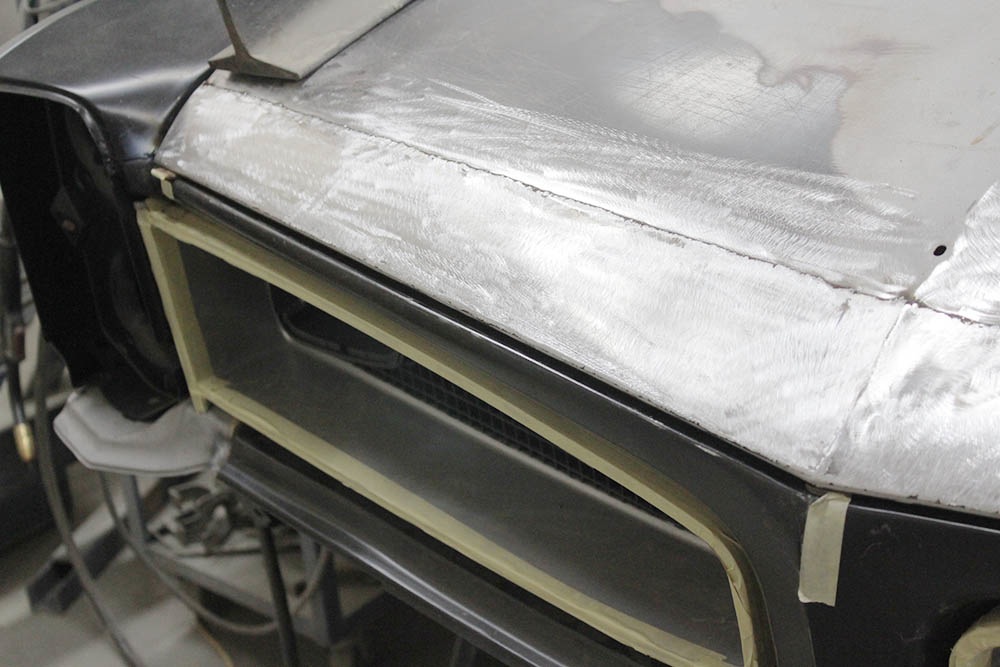
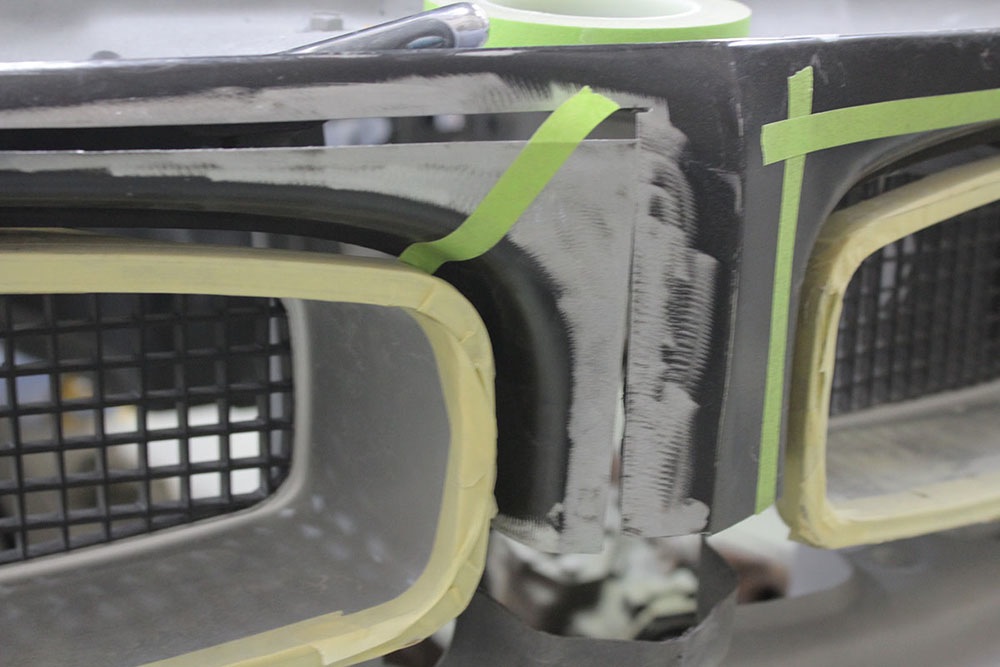
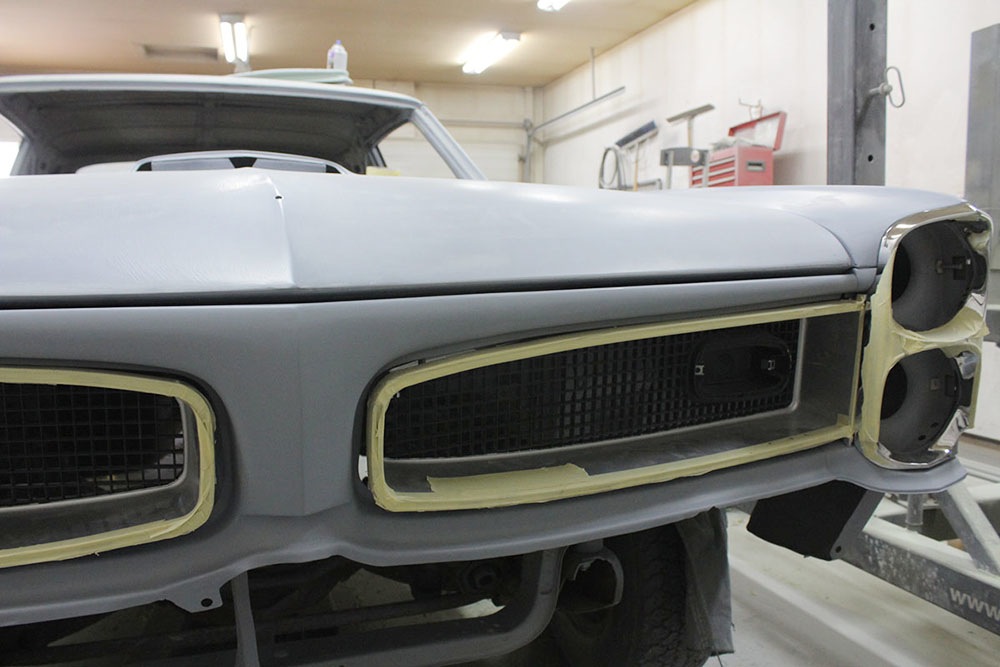
The header panel was cut and re-positioned to fit the grilles.
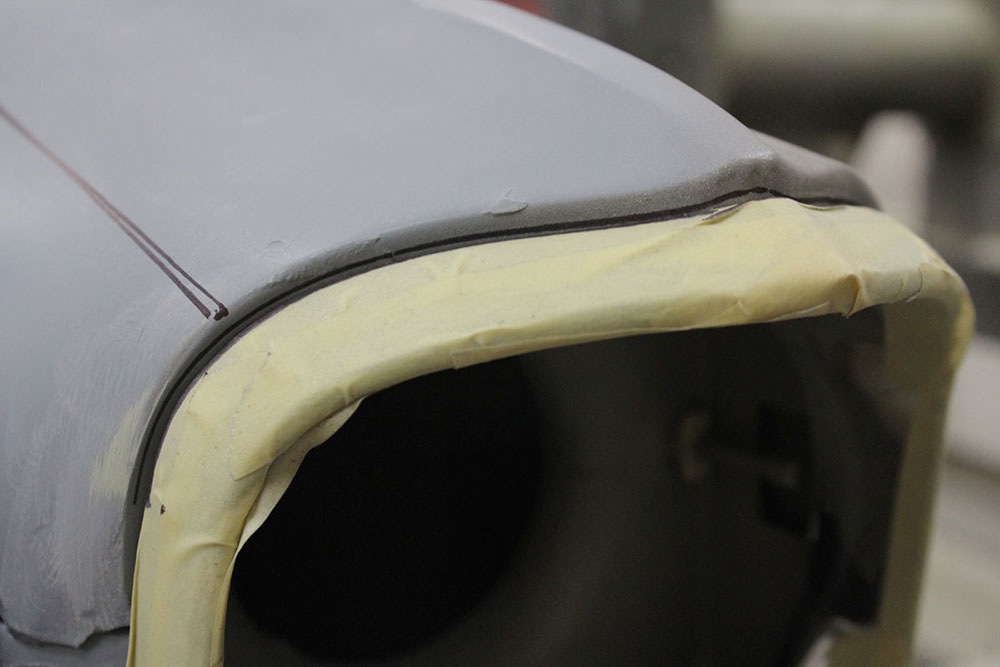
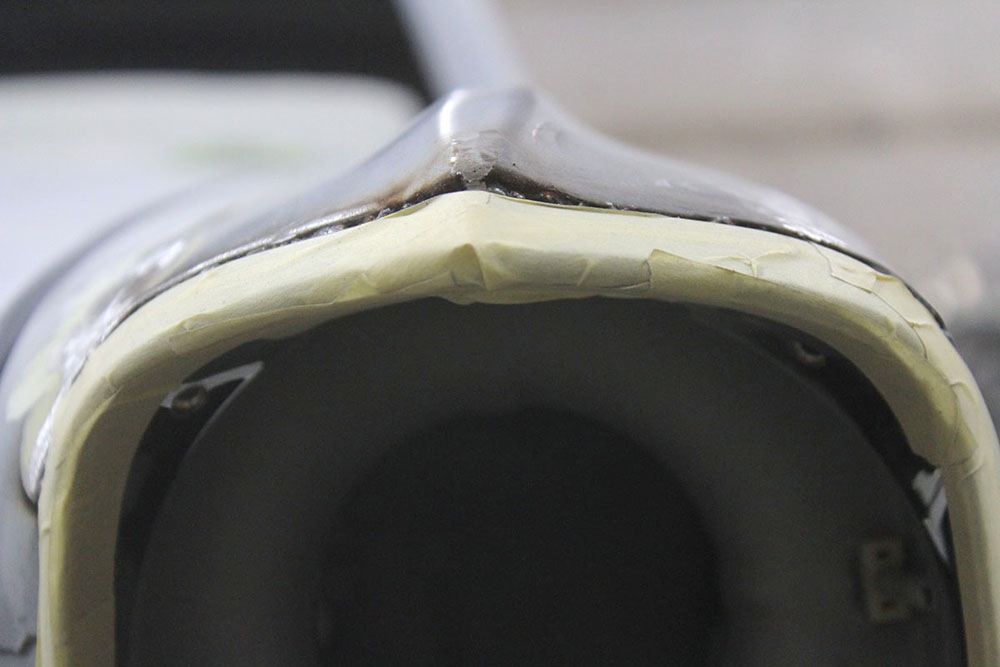
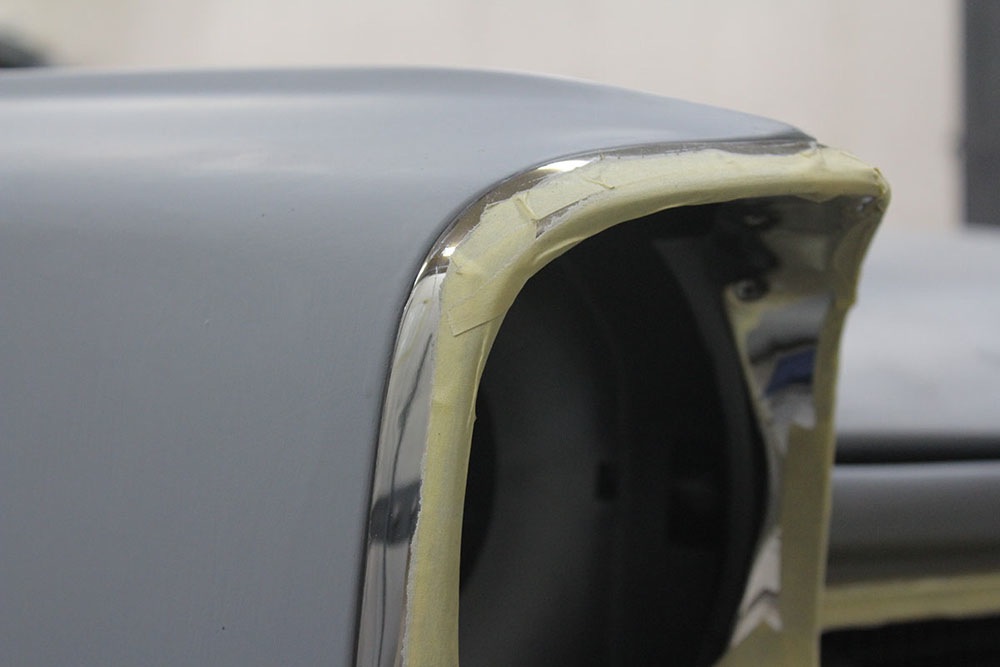
The
next three photos show the re-working of the fenders to fit the
headlight bezels. The fender was cut along the black marker lines,
re-positioned and welded.
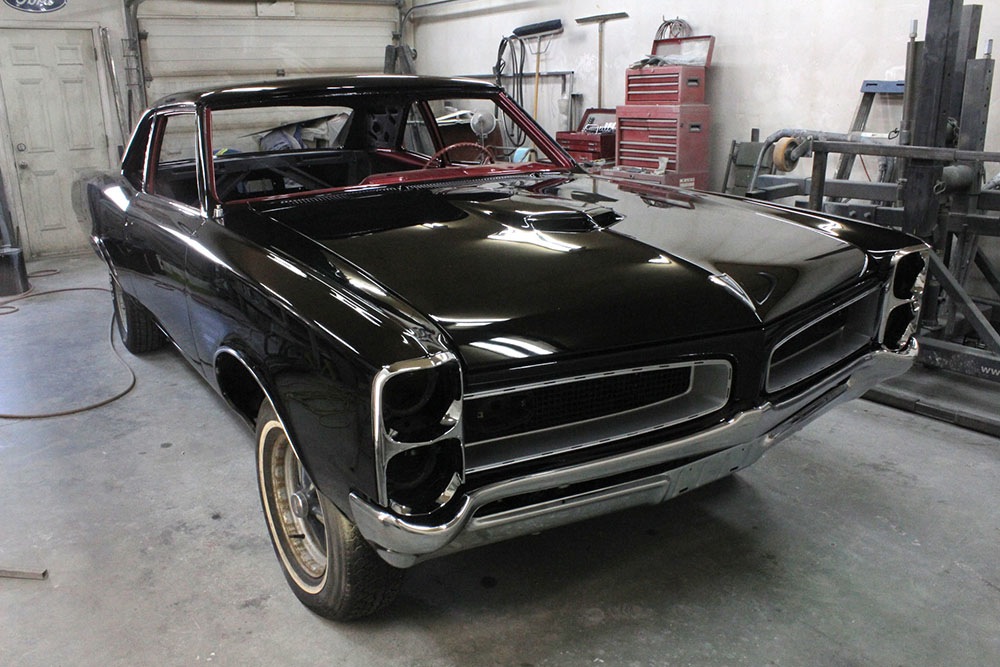
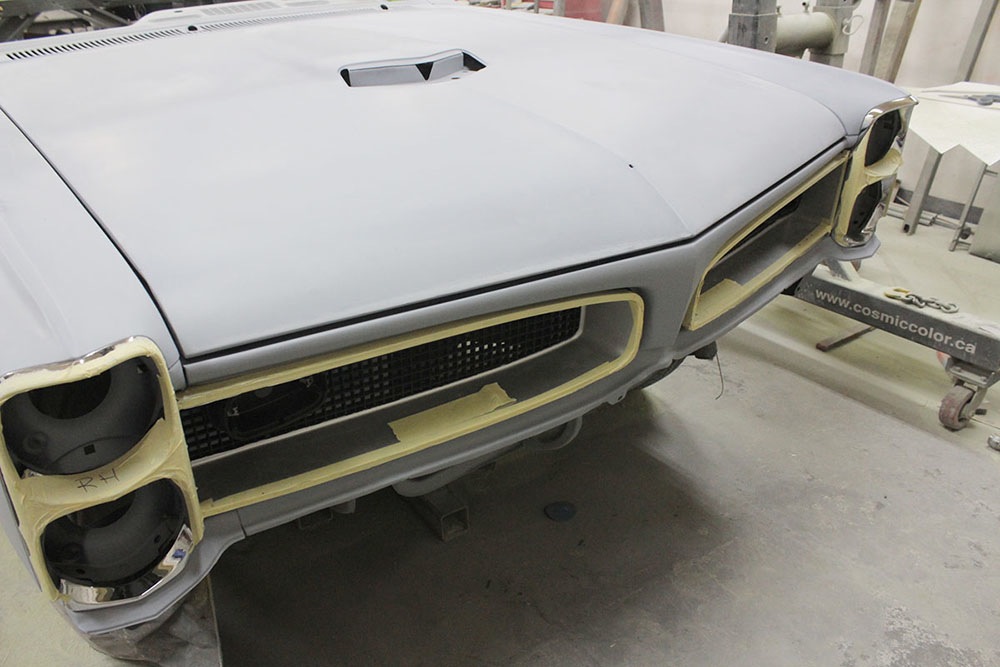
The metal work on front of the car is now complete. Next will be a test fit of the front bumper, once it is fitting properly it can be removed along with the grilles and bezels and the block sanding process can begin.
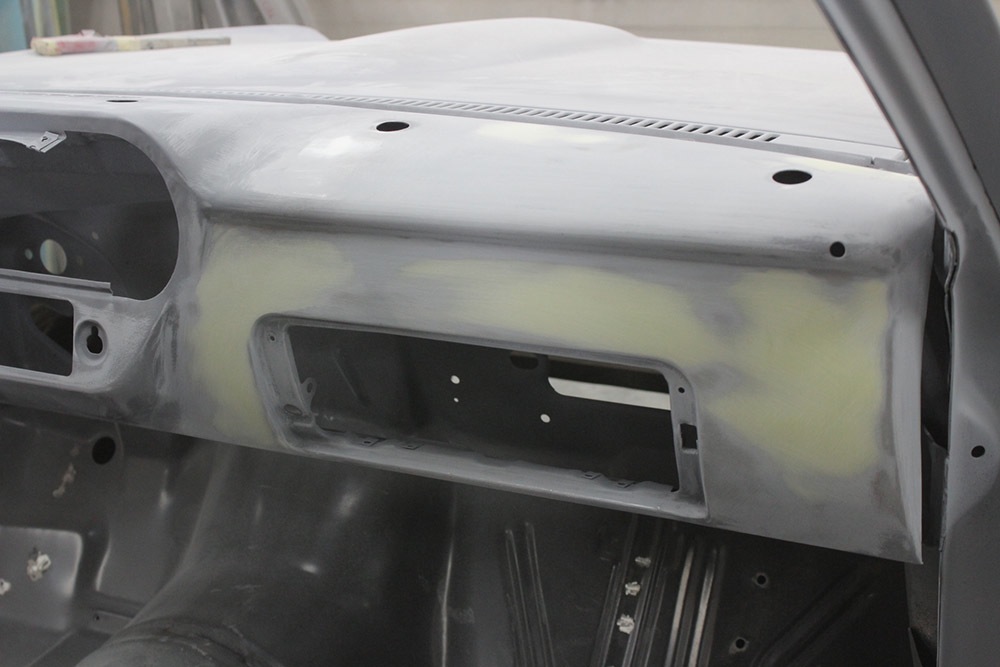
The dash received a skim coat of filler to make it straight.
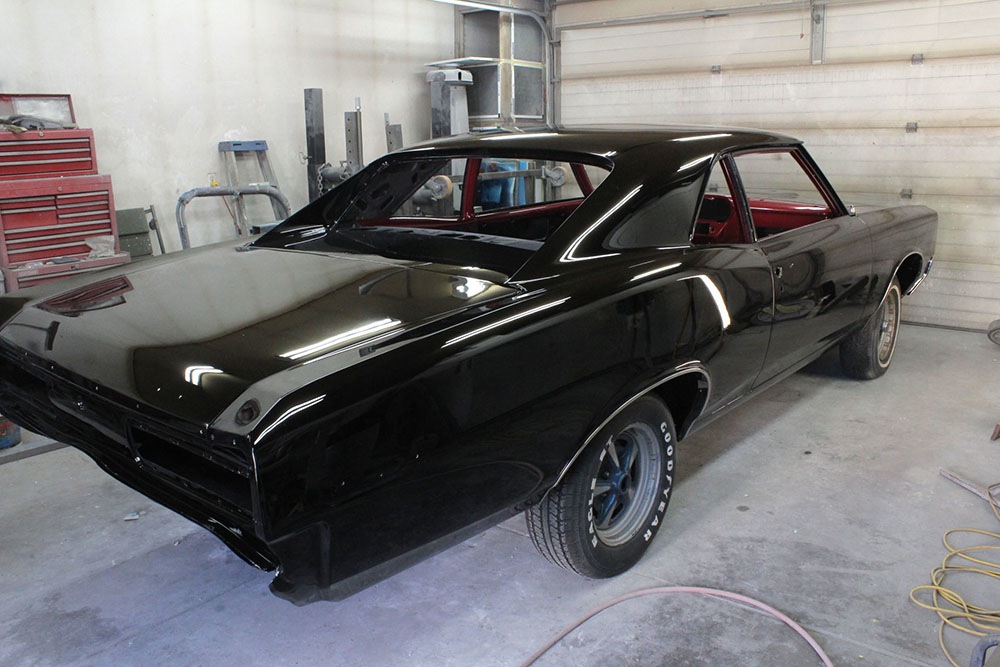
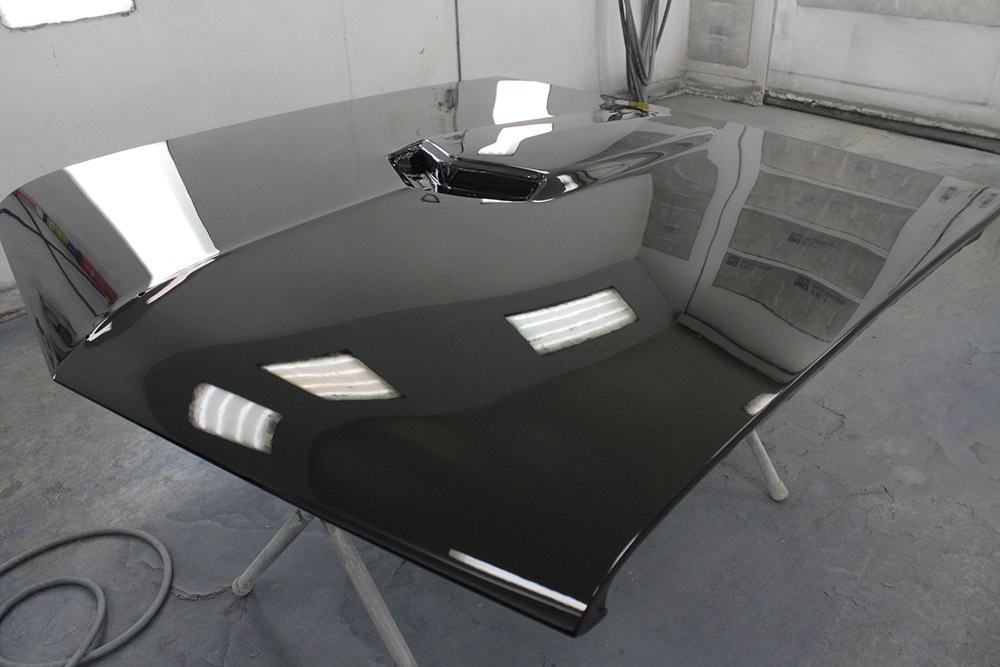
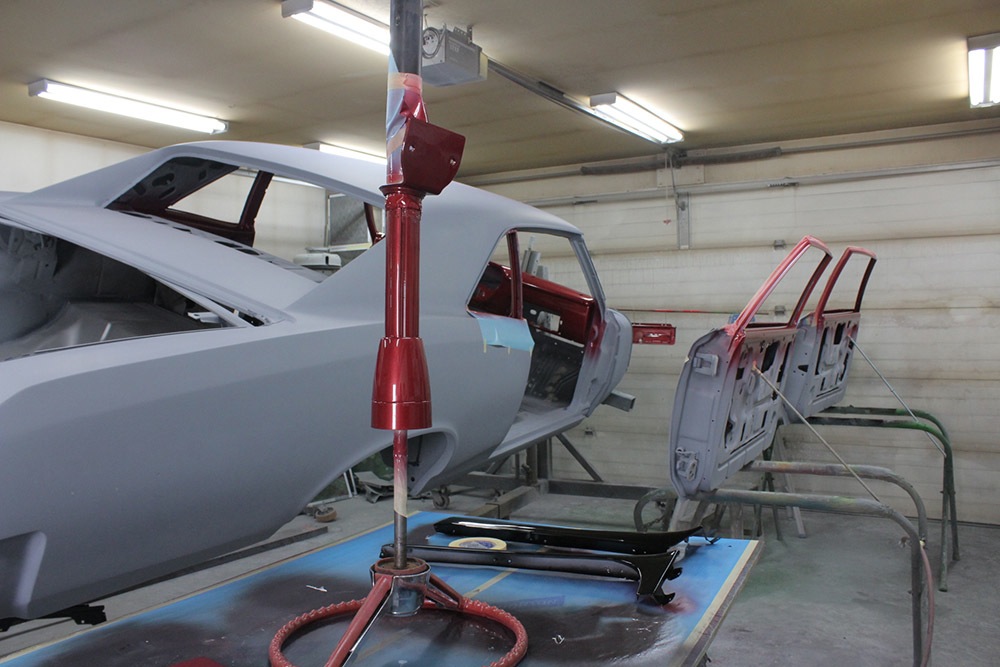
The painting has now started. Because this is a solid color, the panels can be painted separately.
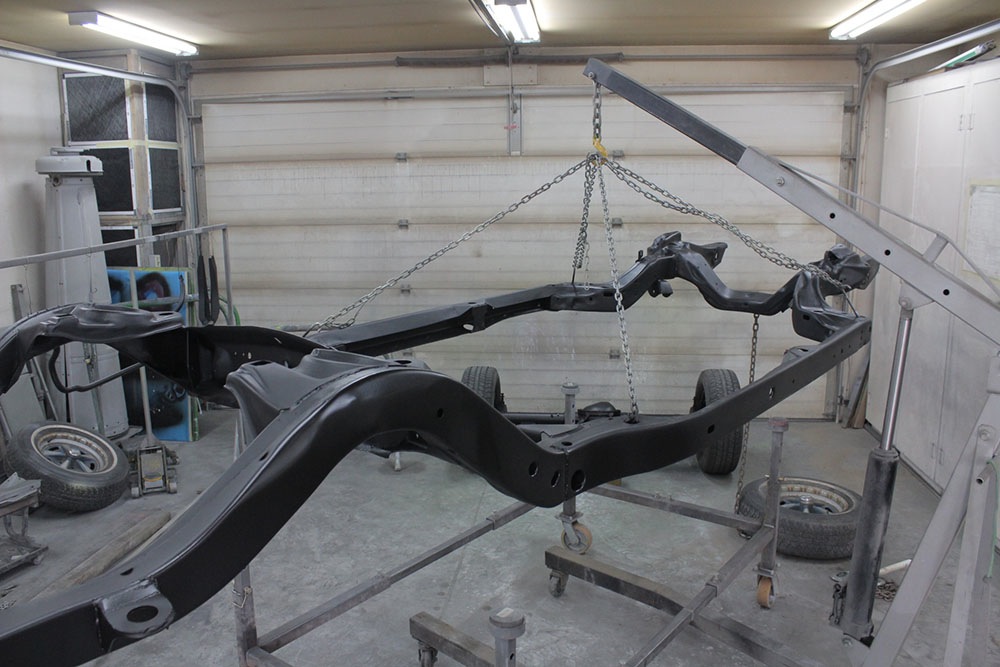
The frame is completely stripped, sand blasted and painted.
The car is assembled and ready to return to owner who will finish the project.