Everything
is properly aligned, correctly located, measured three times, only then
can the welding begin. After welding the new rockers and cowl assembly,
the whole floor section is removed in preparation for a new piece.
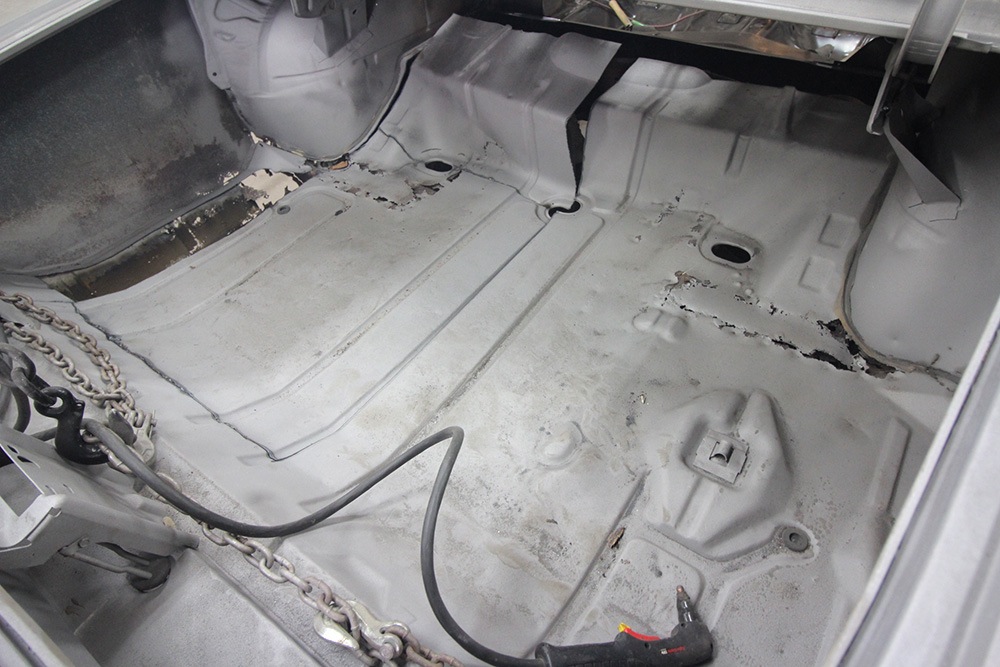
The new floor is ready to lift into place for a test fit.

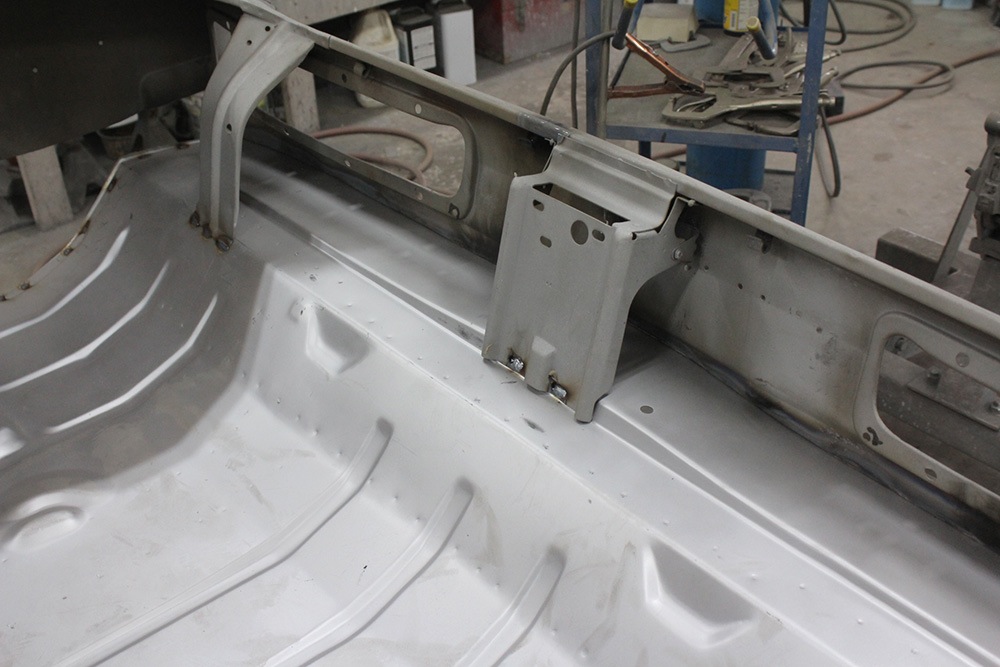
The floor is postioned in place and the results are very good, just some minor tweaking and this will be ready weld in place.

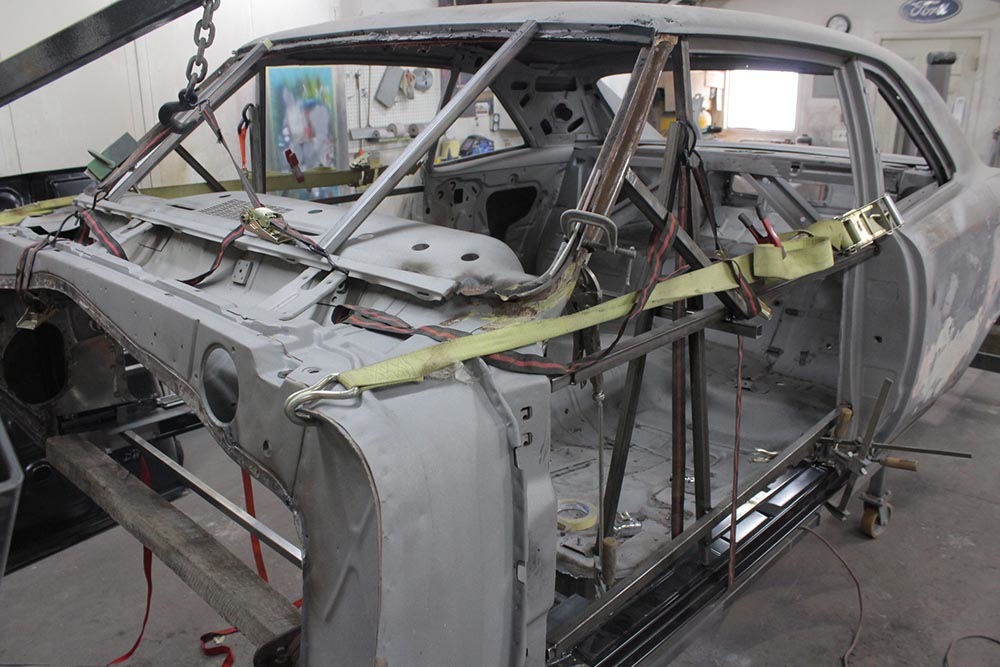
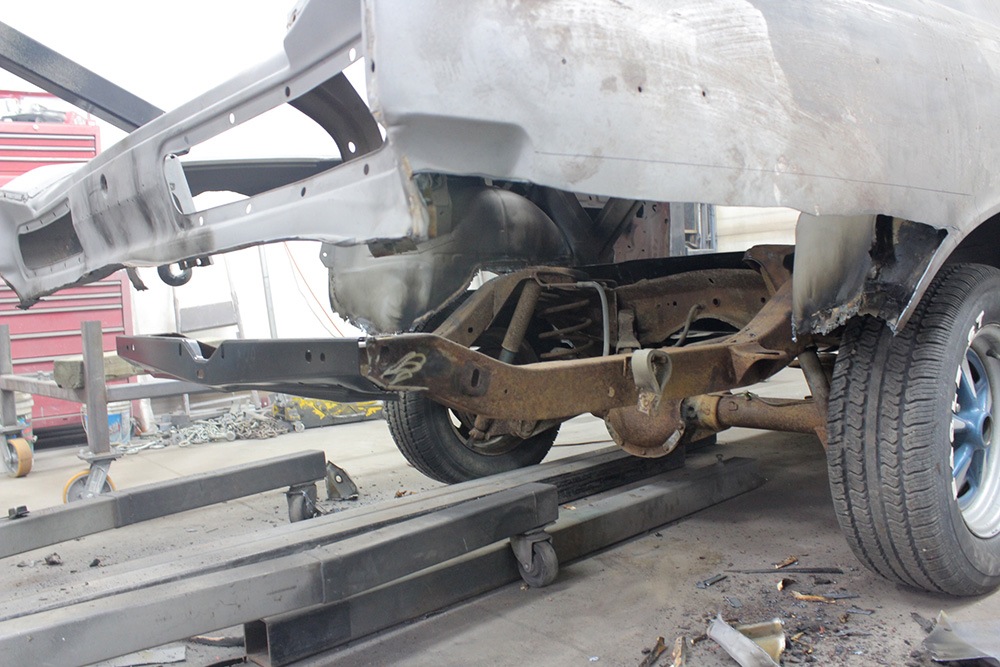
In order to get the the firewall in the proper position the body was mounted back on the frame and the firewall was also mounted to the frame before welding in place.
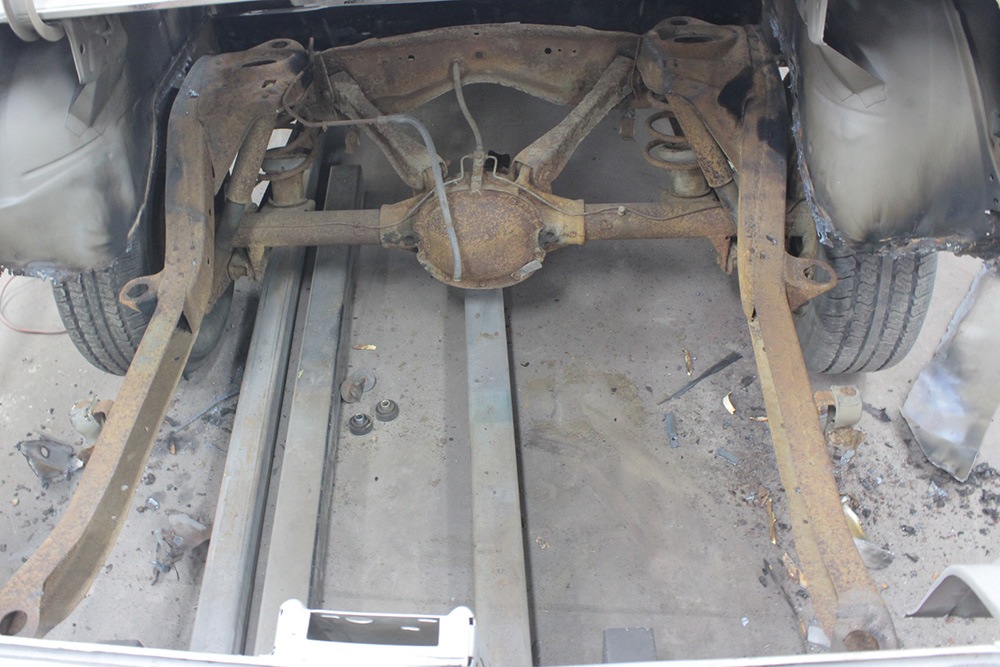
While the body is on the frame the complete trunk floor is removed and replaced with a new piece.
The bottom of the wheelhouses will be replaced with new metal.
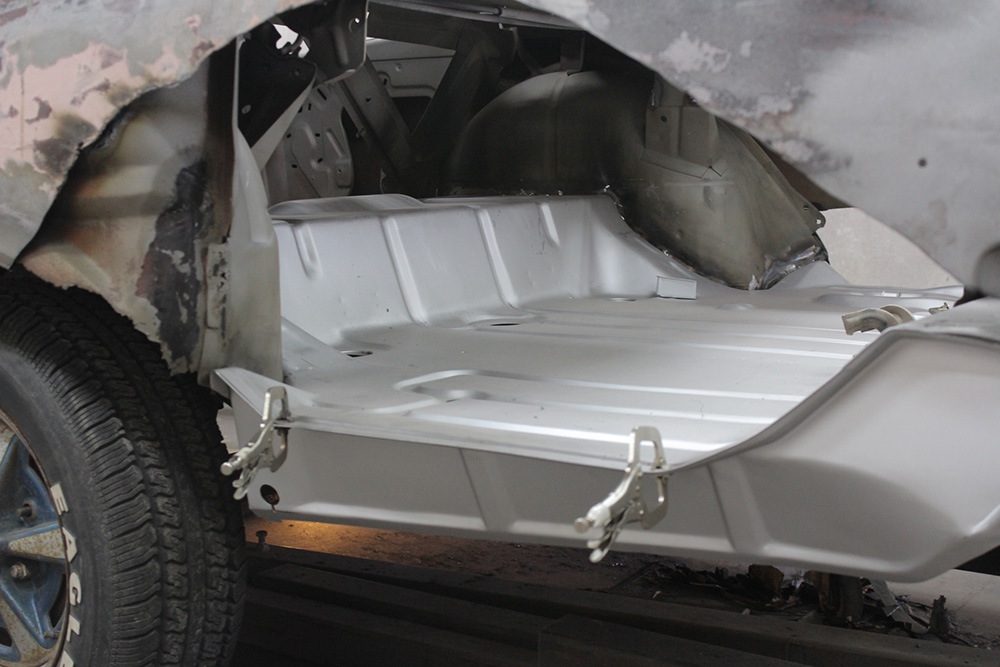
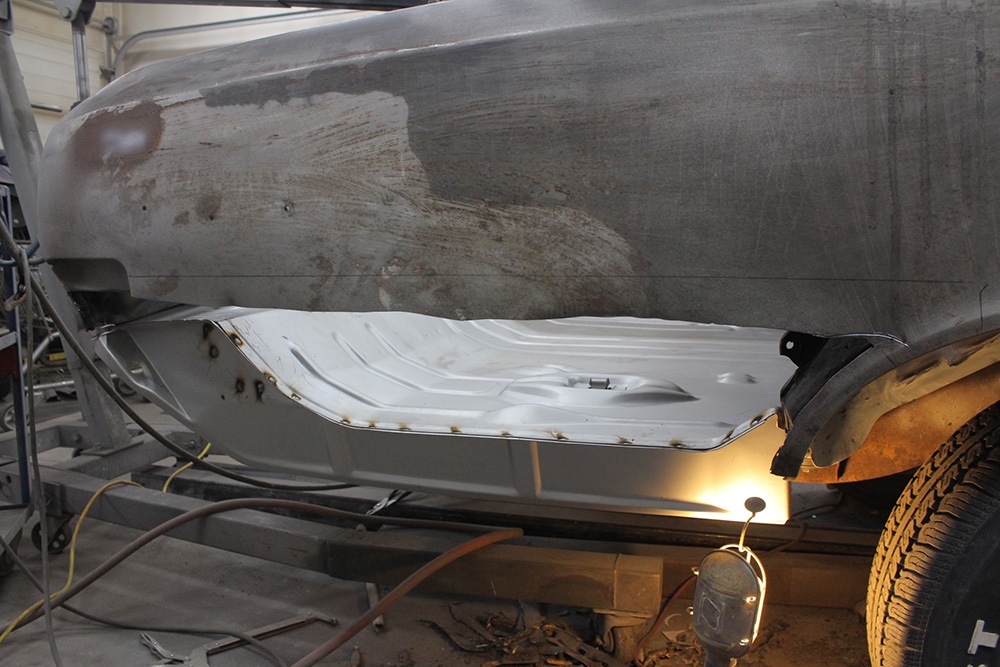
At this stage the floor is being fitted, it all fits very well.
The trunk floor is welded in place.
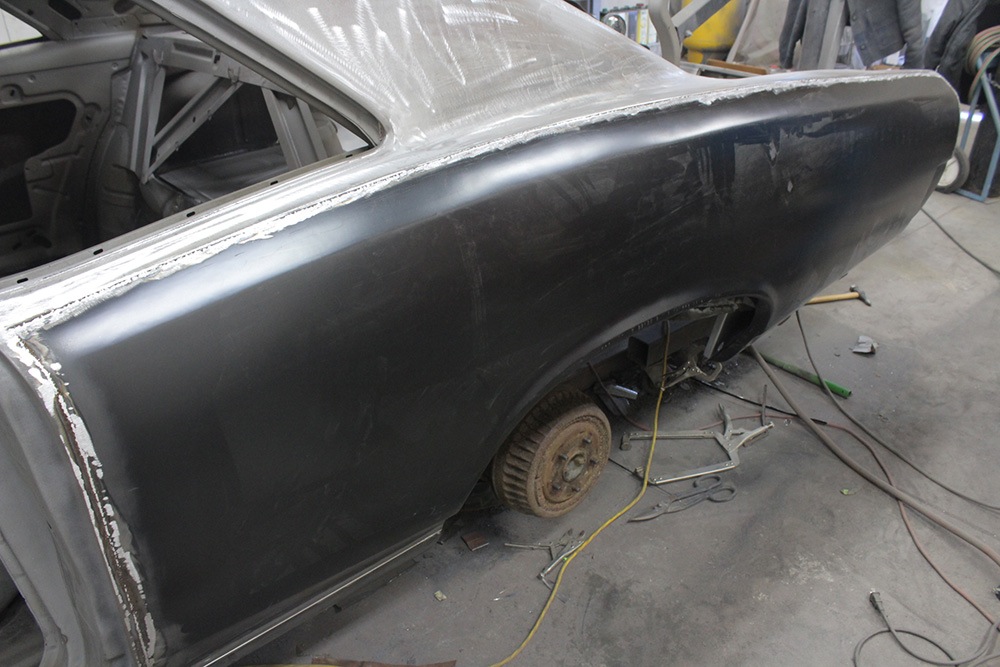
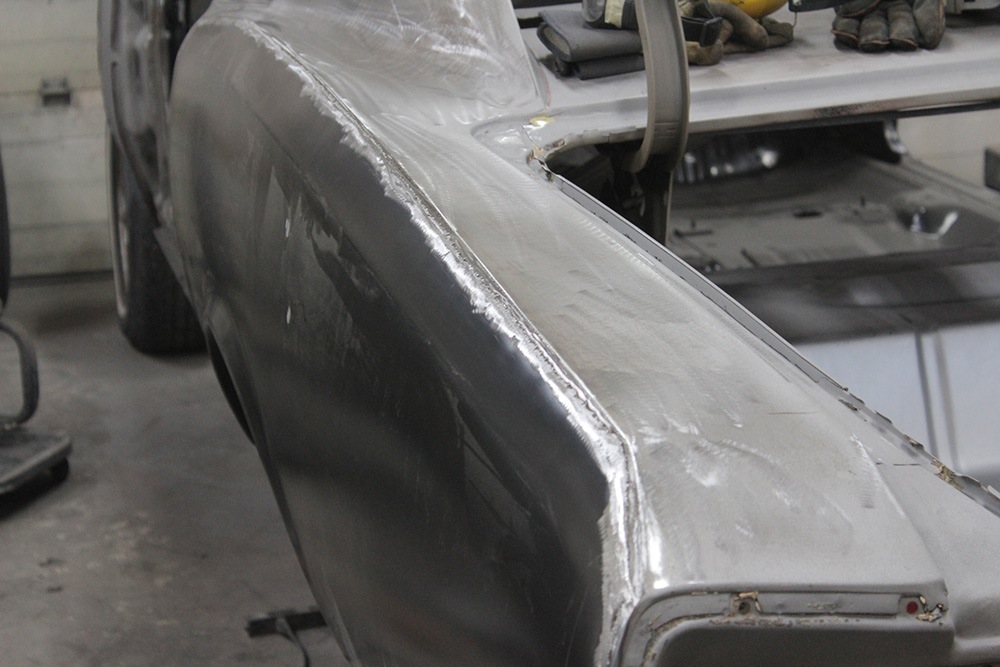
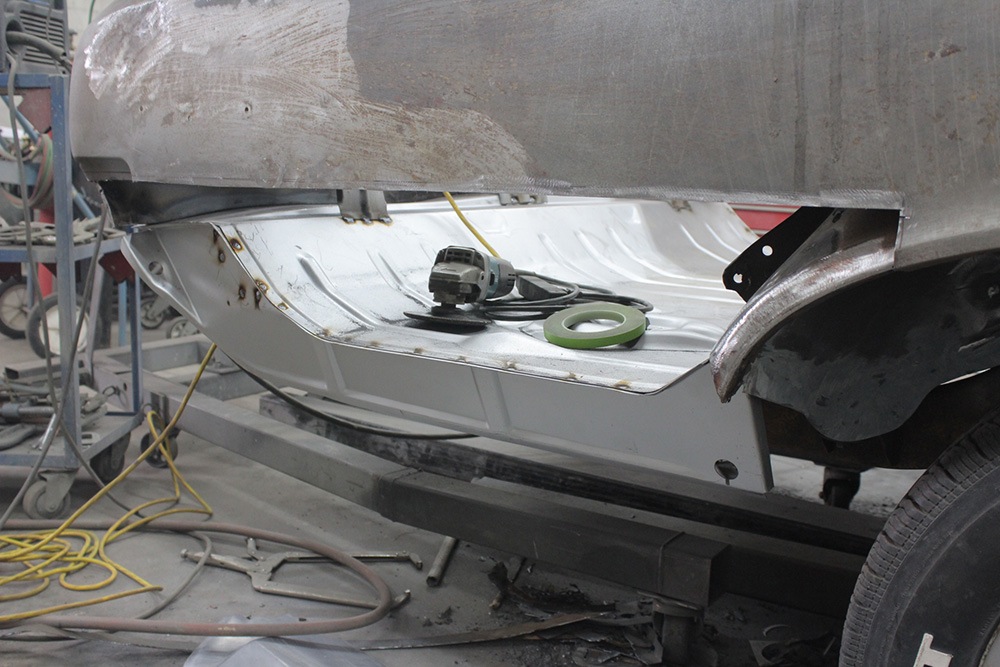
On the right side a patch panel will replace the bottom quarter. After fitting the panel it is held in place with Clecos and tack welded. The entire panel is welded using a series of small tack welds, which are allowed to cool and ground down. Then the procedure is repeated until finally the whole panel welded in place. This is a time consuming process but it is the only way to keep the panels from warping.
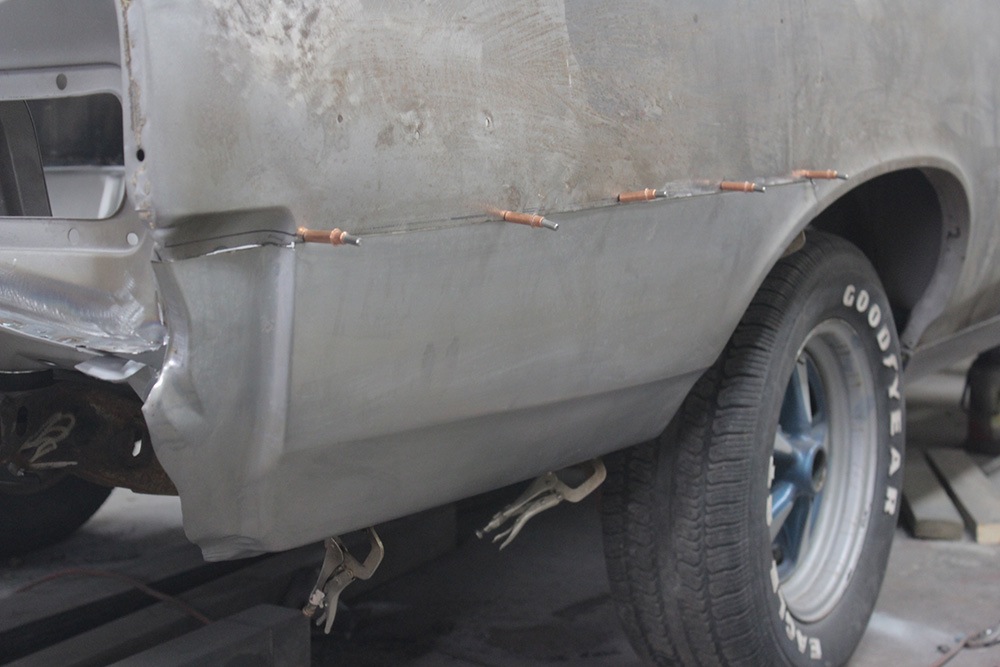
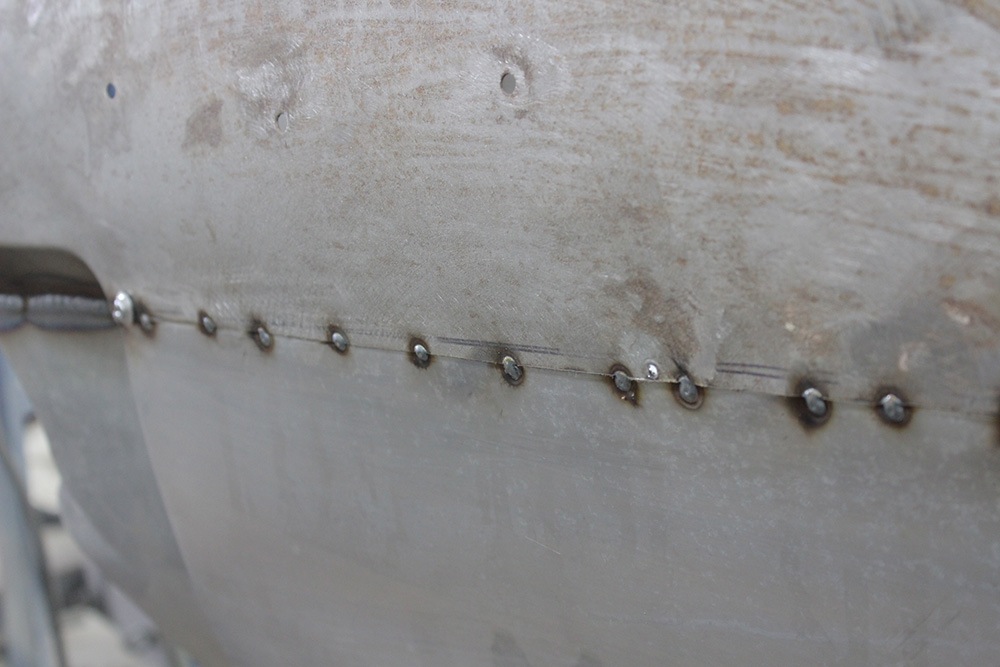
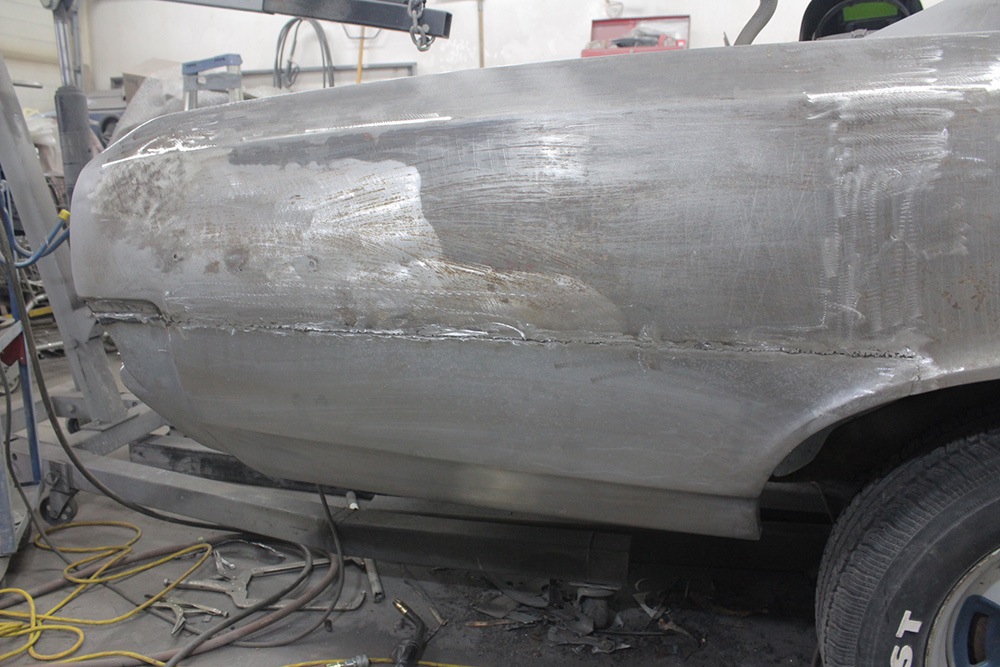
This photo shows the panel completely welded in. It will take only a small amount of filler to smooth this panel out.
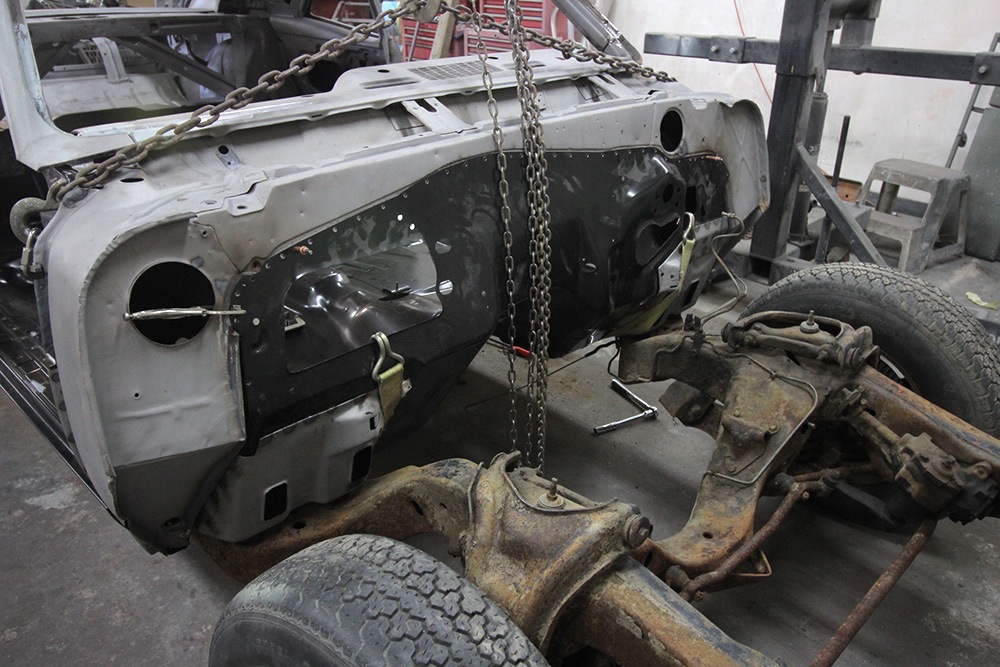
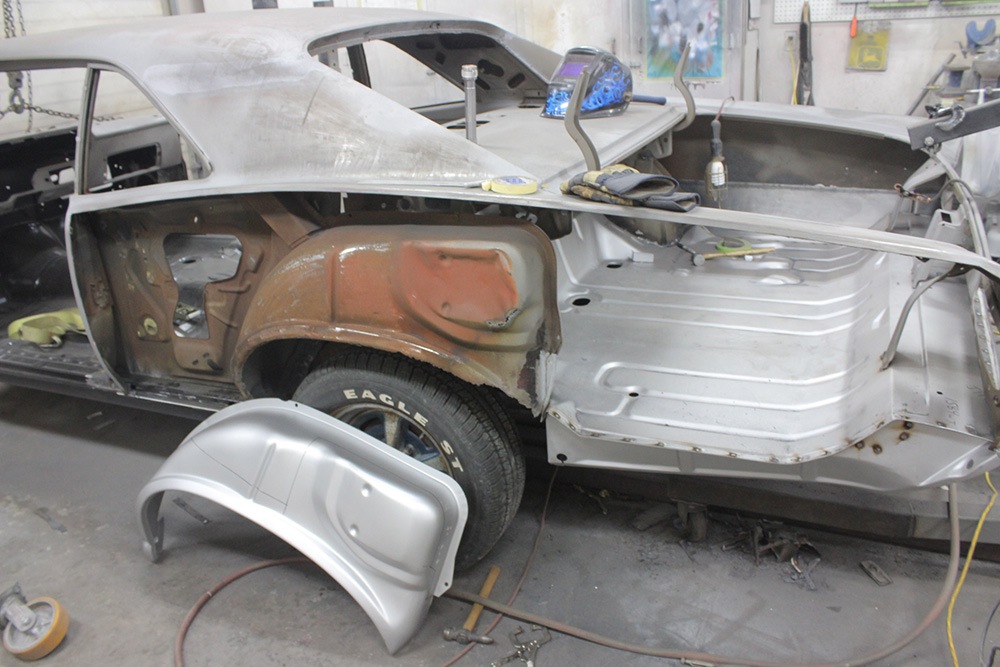
The quarter panel has been removed and the outer wheelhouse will be replaced.
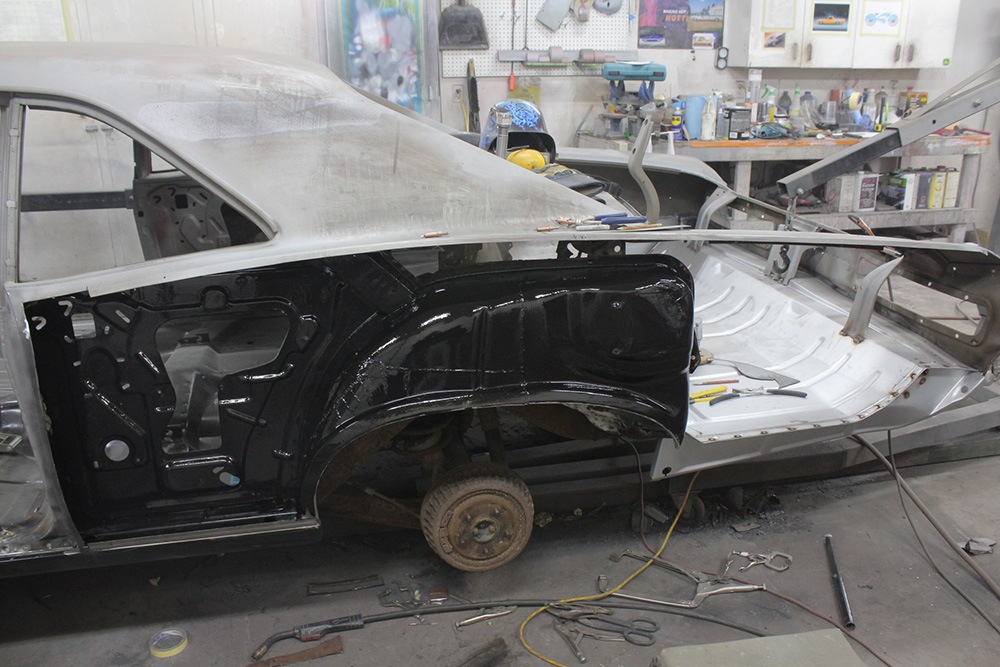
Once the wheelhouse is replaced, the inside of the opening is painted to seal things up before the quarter panel goes on.
At this stage the new quarter has been welded on.