Page 1 2 3
This Road Runner arrived at Cosmic Color in this condition. The pictures below show the progress.
Most of the metal is going to be replaced. Sand blasting reveals how much metal is bad.
The left front subframe and inner fender need to be replaced. The subframe is completely rusted out whe the k-member bolts to the frame. A new frame and fender came from a rust free donor car.
Adjustable stands are positioned to hold the car in alignment while the subframe is removed. The stands also allow the new frame to be installed in the same position.
With the new frame installed we can proceed with welding in the inner fender in place.
View with subframe and inner fender installed.
Many small rust areas like this one are cut out and new metal is welded in place.

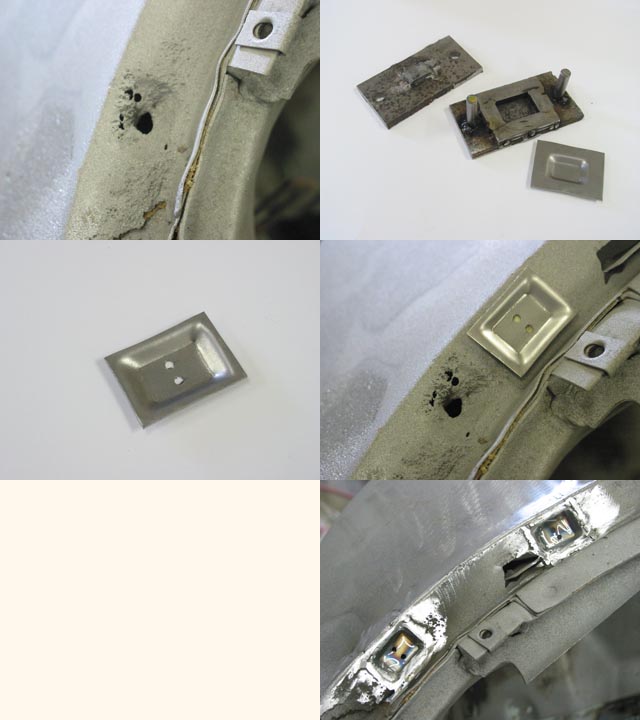
The next set of photos show the repair of the windshield frame where the molding clips are attached. Many of the clip areas were so rusted that screws would no longer hold the clip in place. A small die was made where sheet metal could be stamped like the original shape of the clip area. After two small holes were drilled into each piece they were then welded carefully in the same position as the original.

A previous owner had replaced the floor and trunk but had not finished the bottom side. After welding the bottom edges and applying some filler on the new floor it is ready for primer and paint.
The engine bay is ready for primer and paint.
Patch panels were welded in to the bottom of the front fenders.
The factory stamping had holes in the corners of the fenders. Normally this is covered up by a chrome molding that goes around the grille opening. This car will not have this molding only the chome molding around the grille, hence the need to fill in the hole.
Door-fender gaps are adjusted and extra metal welded on if neccessary to make a uniform gap.

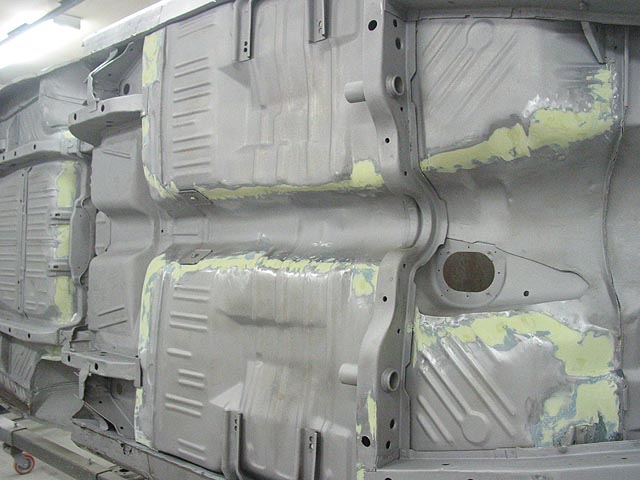
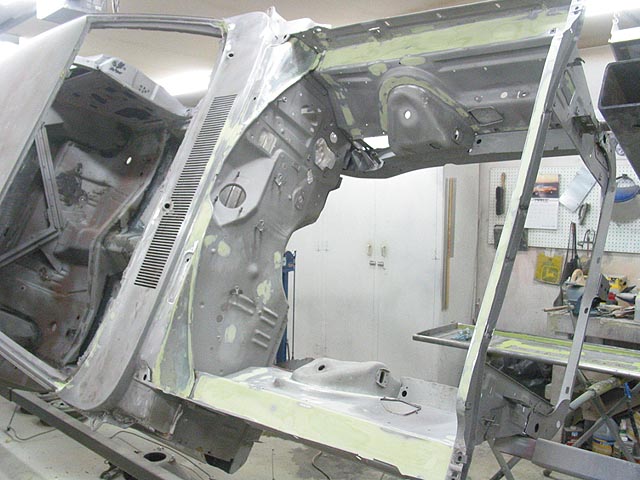
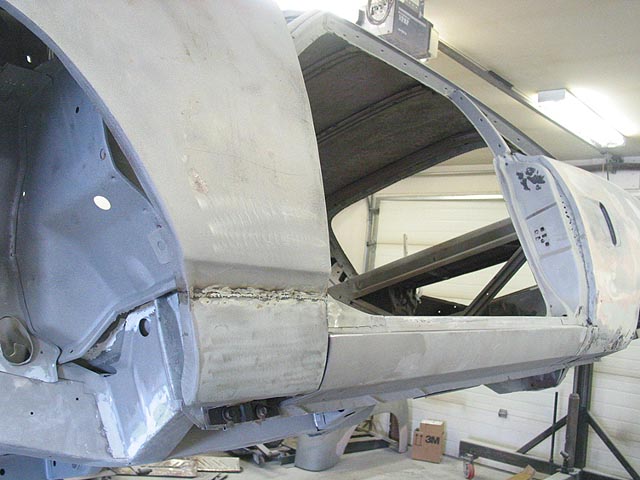
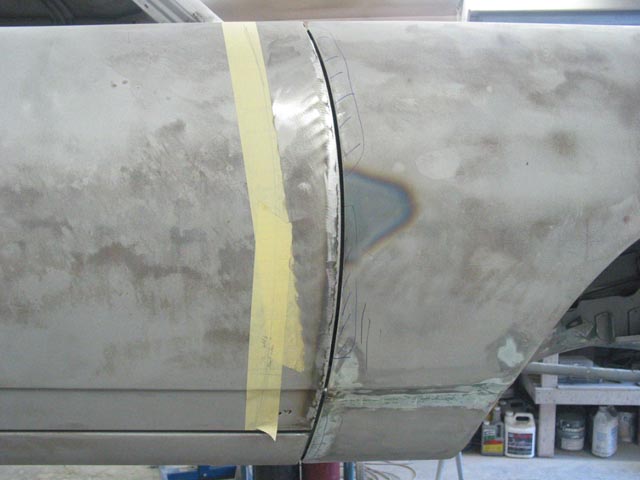
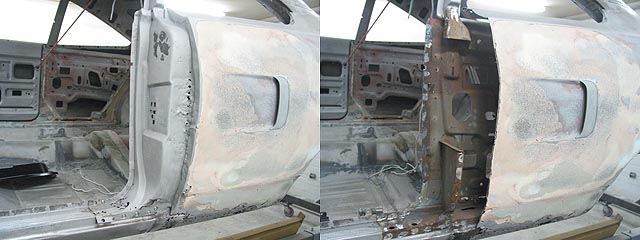
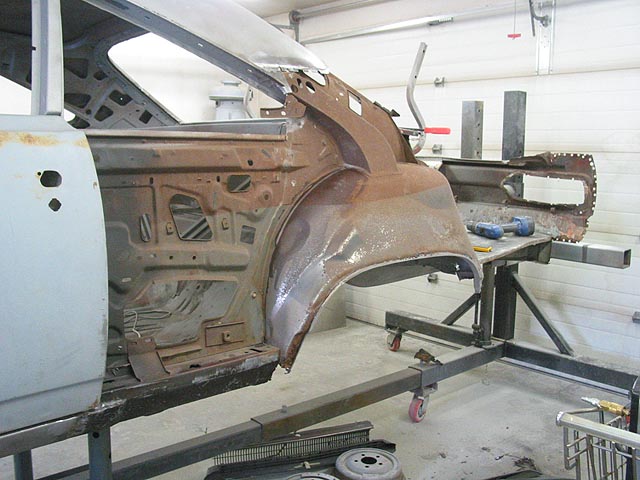
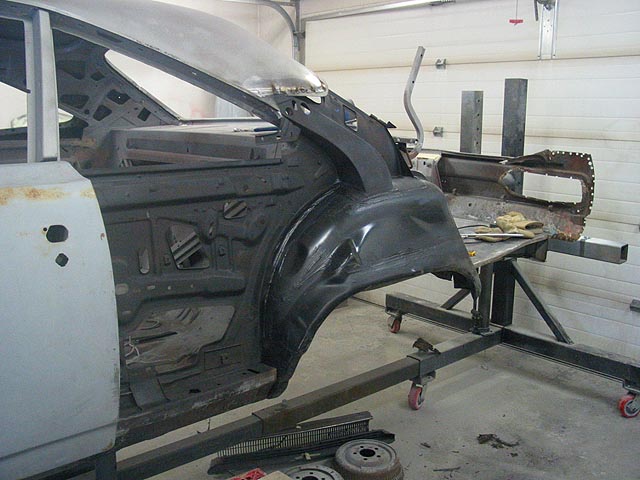
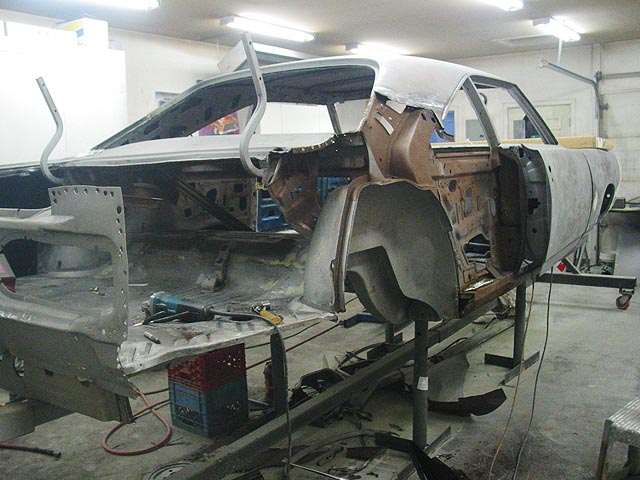
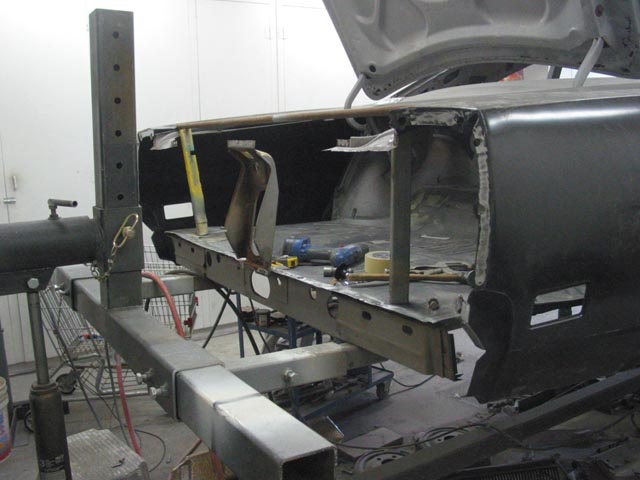
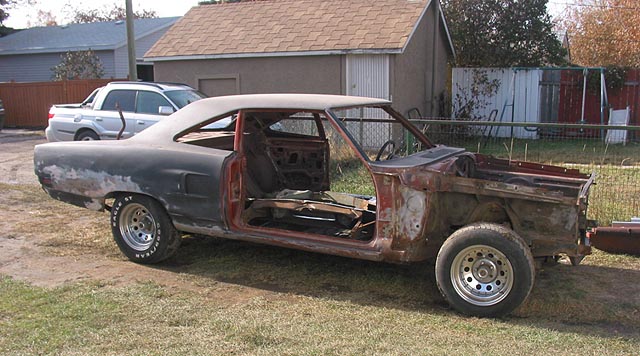
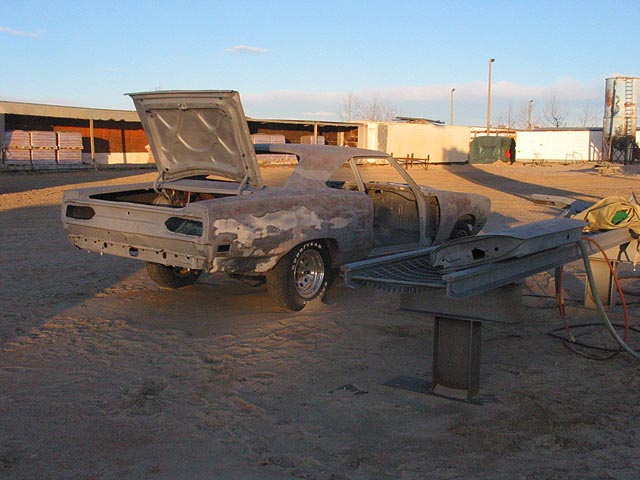
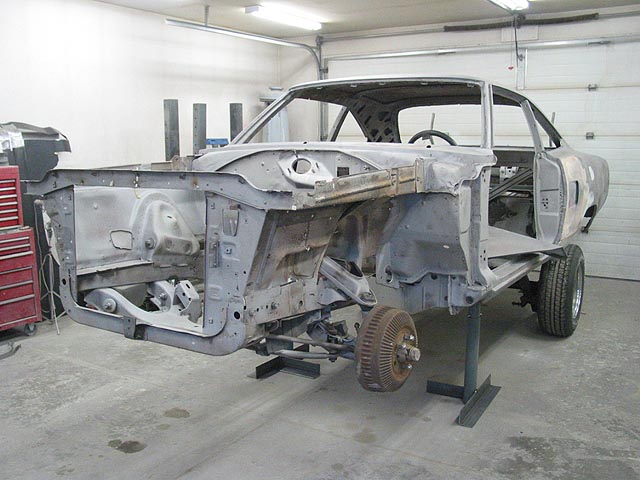
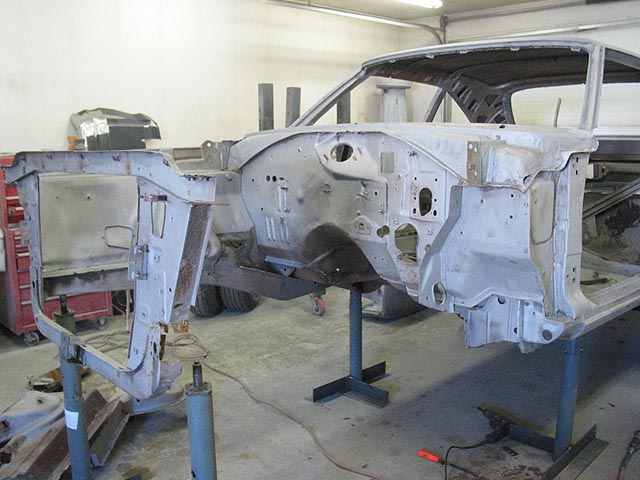
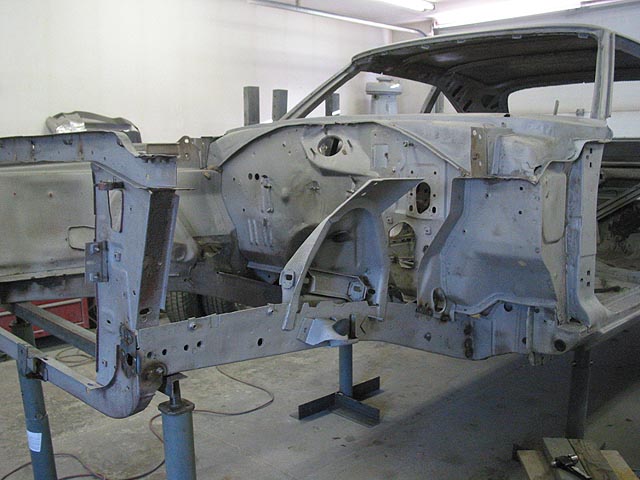
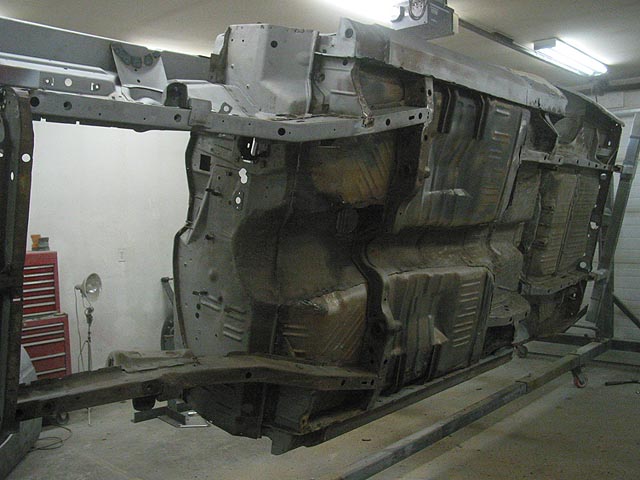
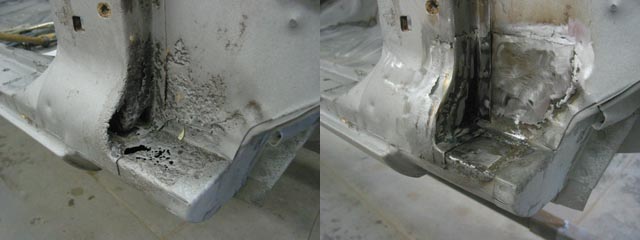
The next photos show the door jam and quarter panel removal and replacement.

Once the quarter panels are welded in place, the tail light panel will be replaced with a new one. The old panel is used to position the quarters for proper alignment before it is removed.
Tail light panel is now removed, ready to start fitting the new one in place.
PAGE 1 2 3
Back to thumbnails
TOP